
That annoying moment when you reach for toilet paper only to find the holder dangling by a single screw or positioned just out of comfortable reach—every homeowner knows this frustration. Installing a toilet paper holder seems simple until you’re staring at a crooked installation or repairing drywall damage from failed anchors. Whether you’re upgrading your bathroom or fixing a wobbly holder, proper installation ensures years of reliable use without embarrassing mishaps. This comprehensive guide gives you the exact measurements, tools, and techniques to mount any toilet paper holder correctly the first time—no guesswork required.
Locate the Strongest Mounting Surface for Lasting Stability
Identify Stud Positions Before Marking Any Holes
Grab your stud finder and scan the wall area where you plan to mount the holder. Most residential walls have studs spaced 16 inches apart on center, but never assume—always verify. When your stud finder beeps, mark the stud edges with light pencil lines, then find the center point. Mounting directly into a stud provides the most secure foundation, especially for heavier holders with storage compartments or decorative elements. For single-roll holders, one solid stud connection is sufficient, but dual-roll models benefit from hitting two studs when possible.
Prepare Tile Surfaces to Prevent Cracking During Installation

If your bathroom features tile walls, preparation is critical to avoid costly damage. Apply a small piece of masking tape over your intended drill spot—this prevents the drill bit from skidding across the smooth surface. Select a carbide-tipped masonry bit specifically designed for tile, not a standard wood or metal bit. Start drilling at the lowest speed setting with light, consistent pressure. Periodically pause to cool the bit with a drop of water, preventing heat buildup that causes tiles to crack. Drill through the tile first, then switch to a standard masonry bit for the underlying wall material.
Verify Cabinet Mounting Compatibility Before Proceeding
When mounting to a vanity or cabinet instead of the wall, check the material thickness first. Most bathroom cabinets use 3/4-inch plywood or solid wood, which provides excellent holding power. Measure from the front edge to ensure your screws won’t protrude through the back panel. For painted cabinets, drill pilot holes slightly smaller than your screw diameter to prevent wood splitting. Skip anchors entirely here—wood-to-wood connections provide superior strength compared to wall installations.
Gather Precision Tools for Professional Results
Assemble these seven essential tools before starting: stud finder, torpedo level (more accurate than bubble levels for small spaces), precision measuring tape, pencil with sharp point, drill with multiple bit types, Phillips head screwdriver, and masking tape. Don’t forget a shop vacuum to capture drywall dust immediately—bathroom finishes show dust more than other rooms. For tile installations, add a carbide-tipped drill bit and small spray bottle of water to your kit. Having everything ready prevents mid-project interruptions that disrupt your workflow and measurement accuracy.
Position Holder at Optimal Height for Universal Comfort

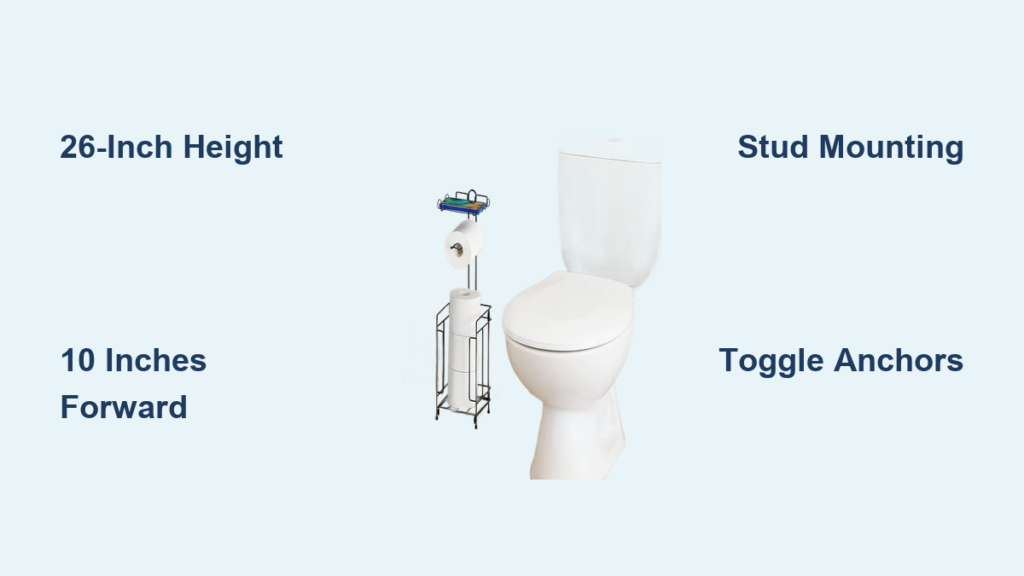
Install at ADA-Recommended 26-Inch Height Standard
Measure 26 inches from the finished floor to the center point of your holder bracket—this industry standard accommodates users of various heights while maintaining proper ergonomics. Stand in your normal seated position and test this height with your arm extended naturally forward. The roll should position within easy reach without requiring you to stretch or lean uncomfortably. Mark this height with a light pencil line across your mounting area, then verify with your torpedo level before placing the holder bracket.
Position Holder 10 Inches Forward for Ideal Roll Access
Measure horizontally from the front edge of your toilet bowl—position the holder 8-12 inches forward for optimal access. Ten inches typically works best for standard residential toilets. Test this position by sitting on the toilet and reaching forward as you would to grab paper. Your arm should extend naturally without bumping against the tank or requiring excessive twisting. Mark this position with a vertical pencil line that intersects your height measurement.
Adjust for Special Accessibility Needs
For households with elderly members or mobility challenges, increase the height to 28-30 inches and reduce the forward distance to 6-8 inches. This slight adjustment accommodates limited flexibility while maintaining independence. If children are primary users, lower the holder to 22-24 inches while keeping the forward distance consistent. Always test the position with actual users before drilling—small adjustments now prevent major rework later.
Execute Flawless Hole Placement with Professional Techniques
Hold your holder bracket firmly against the wall at your marked position. Use your torpedo level across the top edge to ensure perfect horizontal alignment—many people install holders slightly crooked without realizing it. Pencil through the mounting holes with precise dots, then double-check both height and forward positioning before proceeding. Step back and visualize the roll’s position from seated height. A common mistake is installing too close to the wall, causing the roll to rub against the surface when spinning.
Drill Perfect Pilot Holes for Your Specific Wall Type
Create Precision Holes for Stud Mounting
Select a drill bit 1/16 inch smaller than your screw diameter—typically 1/8 inch for standard toilet paper holder screws. Drill straight into the stud at your marked point to a depth of 1.5 inches. The pilot hole should be deep enough for the screw threads to grab solid wood but not so deep that the screw passes through the stud. Wood shavings should emerge clean and consistent—sawdust indicates you’ve hit drywall instead of a stud.
Install Drywall Anchors That Won’t Fail Over Time

For hollow wall installations, choose toggle bolts rated for at least 30 pounds rather than basic plastic anchors. These provide superior holding power that withstands daily use. Drill holes according to the anchor manufacturer’s specifications—usually matching the toggle wing width. Insert anchors until flush with the wall surface, then gently tighten the toggle mechanism to expand behind the drywall. Test each anchor by applying moderate pressure before mounting your holder.
Master Tile Drilling Without Cracks or Chips
For tile installations, start drilling at an angle to create a small groove, then gradually straighten to 90 degrees. Maintain light, consistent pressure—forcing the bit causes cracks. Drill through the tile glaze first (about 1/8 inch), then switch to a masonry bit for the backing material. Keep the bit cool with occasional water drops to prevent thermal shock. Vacuum debris from the hole before inserting anchors to ensure proper seating.
Achieve Rock-Solid Mounting Through Proper Hardware Installation
Insert screws through the holder bracket into your prepared mounting points. Hand-tighten first to allow minor alignment adjustments, then use your screwdriver to secure fully—stop when you feel consistent resistance. Never overtighten, as this strips anchor threads or cracks tile surfaces. Test stability by gently pulling downward and sideways on the empty holder. A properly installed unit should show zero movement. Install a full roll to verify smooth rotation without wall contact.
Avoid Costly Installation Mistakes That Require Repairs
Skip these three critical errors that doom most DIY installations: drilling into drywall without proper anchors (guarantees future failure), mounting too close to the toilet bowl (causes awkward reaching), and ignoring level verification (creates visually obvious crookedness). The most common mistake professionals see is installing holders too low—anything below 24 inches forces uncomfortable bending. Another frequent error is using screws that are too short for the wall material, especially with tile installations where the combined tile and backing thickness requires longer fasteners.
Fix Wobbly Holders Before They Cause Wall Damage
If your holder shows movement, address it immediately before the problem worsens. First, try tightening the mounting screws—many wobbles stem from hardware loosening over time rather than anchor failure. If that doesn’t work, remove the holder and replace standard plastic anchors with toggle bolts that distribute weight across more drywall surface. For severe cases where the drywall has been damaged, install a backing plate: cut a small wooden rectangle, paint to match your wall, and screw it into adjacent studs before remounting your holder.
Ensure Decades of Trouble-Free Operation with Simple Maintenance
Perform these two quick checks monthly to prevent major issues: verify all mounting screws remain tight (bathroom humidity causes wood to expand and contract), and wipe the mounting area clean to prevent moisture buildup behind the holder. Every six months, remove the roll and inspect the mounting hardware for corrosion—replace any rusted components immediately. These simple habits extend your installation’s lifespan from years to decades.
A professionally installed toilet paper holder operates seamlessly for decades without requiring attention. By following these precise measurements and techniques, you’ll avoid the common frustrations of loose hardware, awkward positioning, and wall damage that plague most DIY installations. Take the extra five minutes to verify your measurements and choose appropriate anchors—your future self will appreciate the flawless functionality every time you reach for that roll. The difference between a temporary fix and a permanent solution comes down to proper installation technique, and now you have everything you need to get it right the first time.


