Your kitchen counters are cluttered with bulky knife blocks, and digging through drawers for the right blade wastes precious cooking time. A sleek magnetic knife holder solves both problems—but mounting it securely feels risky. Drill in the wrong spot, and that expensive strip could plummet, sending knives clattering to the floor. This guide delivers the exact steps to mount your magnetic knife holder correctly the first time, whether you’re working with drywall, tile, or brick. You’ll learn where to position it for safety, which anchors support heavy knife collections, and how to test installation strength before hanging a single blade.
Pinpoint Your Perfect Knife Holder Location
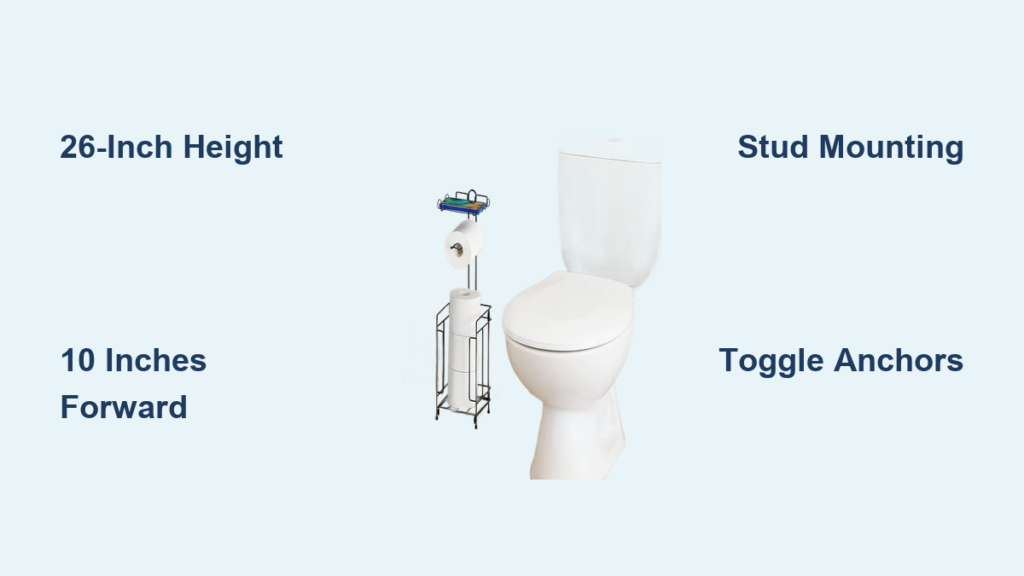
Measure Height for Comfort and Safety
Position your magnetic strip 15-20 inches above your countertop—high enough to avoid splatter from cooking but low enough for effortless access. Test this height by having every household member reach for an imaginary knife. Mark the sweet spot with painter’s tape before finalizing. Pro tip: If children live in your home, add 2-3 inches to this height for safety.
Avoid Hazard Zones Near Heat and Traffic
Keep your holder at least 12 inches from stovetops to protect knife edges and magnet integrity. Steer clear of high-traffic paths where accidental bumps could knock knives loose. Measure wall space to ensure 2-3 inches of clearance beyond your longest knife on both ends. This prevents blades from hitting cabinets or walls during storage.
Verify Wall Strength for Heavy Knife Collections

Calculate your total knife weight by summing individual tool weights—most home collections weigh 3-8 pounds. Locate wall studs using an electronic stud finder, tapping method, or small magnet to find drywall screws. Mark center points with a pencil. Critical warning: Never mount heavy knife sets on drywall alone—always anchor into studs or use appropriate heavy-duty anchors rated for 50% more than your total collection weight.
Gather Surface-Specific Mounting Tools
Match Hardware to Your Wall Type
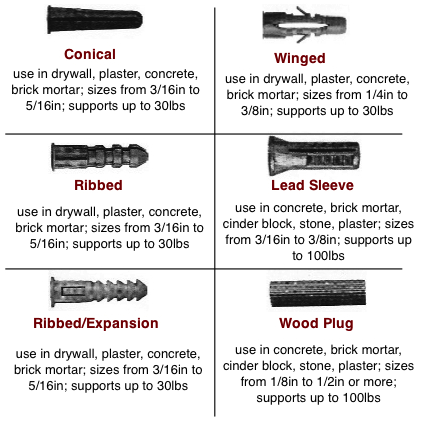
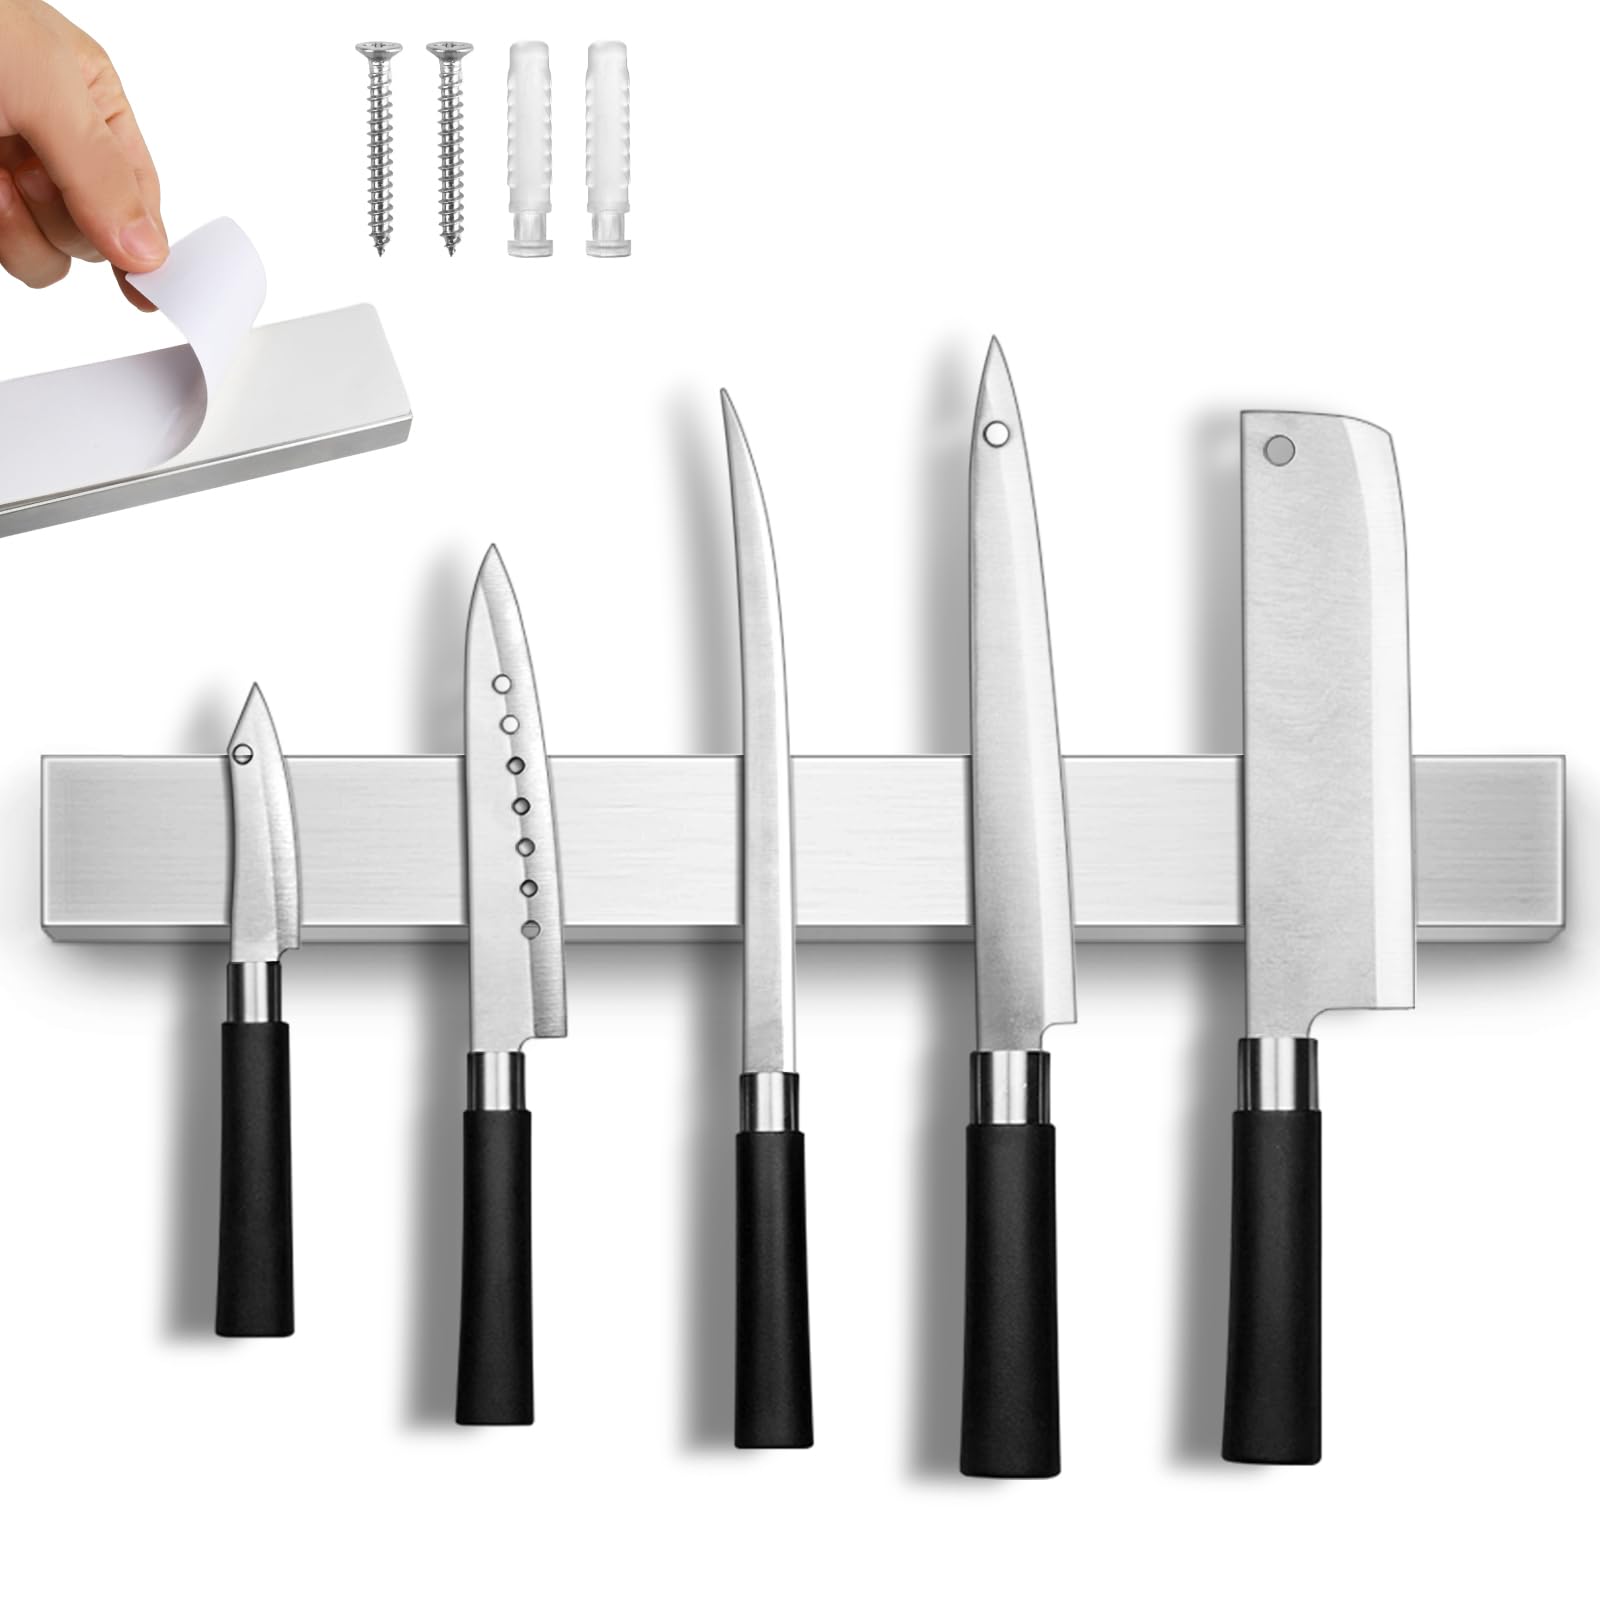
For drywall with stud access, grab 2.5-3 inch wood screws and a 1/8 inch drill bit. Without studs, pack toggle bolts (1/4 inch diameter) supporting 25-50 pounds each. Tile installations require a 1/4 inch ceramic bit and masking tape to prevent cracking. Masonry work demands a hammer drill with 1/4 inch masonry bits. Always include a 4-foot level—this prevents the crooked installation that ruins your kitchen’s aesthetic.
Essential Safety Gear Checklist
Pack safety glasses, painter’s tape, measuring tape, and a damp cloth. Keep all knives completely away from your workspace during installation—handle them only after mounting is complete and tested. Never skip this step: Check for electrical wiring or plumbing behind walls using a stud finder with AC detection before drilling.
Install on Drywall Without Hitting Studs
Hollow Wall Anchor Installation Sequence
When studs aren’t aligned with your preferred location, toggle bolts provide maximum security. Drill a 1/4 inch hole using steady pressure. Insert the toggle bolt through your magnetic holder’s mounting hole, then push the wings through the wall. Tighten the screw until the wings flatten against the drywall’s backside. For lighter knife sets under 10 pounds, self-drilling EZ-anchors work well—simply screw them in until flush with the wall surface.
Load Testing to Prevent Future Failures
After mounting, gradually add knives starting with your lightest paring knife. Test magnetic strength by gently pulling each blade downward—proper installation prevents any sliding or gradual loosening. Add heavier knives systematically while watching for anchor movement. Critical step: Apply thread-locking compound to screw heads during installation to prevent vibration-induced loosening over time.
Mount on Tile Backsplashes Without Cracks
Tile-Safe Drilling Technique
Cover drilling points with masking tape to prevent bit slippage. Use a 1/4 inch ceramic/glass bit at low speed, keeping the bit cool with water drops every 10 seconds. Apply steady, gentle pressure—never force the drill. This prevents spider cracks that ruin expensive tile work. Start drilling at a 45-degree angle, then gradually straighten to 90 degrees once the bit catches.
Waterproof Anchor Installation
After drilling, insert plastic anchors designed specifically for tile applications. Apply a thin bead of silicone caulk around each anchor before inserting—it creates a watertight seal that prevents moisture infiltration behind your backsplash. Wipe excess caulk immediately with a damp cloth for clean edges. Pro tip: Mount during dry weather when humidity is below 60% for optimal caulk adhesion.
Secure Heavy Holders on Brick or Concrete
Masonry Anchor Installation Protocol
Drill 2-3 inches deep using a 1/4 inch masonry bit on hammer setting—this depth ensures anchors seat properly in brick mortar joints. Clear dust frequently with compressed air to maintain drilling efficiency. For concrete walls, use plastic expansion anchors; for brick, opt for lead sleeves. Drive screws using an impact driver—standard drills often lack the torque needed for secure masonry fastening.
Professional Installation Thresholds
Consider hiring a professional if your knife collection exceeds 20 pounds or if you lack a hammer drill. The $100-200 service fee prevents costly mistakes like cracked brick or stripped anchors. Critical warning: Never mount heavy knife sets on concrete blocks—they lack structural integrity for sustained loads.
Troubleshoot Common Mounting Failures
Fix Weak Magnetic Hold Immediately
Clean both knife blades and magnetic surface with a mild soap solution—built-up oils from cooking dramatically reduce magnetic efficiency. If problems persist after cleaning, your holder likely uses weaker ceramic magnets. Upgrade to rare earth (neodymium) magnet holders for superior strength that grips even thick-bladed chef’s knives securely.
Correct Slight Misalignments Without Re-Drilling
Small tilting can be fixed using plastic shims behind low mounting points. For severe misalignment, remove screws and fill old holes with spackle before remeasuring. Pro tip: Use a laser level for pinpoint accuracy—it projects a straight line across uneven surfaces like tile that throw off traditional bubble levels.
Maintain Safety with Smart Storage Habits
Weekly Cleaning Routine That Prevents Rust
Remove all knives and wipe the magnetic surface with a damp microfiber cloth. Dry thoroughly within 2 minutes to prevent moisture buildup that causes rust on both holder and knives. This 5-minute routine prevents buildup that dulls blades over time. Critical safety step: Always dry knives completely before storage—never mount wet blades.
Childproofing Techniques for Family Kitchens
Mount holders above 48 inches for child safety, or install magnetic knife latches that require adult strength to release blades. Educate children about knife safety using magnetic storage as a teaching tool—its visibility makes safety discussions more concrete. Schedule monthly inspections of mounting hardware to catch loosening before it becomes dangerous.
Future-Proof Your Knife Storage System
Plan for Collection Growth Now
Choose holders 6-12 inches longer than your current knife set—this accommodates future additions without reinstallation. Position your holder near electrical outlets to integrate LED lighting that highlights blades at night. Pro tip: Install a secondary mounting rail above your primary holder—it creates space for scissors, whetstones, or specialty tools as your collection expands.
Modular Upgrades for Advanced Storage
Interconnecting magnetic strips let you build L-shaped configurations around kitchen corners. Under-cabinet slide-out mechanisms maximize space in small kitchens while keeping blades accessible. These systems typically require professional installation but add significant long-term value to your kitchen workflow.
Your magnetic knife holder now provides rock-solid storage that showcases your tools while keeping them safely within reach. This installation method ensures your holder stays secure through daily use, giving you the organized, professional kitchen you deserve. Test your setup monthly by gently tugging on the heaviest knife—if it holds firmly, you’ve achieved permanent-grade installation that will serve you for decades.