

Nothing ruins the perfect sushi experience like chopsticks rolling off the table or resting directly on a dirty surface. Creating your own chopstick holder solves this everyday frustration while adding a personal touch to your dining setup. Whether you’re hosting an intimate dinner or simply want to elevate your everyday meals, a handmade chopstick rest transforms ordinary utensils into a functional piece of art. This guide provides multiple approaches—from quick 5-minute crafts to sophisticated wooden designs—so you can find the perfect project matching your skill level and style preferences.
Essential Materials and Tools for Chopstick Holders
Basic Supplies for Any Design
Before starting your project, gather these fundamental materials regardless of your chosen approach. You’ll need base material options like wood blocks, air-dry clay, fabric scraps, or bamboo strips depending on your preferred method. Essential cutting tools include craft knives for precision work, scissors for fabric projects, or small saws for woodworking. Don’t forget measuring tools—keep a ruler, pencil, and compass nearby for accurate markings. Quality adhesives make the difference between a holder that lasts and one that falls apart; select appropriate glue types like wood glue for timber projects, super glue for quick fixes, or fabric glue for textile designs. Finally, finishing supplies including sandpaper in various grits (120-400) and food-safe finishes like mineral oil or non-toxic paint ensure your creation looks professional and functions properly.
Specialized Equipment Options
Depending on your chosen method, you might need additional specialized tools. For woodworking projects, a small chisel set helps create precise grooves while a drill with various bits accommodates different design elements. If you’re pursuing clay modeling, keep sculpting tools and a rolling pin handy for shaping and texturing. Fabric designers will benefit from a sewing machine for durable construction, an iron for crisp folds, and interfacing to add structure. Those attempting metal accents should use proper safety equipment including tin snips, files, and safety gloves to prevent injuries during fabrication. Remember that starting with simpler tools and gradually acquiring specialized equipment as your skills develop makes the learning process more enjoyable and less overwhelming.
Quick No-Sew Fabric Holder Projects
Fold-and-Tuck Method (5 Minutes)
This no-sew technique creates an attractive fabric holder in just minutes using materials you likely already have at home. Begin with a 6×4 inch fabric rectangle cut from cotton, linen, or even repurposed clothing. Fold both long edges toward the center, creating a 1-inch overlap where they meet. Next, fold the short ends up approximately ½ inch to form secure pockets that prevent fraying. Apply fabric glue along all edges to hold the shape, pressing firmly for 30 seconds to ensure proper adhesion. Allow 10 minutes for the glue to set before use. The finished piece creates two parallel slots that perfectly cradle standard chopsticks while adding a splash of color to your table setting.
Ribbon Wrap Technique
Transform simple ribbons into an elegant chopstick holder with this clever method. Cut two 8-inch ribbon strips in complementary colors or patterns. Lay them parallel to each other with about ½ inch of space between them—the ideal width for chopstick placement. Apply a thin line of fabric glue along both outer edges of the ribbons. Carefully place a third ribbon piece on top, encasing the sides and creating defined channels. Trim any excess material and allow the glue to dry completely. For added flair, wrap the entire piece around your chopsticks and secure with a decorative bow. This technique works particularly well for special occasions or as thoughtful handmade gifts that impress your guests.
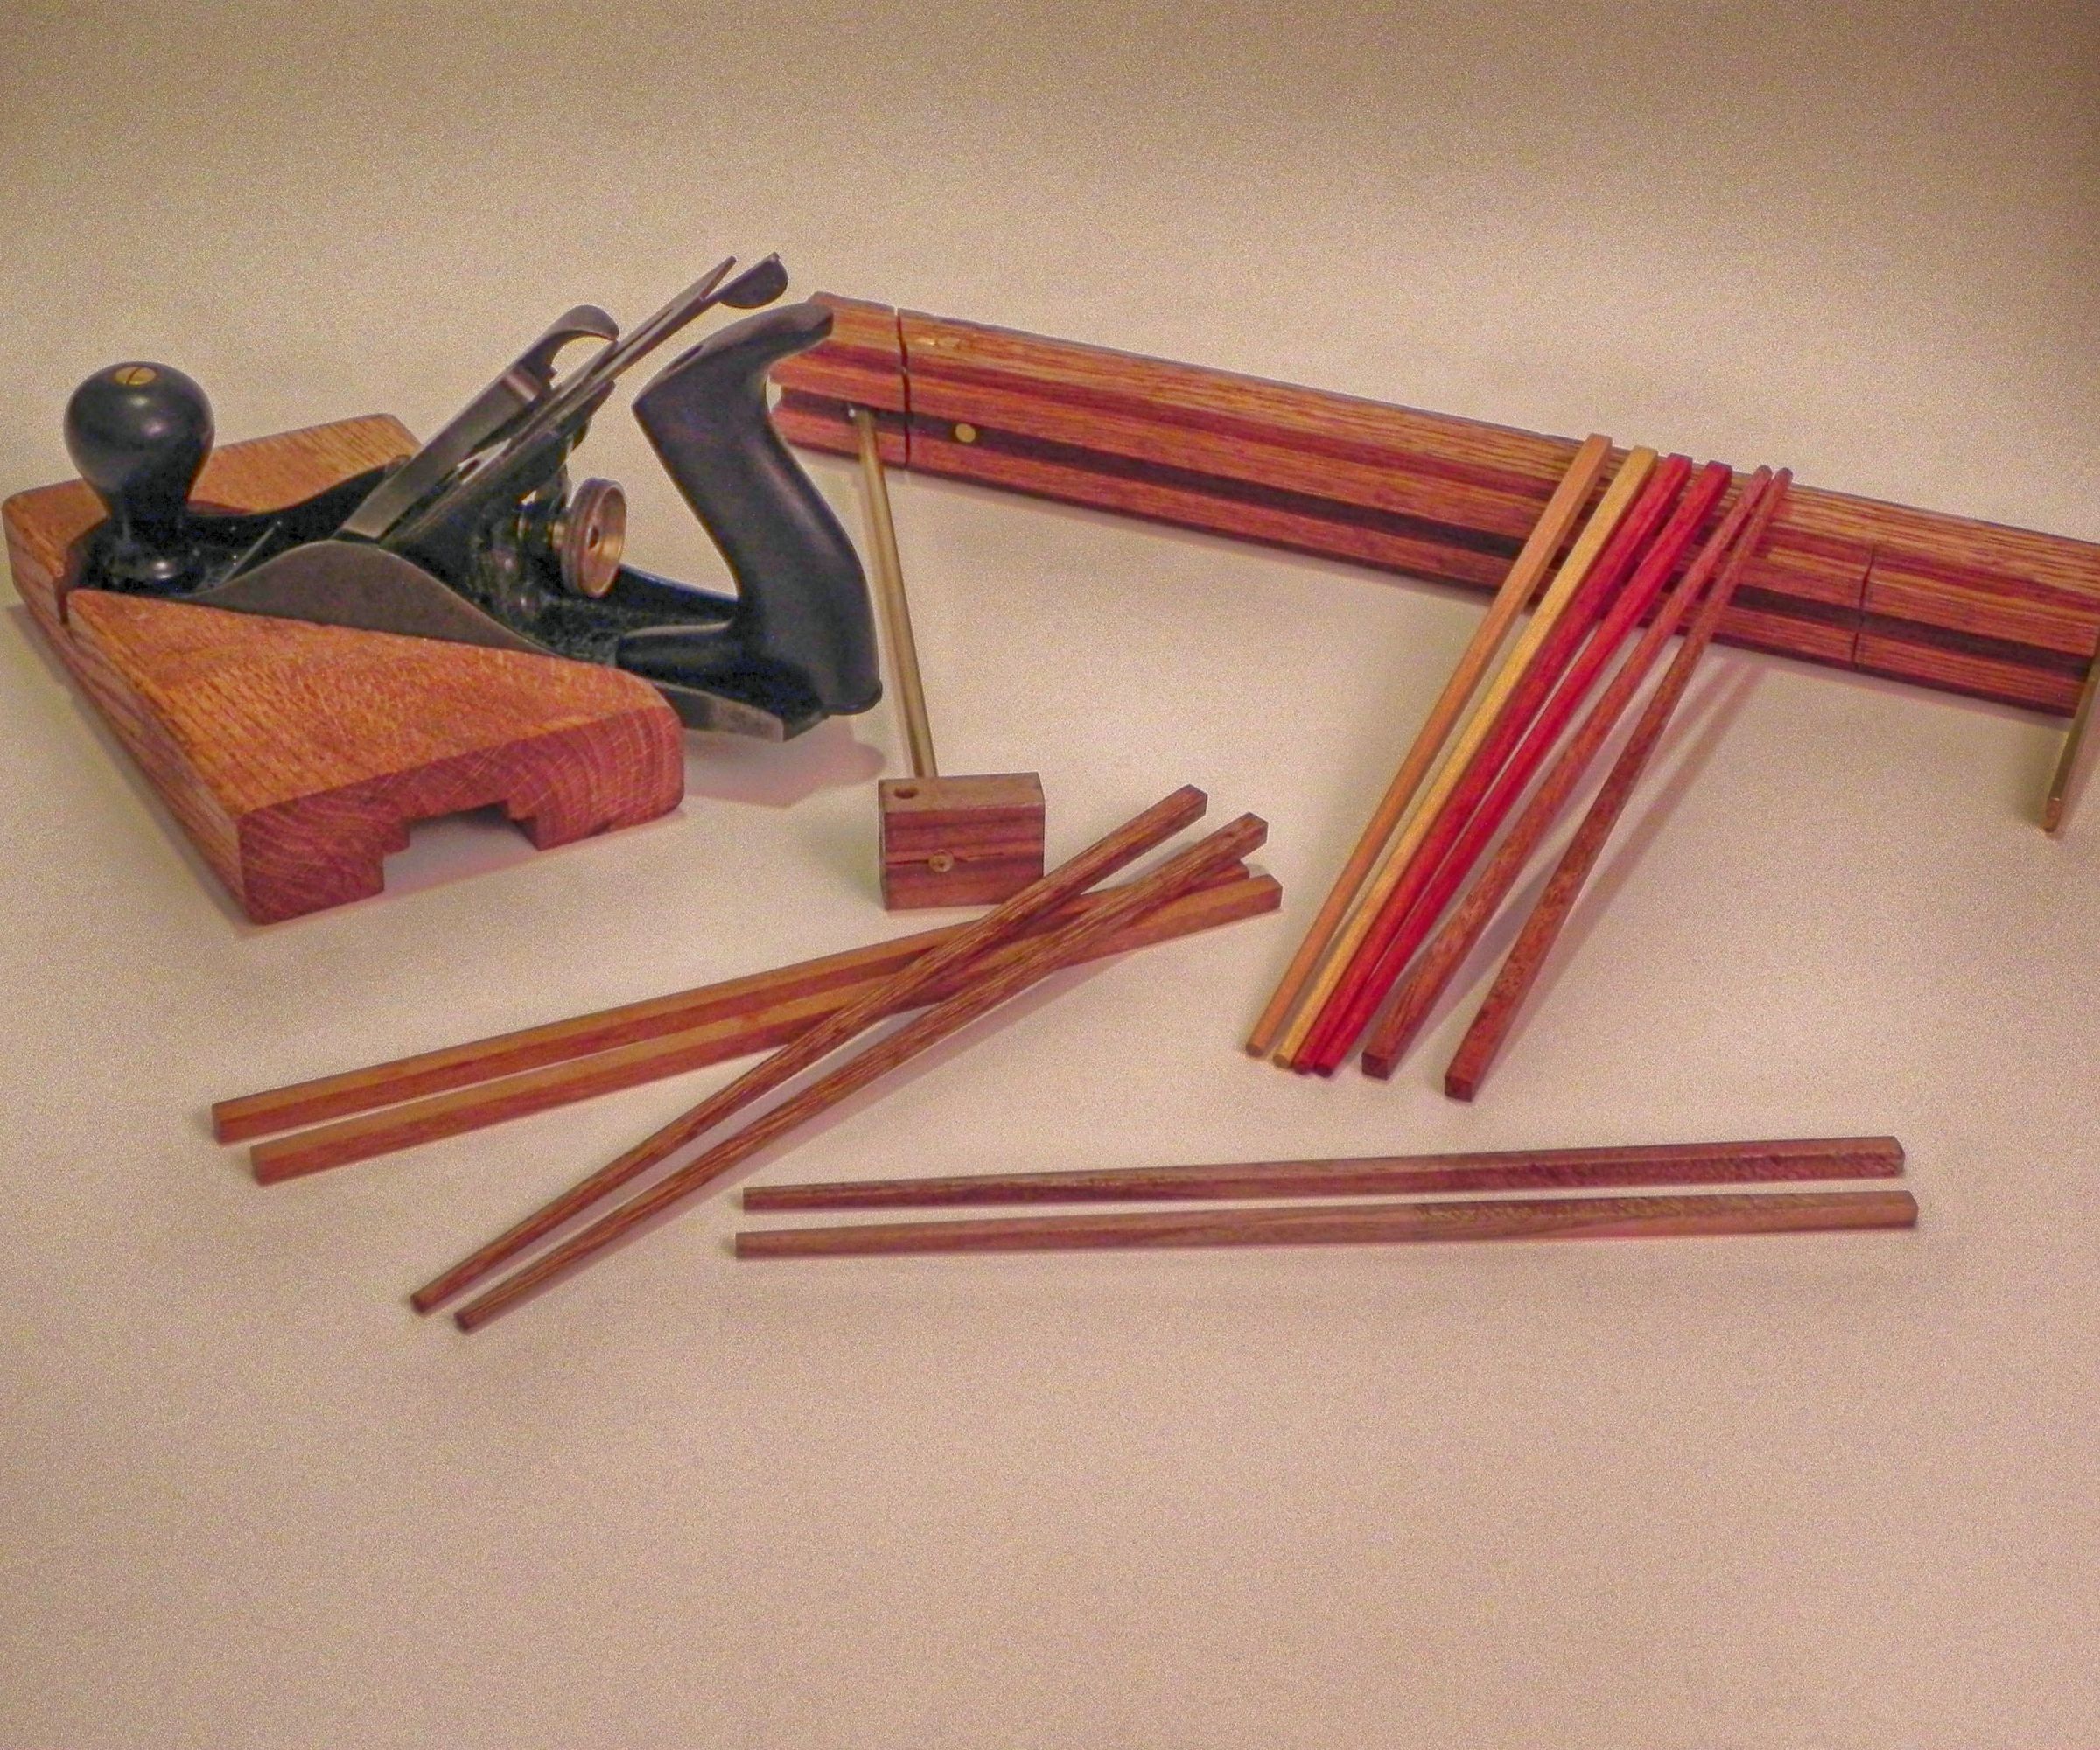
Wooden Chopstick Rest Construction
Simple Block Design
Wooden chopstick holders offer durability and timeless elegance that improves with use. Start with a 4×1×½ inch hardwood block—cherry, maple, or walnut work beautifully. Mark two ¼-inch wide grooves spaced ½ inch apart across the width of your piece. Using a small chisel, carefully carve these grooves to a depth of ⅛ inch, ensuring they’re smooth enough not to catch on chopstick finishes. Sand all surfaces thoroughly, beginning with 120 grit sandpaper and progressing through finer grits up to 400 for a silky-smooth finish. Complete your project by applying food-safe mineral oil, which enhances the wood’s natural beauty while protecting it from moisture damage. The entire process takes about 30 minutes for beginners and creates a holder that will last for years with proper care.
Elegant Drilled Holder
For a more sophisticated design, try this drilled holder that showcases craftsmanship. Begin with a 6×2×¾ inch wood piece and mark two points 1 inch from each end, centered across the width. Using a ⅜-inch drill bit, create holes approximately ½ inch deep—these will cradle your chopsticks securely. Sand all edges smooth, paying special attention to the drilled areas to prevent splinters. For visual interest, create subtle bevels along the top edges using sandpaper. Finish with a contrasting wood stain that highlights your design elements while maintaining food safety. This project takes about 45 minutes but results in a professional-looking holder that becomes a conversation piece at any meal.
Polymer Clay Creations

Basic Sculpted Design
Polymer clay offers incredible versatility for creating custom chopstick holders without specialized tools. Start by conditioning your clay through thorough kneading until it becomes pliable and easy to work with. Roll the clay into a ½-inch thick slab using a rolling pin or smooth bottle. Cut a 3×1 inch rectangle from this slab using a craft knife or cookie cutter. Using an actual chopstick or pencil, press two parallel indentations about ½ inch apart to create resting grooves. Bake according to your clay’s specific instructions (typically 275°F for 15 minutes), then allow to cool completely before use. The entire process takes under 30 minutes, making it perfect for beginners or quick gift projects.
Textured Japanese-Inspired Holder
Elevate your clay design with traditional Japanese elements using simple texturing techniques. Roll your clay to a ¼-inch thickness and cut a wave or fan shape using a template. Press a bamboo skewer along the surface to create traditional patterns that honor chopstick culture. Form shallow grooves for chopsticks that complement your design elements. Add texture using stamps, carved designs, or even natural objects like leaves for unique impressions. After baking and cooling, seal your creation with a food-safe clear varnish that protects the design while maintaining functionality. This project takes about 45 minutes but results in a culturally authentic piece that honors the tradition of chopstick use.
Bamboo and Natural Materials
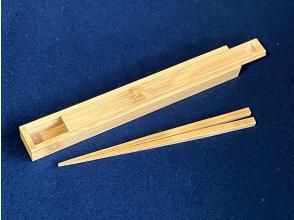
Split Bamboo Method
Bamboo’s natural properties make it ideal for chopstick holders that complement traditional utensils. Select a 6-inch bamboo section with a diameter of about 1½ inches. Carefully split it lengthwise into two equal halves using a sharp knife or small saw. Sand all cut edges until smooth to prevent splinters. Use one half as your base, with the natural curve providing stability. Mark and carve two small notches on the raised edge to hold chopsticks securely. The bamboo’s natural curve creates an ergonomic design that cradles chopsticks perfectly while showcasing beautiful natural grain patterns. This eco-friendly project takes about 20 minutes and creates a holder that harmonizes beautifully with bamboo chopsticks.
Driftwood Rustic Style
Transform found driftwood into a unique chopstick holder that tells a story. Look for a piece approximately 4-6 inches long with an interesting shape that provides natural stability. Clean your driftwood thoroughly with a stiff brush and allow it to dry completely. Lightly sand only the areas that will contact your table to prevent scratching, preserving the weathered character elsewhere. Drill or carefully carve two parallel grooves that follow the wood’s natural grain pattern. Finish by preserving the wood with a thin coat of food-safe beeswax polish that enhances the natural beauty while protecting against moisture. Each driftwood holder becomes a one-of-a-kind piece reflecting nature’s artistry.
Troubleshooting Common Issues
Groove Too Shallow or Deep
If your chopsticks don’t stay securely in place, the grooves may be too shallow. Rather than starting over, apply wood filler to the affected area, allow it to dry completely, then carefully recarve the groove to the proper depth. For grooves that are too deep, which can cause chopsticks to tilt awkwardly, add a thin wood veneer strip along the bottom of the groove or fill with a contrasting wood piece for decorative effect. Always test your holder with actual chopsticks during construction to ensure proper fit before final finishing.
Holder Rocks or Wobbles
An unstable holder frustrates users and defeats the purpose of your creation. Place your finished piece on a flat surface and identify the high spot causing the wobble. Carefully sand the bottom surface in that specific area until the holder sits flat. For severe cases, attach thin cork or felt pads to the bottom—these not only stabilize the piece but also protect your table surfaces. Remember that wood can warp slightly as it dries, so allow newly finished wooden holders to acclimate for 24 hours before final stability testing.
Maintenance and Care
Proper care extends the life of your handmade chopstick holder significantly. For wooden versions, wipe with a barely damp cloth after use and dry immediately—never soak in water. Reapply food-safe mineral oil monthly to maintain protection against moisture. Clay and ceramic holders can be hand-washed with mild soap but should never go in the dishwasher, which can cause cracking. Fabric holders withstand gentle machine washing but require air drying to prevent shrinkage. Always store your holder flat to maintain its shape, and keep wooden versions away from direct sunlight and excessive moisture to prevent warping. With proper care, your handmade chopstick holder will serve you beautifully for years to come.
Start with the simplest fabric or clay design to build confidence, then progress to wooden versions as your skills develop. Your handmade chopstick holder becomes more than a utensil rest—it’s a reflection of your personal style and craftsmanship. Share your creations with friends, or make sets as thoughtful gifts that elevate everyday meals into special occasions. Each time you use your handmade holder, you’ll appreciate the care and creativity that went into its creation, turning a simple dining tool into a meaningful part of your culinary experience.


