
Tangled garden hoses snaking across your yard aren’t just an eyesore—they’re tripping hazards that shorten your hose’s lifespan through constant kinking and abrasion. If you’re tired of wrestling with unruly reels or watching water pool under coiled hoses, learning how to install a hose holder correctly transforms your outdoor space instantly. This guide delivers proven methods for mounting hose storage that keeps your walls intact while eliminating clutter. You’ll discover exactly where to position holders for maximum efficiency, which tools prevent common installation mistakes, and how to choose between permanent mounts or renter-friendly solutions—all without drilling a single hole if needed.
Most homeowners make critical errors when installing hose holders, like mounting too low where hoses drag through mud or choosing hardware that pulls out under water weight. A properly installed holder should support a soaked 50-foot hose (which can weigh 15+ pounds) without shifting. By following these steps, you’ll create a system that stays secure through seasons while making hose management effortless. Let’s get your outdoor space organized with the right installation approach for your home.
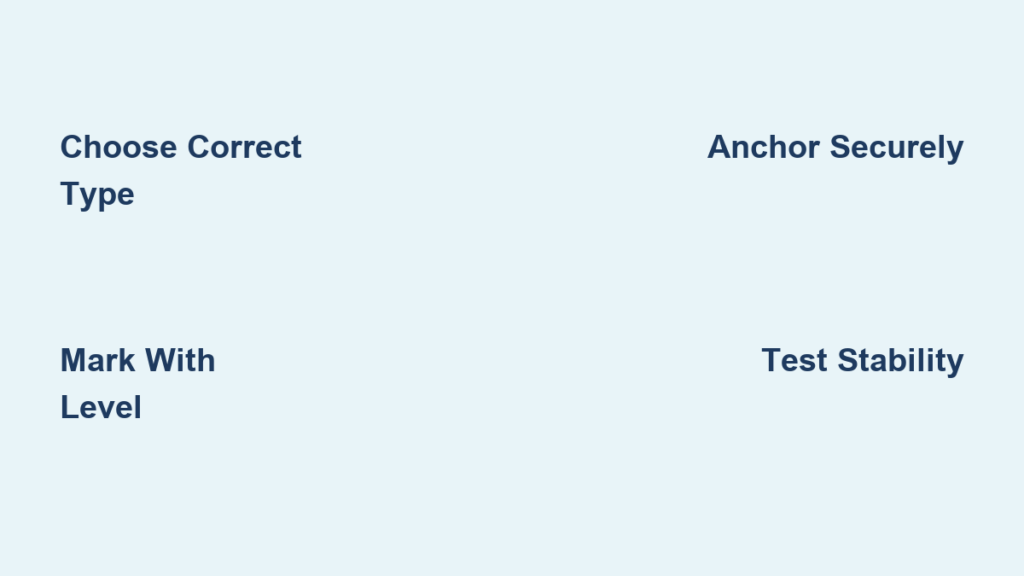
Select the Right Hose Holder for Your Situation

Choosing the correct holder type prevents frustration later. Wall-mounted brackets provide rock-solid stability when secured into studs but require drilling. These work best on wooden fences, deck railings, or exterior walls where you can anchor into structural support. Look for models with integrated covers that hide hardware for a clean look.
Freestanding holders solve mobility issues for renters or frequently reconfigured gardens. Weighted bases with concrete bottoms stay put on patios, while spike-mounted versions drive into soil near garden beds. Position these where you typically water—never in high-traffic walkways—to avoid tripping hazards. Test stability by hanging your loaded hose before final placement.
No-drill solutions protect delicate surfaces like vinyl siding or stucco. Heavy-duty adhesive strips create invisible mounts that hold 20+ pounds when applied correctly. Clamp systems grip deck railings without hardware, and tension rods span between solid structures like house walls and fence posts. These options shine in rental properties where landlords prohibit wall modifications.
Prepare the Correct Tools Before Starting
Wall Mount Essential Gear
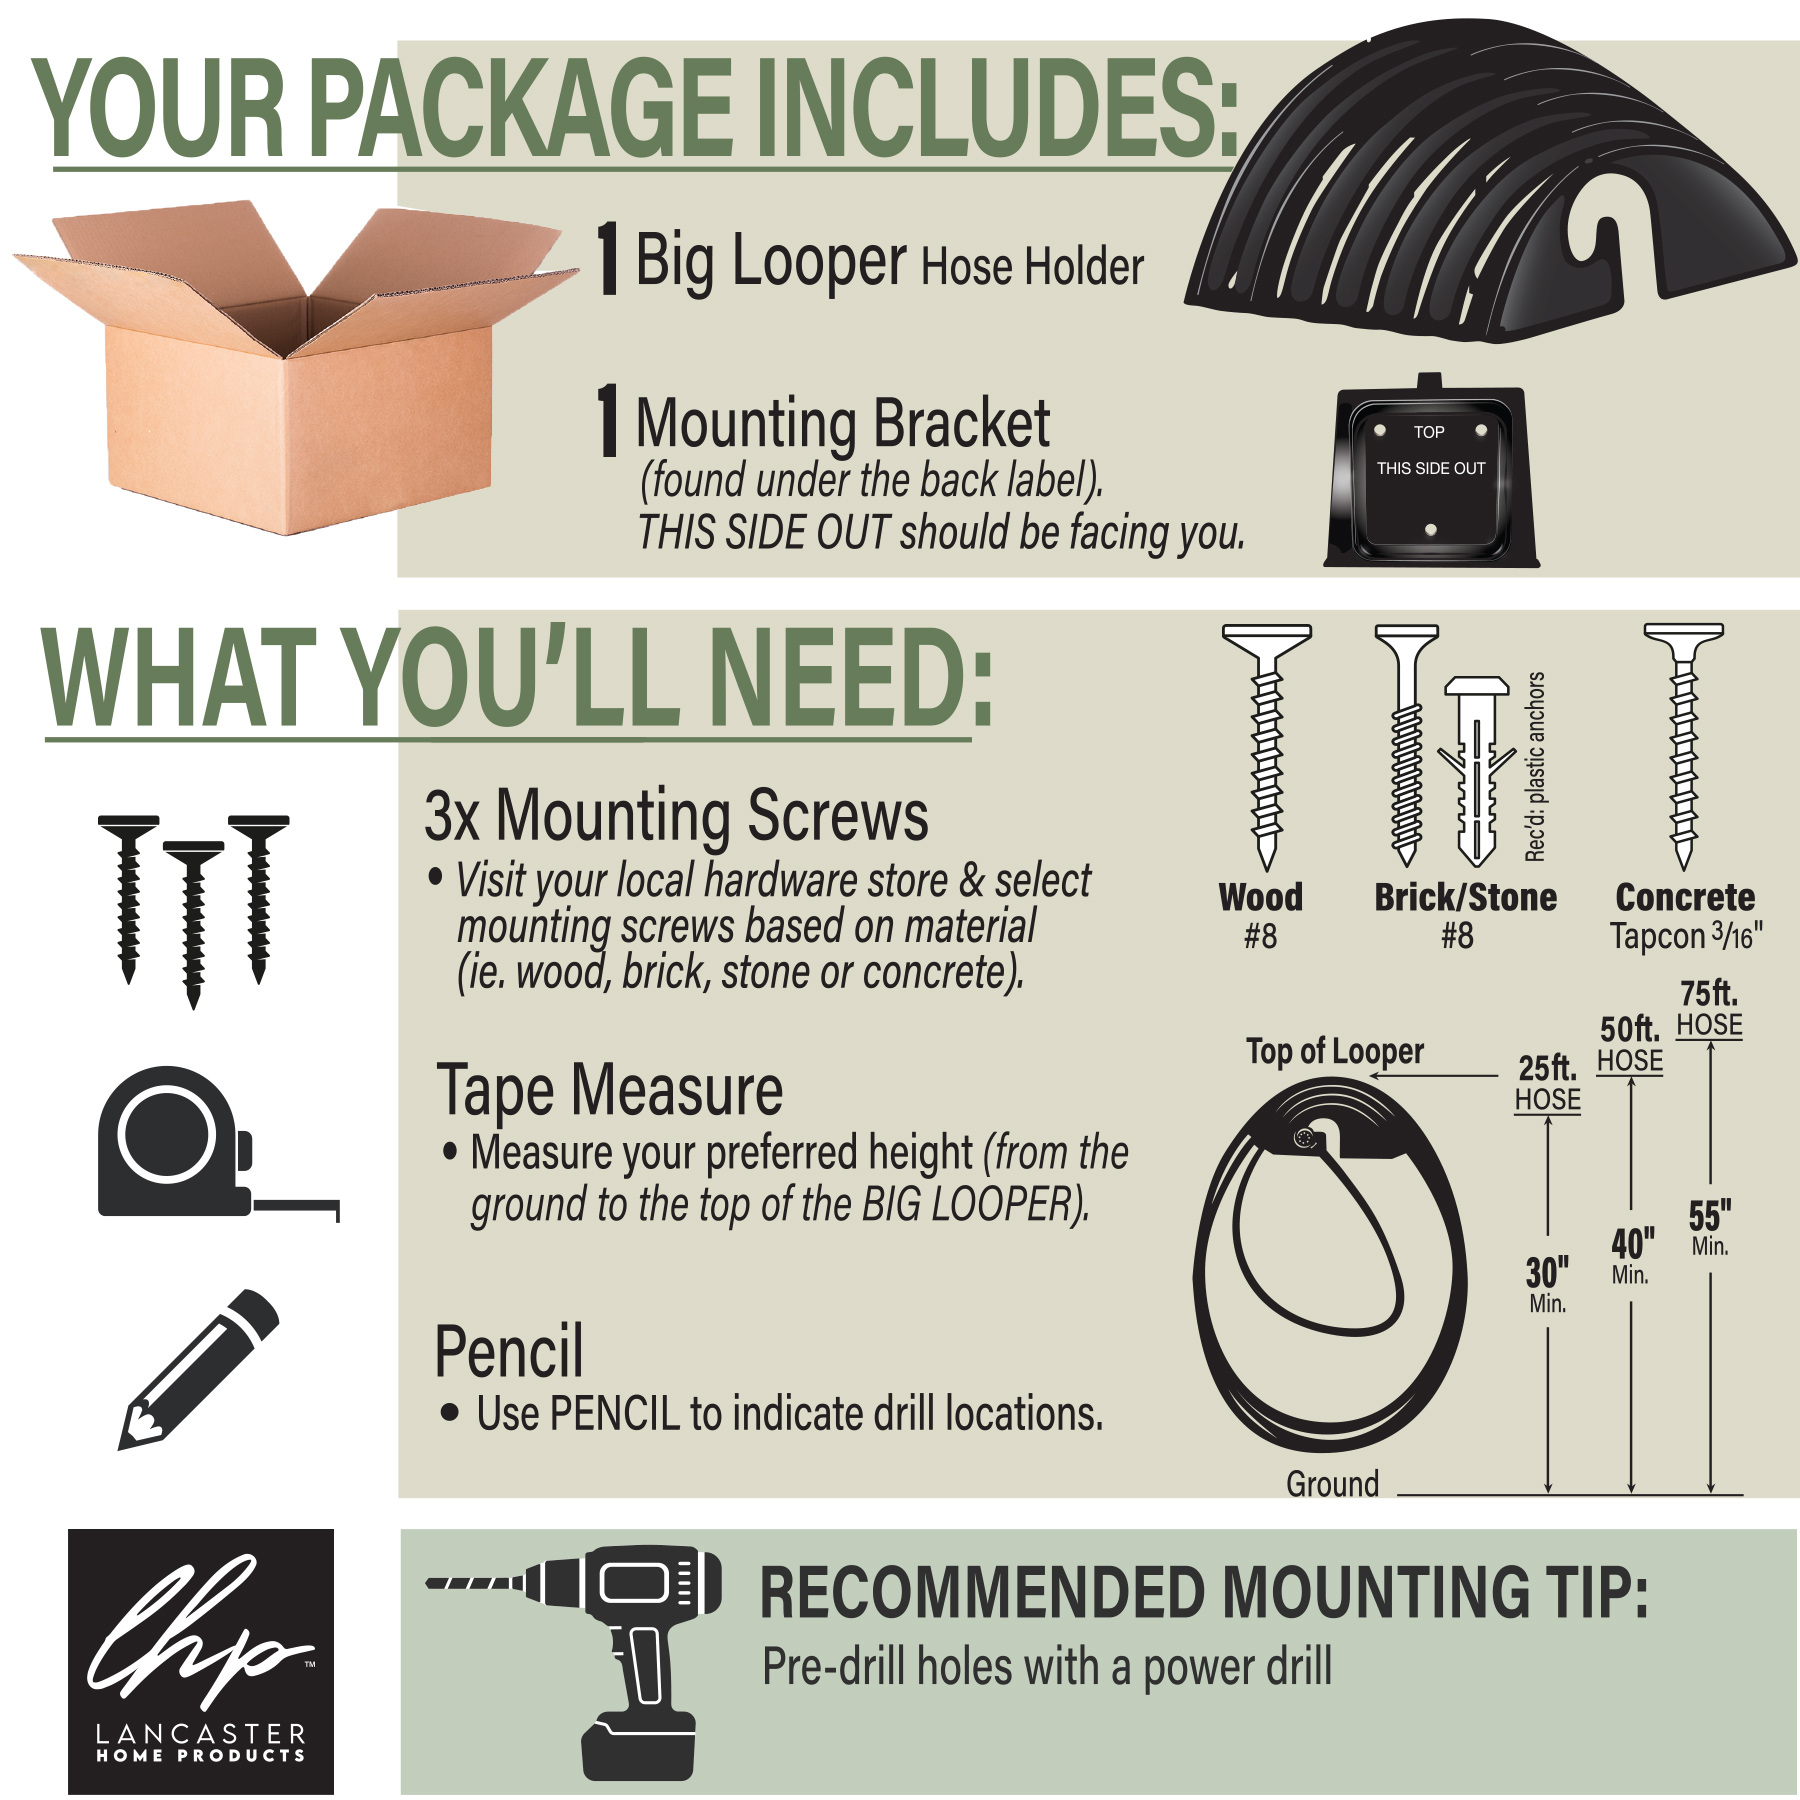
Gather a stud finder to locate solid framing, a level (laser types prevent crooked installs), and drill bits matching your anchor size. Safety glasses protect eyes from debris during drilling. Use a pencil for precise markings and a torque-controlled driver to avoid stripping screws. Never skip hollow-wall anchors—they’re non-negotiable for drywall or masonry.
No-Drill Installation Supplies
Alcohol wipes remove oils that sabotage adhesive bonds. Painter’s tape creates clean positioning guides without residue. An adhesive promoter boosts grip on smooth surfaces like vinyl. Keep a utility knife handy for trimming excess mounting strips. Measure twice with a tape measure—adhesive mounts fail when misaligned.
Universal Must-Haves
Always use the hardware included with your holder—it’s engineered for the load. Work gloves prevent scrapes during installation. Have exterior caulk ready for sealing drilled holes. A hose capacity chart prevents overloading; decorative holders often hold less than labeled.
Position Your Holder for Maximum Efficiency

Mount holders 3-4 feet high—high enough to avoid ground debris but low enough for comfortable coiling. Measure your hose’s full length first; the holder must sit where you naturally stand while watering. Avoid placing near spigots where coiled hoses block faucet access.
Account for the weight shift when your hose fills with water. Vinyl hoses triple in weight when saturated, so position holders away from high-wind zones like corners. Test sun exposure: holders in constant shade prevent UV degradation but may trap moisture against walls. Never mount where dripping water can seep behind siding.
Ensure 18 inches of clearance from walkways. Watch for overhead obstructions like tree branches that snag hoses during retrieval. The ideal spot lets you coil the hose in one smooth motion without twisting your body. Mark this sweet spot with painter’s tape before final measurements.
Measure and Mark Like a Professional
Create a cardboard template by tracing your holder’s mounting holes. Hold this against your wall to test positioning without holding the heavy unit. Use a level to draw two parallel reference lines—one at holder height, another 6 inches above for hose clearance.
Mark anchor points through the template holes with a pencil. Add 2-inch buffer zones on all sides to prevent hose rub against walls. For adhesive mounts, apply painter’s tape along your reference lines—this creates clean edges when removing positioning guides. Double-check distances against your actual hose coil diameter before committing.
Drill and Anchor for Lasting Security
Finding Solid Wall Support
Scan horizontally with your stud finder 16 inches apart (standard stud spacing). When locating studs, mark centers with an “X” and verify by drilling a 1/8-inch pilot hole. If studs miss your ideal spot, use 50+ pound-rated anchors: toggle bolts for drywall, lead sleeves for brick, or siding hooks that penetrate vinyl to reach underlying wood.
Anchor Installation Protocol
Drill pilot holes 1/16-inch smaller than anchor diameter—this creates friction for secure grip. Clean dust from holes with compressed air or a straw. Tap plastic anchors flush with a rubber mallet; hammering causes cracks. For masonry, insert lead sleeves before screwing in lag bolts. Never force anchors—that means your hole’s too small.
Secure the Holder Without Common Mistakes
Start screws just enough to hold the bracket in place—about 25% tightened. This allows micro-adjustments while checking level. Position the holder, then press firmly for 30 seconds to ensure full contact with wall. Complete tightening in a star pattern (top-left, bottom-right, etc.) to prevent warping.
Stop immediately if screws won’t advance smoothly—you may be hitting wiring or pipes. Test stability by hanging your empty hose; any wobble means insufficient anchors. For no-drill mounts, apply full body weight to the holder for 60 seconds after positioning to activate adhesive bonds. Wait 24 hours before loading.
Implement Renter-Friendly No-Drill Methods
Adhesive Mounting Secrets
Clean surfaces with alcohol wipes until lint-free. Apply adhesive promoter to glossy areas, let dry 2 minutes. Press strips firmly for 30 seconds per manufacturer instructions. Hang a lightweight object (like a towel) for 24 hours before adding the hose—this tests bond strength gradually.
Clamp System Setup
Adjust clamps to fit railing thickness with 1/8-inch tension—snug but not crushing wood. Place rubber pads between clamp and surface to prevent scratches. Position clamps vertically on posts for maximum grip, not horizontally where hoses add leverage.
Tension Rod Technique
Measure the span between surfaces, then buy rods 1-2 inches longer for compression. Insert slowly while twisting to engage threads. Test by pulling downward before mounting the holder. Never exceed 75% of the rod’s weight rating—outdoor models typically max at 25 pounds.
Protect Against Weather Damage Immediately
Seal every drilled hole with paintable exterior caulk. Squeeze a bead over screw heads while still soft, then smooth with a damp finger. This prevents water intrusion that rots framing behind siding. For adhesive mounts, apply a thin caulk line where the holder meets the wall to block moisture traps.
Tighten all connections each spring before heavy use. Touch up paint chips on metal holders with rust-inhibiting spray to prevent corrosion. In freezing climates, remove hoses completely—never leave water trapped in coiled sections.
Fix These Common Installation Failures
Holder Pulls Away From Wall
This means anchors are too light for the load. Remove the holder, fill old holes with caulk, and relocate to a stud. For vinyl siding, install a backing board first: drill through siding into a 2×4 behind, then mount the holder to the board.
Hose Won’t Stay Coiled
Upgrade to a larger-diameter holder—most decorative models are too narrow. Add a $3 hose guide ring above the spigot to direct water flow smoothly. Never force kinks into tight coils; this strains both hose and holder.
Rust Stains on Walls
Replace all hardware with stainless steel immediately. For coastal areas, choose aluminum holders with powder coating. Spray existing metal components annually with clear rust inhibitor.
Enhance Your Hose System Smartly
Add hose guide wheels 6-12 inches from spigots to prevent kinking at the connection point. Stagger multiple holders vertically for different hose lengths—shorter hoses higher for easy reach. Paint holders to match your house trim using exterior spray paint for seamless integration.
Install a secondary holder near garden beds for quick-access coiling during watering sessions. Wrap decorative rope around clamp systems for rustic charm. These small upgrades turn functional storage into landscape assets that boost curb appeal.
Mastering how to install a hose holder properly saves hours of seasonal frustration while protecting your home’s exterior. Whether you choose stud-mounted security or adhesive-reliant flexibility, precise measurement and material-matched hardware make all the difference. Start by matching your holder type to your wall surface, then execute each step with the attention to detail outlined here. Within an hour, you’ll eliminate hose chaos permanently—enjoying a yard where your equipment works with you, not against you, every single time you water your garden.


