
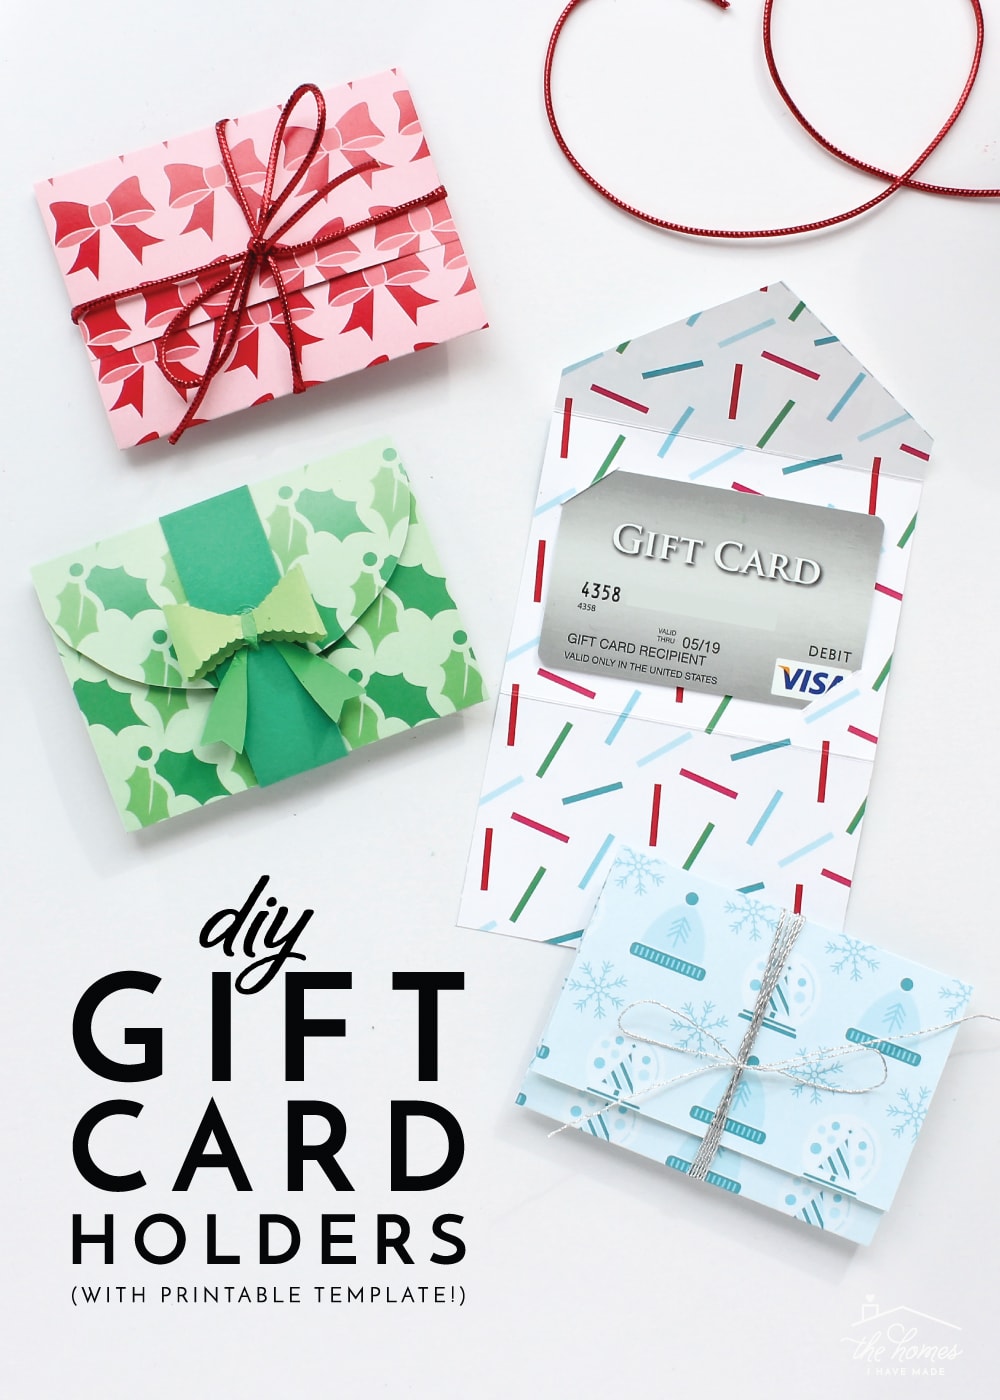
Your gift card deserves better than a flimsy envelope. Transform that plastic rectangle into a memorable keepsake with handmade holders that protect your gift while adding personal flair recipients will treasure long after the balance runs out. Whether you’re crafting last-minute Christmas presents or elegant wedding favors, learning how to make a gift card holder solves the universal problem of impersonal gifting. These DIY solutions work for any occasion and skill level—from the absolute beginner’s 5-minute fold-up to intricate layered designs—using supplies you likely already own.
Skip the generic store-bought options and create presentations that feel professionally designed. Each method we’ll cover uses basic craft materials but delivers results so polished, nobody will guess you made them at home. You’ll discover techniques that match your time constraints, with tips to avoid common pitfalls that turn beautiful cardstock into frustrating crumpled messes. By the end, you’ll have a repertoire of gift card holder designs ready for birthdays, holidays, or “just because” moments.
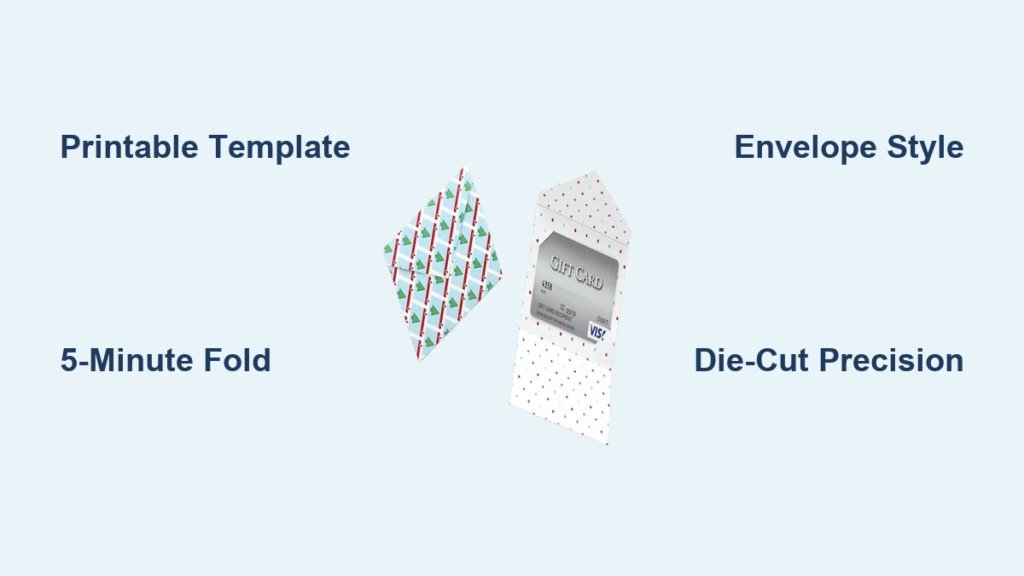
How to Make a Gift Card Holder with Printable Templates
This precision method delivers professional results without special tools. Printable templates eliminate guesswork while letting you customize paper choices and decorations for any occasion.
Materials and Setup
- Double-sided cardstock (65-110lb weight for sturdy structure)
- Home printer with cardstock capability
- Paper trimmer or sharp scissors
- Bone folder or empty ballpoint pen for scoring
- X-acto knife
- Mini glue dots or double-sided tape
Critical tip: Matte-finish cardstock holds decorations better than glossy. Print a test template on regular paper first to verify sizing—standard gift cards measure 3.375″×2.125″, so templates must accommodate this exact dimension.
Construction Steps
- Print precisely on the lighter pattern side of cardstock to ensure the design shows through clearly.
- Cut along dotted lines using a paper trimmer for straight edges; switch to scissors for curved flaps.
- Score firmly along solid lines with ruler and bone folder—press hard enough for crisp folds but avoid tearing.
- Create secure slots by cutting two small diagonal slits in the center with an X-acto knife.
- Fold and insert the gift card through the slits; the snug fit prevents sliding when inverted.
Pro move: Use the template’s excess paper scraps to cut 1″ decorative bands that wrap around the holder for instant elegance.
Make a Gift Card Holder in 5 Minutes: The Easiest Method
When time is critical, this KISS (Keep It Simple) technique creates three holders from one sheet of cardstock. Perfect for classroom valentines or bulk holiday gifting.
Quick Construction
- Cut one 8.5″×11″ cardstock sheet into three 2-3/4″×11″ strips.
- Score each strip every 3.5″ along the length, leaving a 1/2″ tab at the end.
- Form pockets by applying mini glue dots to tab corners and folding over.
- Add simple decor like washi tape stripes—avoid bulky elements that prevent folding.
You’ll get three functional holders in under five minutes with zero drying time. For holiday efficiency, prep 20+ bases during a TV commercial break and decorate them later with occasion-specific stickers.
Creative Variations
- Ornament transformation: Attach a ribbon loop to turn holders into Christmas tree decorations.
- Greeting card integration: Mount holders directly onto A2-sized cards for all-in-one gifts.
- Reusable design: Add mini velcro dots for closures that withstand multiple uses.
Envelope-Style Construction

Create sophisticated mini envelopes that feel like receiving a special letter. This method works beautifully for weddings or corporate gifts.
Template Approach
Use 5×5 or 6×6 paper squares for classic proportions that fit standard gift cards perfectly. Envelope punch boards ensure precise flap angles, while closures like wax seals or vintage stickers add heirloom quality. Pro tip: Test templates with your actual gift card first—some store-specific cards run slightly larger.
Professional Finishing
Layer a solid-color belly band over patterned envelopes for dimensional interest. Match interior paper to the gift card brand (e.g., Starbucks red for coffee cards) and add vellum overlays for subtle texture. Satin ribbons beat standard twine for luxury events.
Die-Cut Precision Method
For intricate shapes and flawless consistency, leverage die-cutting machines. This professional approach creates built-in slots and decorative edges in one step.
Machine Requirements
- Cricut, Silhouette, or manual die-cutting machine
- Pre-designed gift card holder dies
- Heavy cardstock (80lb minimum)
Why it wins: Dies automatically create the diagonal slits that hold cards securely—no manual cutting required. The machine’s pressure settings ensure clean folds that won’t tear during assembly.
Layering Techniques
Combine solid base layers with decorative overlays using negative space dies to reveal the gift card’s branding. For wedding favors, sandwich acetate between cardstock layers to showcase floral motifs.
Themed Design Collections

Christmas Creations
Use deep reds, forest greens, and metallic golds with snowflake punches. Attach mini jingle bells to closure bands or tuck cinnamon sticks behind ribbons for sensory appeal. Avoid bulky embellishments that prevent card insertion.
Birthday Celebrations
Opt for rainbow gradients or balloon motifs with confetti-patterned paper. Add scratch-off messages over the card slot for interactive fun. Milestone numbers (like “50”) cut from contrasting cardstock make age-specific designs pop.
Elegant Neutral Designs
Cream, navy, or monochromatic schemes shine with clean lines and single focal elements like a gold foil monogram. These versatile holders work for retirements, baby showers, or corporate bonuses—just swap satin ribbons for occasion-appropriate colors.
Fix Common Gift Card Holder Problems
Fit Solutions
- Card slides out: Shorten diagonal slits by 1/16″ using your X-acto knife.
- Won’t insert smoothly: Lengthen slits slightly or ensure they meet at the exact center point.
- Bends during insertion: Use sturdier 100lb cardstock—thin paper warps under pressure.
Aesthetic Fixes
- Pattern misalignment: Position cardstock in your printer’s manual feed tray with the design side down.
- Faded prints: Select “heavy paper” mode and let ink dry 10 minutes before handling.
- Color clashes: Stick to two dominant colors plus one metallic accent for cohesive looks.
Batch Production Tips
Efficient Assembly
Cut and score 20+ holders simultaneously by stacking cardstock (max 5 sheets at once). Store flat bases in labeled plastic bins by occasion—Christmas, birthdays, weddings—then decorate as events approach. Time-saver: Pre-cut decorative elements like bows or snowflakes during one sitting.
Professional Quality Secrets
- Replace X-acto blades after 10 cuts for razor-sharp edges.
- Burnish every fold with a bone folder—this creates hotel-menu crispness.
- Use paper trimmer stop guides for identical sizing across batches.
Maintain and Store Your Gift Card Holders
Pre-Made Holder Storage
Store completed holders flat in clear plastic containers with silica gel packets in humid climates. Never stack more than 10 high to prevent warping—separate layers with tissue paper.
Card Security Check
Always test holders with an actual gift card before gifting. The card should slide in smoothly but stay put when you shake the holder upside down. If it falls out, reinforce the slits with a tiny dot of glue.
Presentation Enhancement
Elevate your holder with matching gift tags cut from the same cardstock. Wrap the entire package in tissue paper secured with a sticker featuring the same motif as your holder. For weddings, tie holders with the couple’s ribbon color.
Transforming a generic gift card into a cherished keepsake takes less time than you think. Start with the 5-minute method for urgent needs, then master printable templates for special occasions. Your recipients will remember the thoughtfulness long after the card balance disappears—proving that sometimes, the holder truly is the gift. With these techniques, how to make a gift card holder becomes your secret weapon for meaningful gifting all year round.


