
You’ve got a beautiful candle but no holder, and you’re wondering how to burn candles without a holder safely. Many people mistakenly think all candles need containers or stands, but pillar candles are specifically engineered to burn directly on heat-resistant surfaces. Whether your holder broke unexpectedly or you prefer a minimalist aesthetic, knowing how to burn candles without a holder prevents fire hazards while maximizing your candle’s lifespan. This guide reveals professional techniques for safe holder-free burning that protect your surfaces and ensure even wax consumption—no special equipment required beyond what’s already in your kitchen.
Identify Proper Pillar Candle Specifications
Pillar candles represent your only safe option for holder-free burning. These cylindrical candles feature reinforced wax walls that maintain structural integrity without tipping. Unlike jar candles or tapers, pillar candles have flat bottoms designed for direct surface contact and wider bases for stability throughout their entire burn cycle.
Critical pillar candle characteristics to verify:
– Minimum 2-inch diameter to ensure stability
– Uniform thickness from top to bottom
– Flat, level bottom surface (no indentations)
– Consistent wax density without air pockets
Warning: Never attempt holder-free burning with taper candles, votives, or jar candles—they require containers to contain melted wax and prevent tipping hazards.
Perfect Your Candle Preparation Routine
Trim Wicks to Precise Measurements
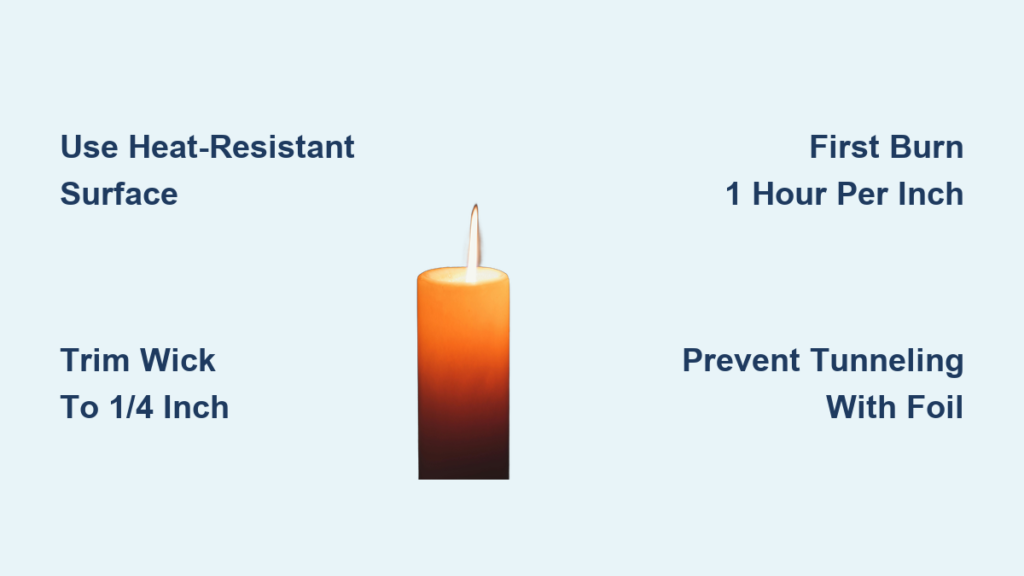
Before each lighting session, trim wicks to 1/8-1/4 inch using specialized tools. This critical step prevents excessive smoke, reduces soot buildup on your candle’s surface, and eliminates dangerous mushrooming where carbon accumulates at the wick tip.
Recommended trimming tools in order of effectiveness:
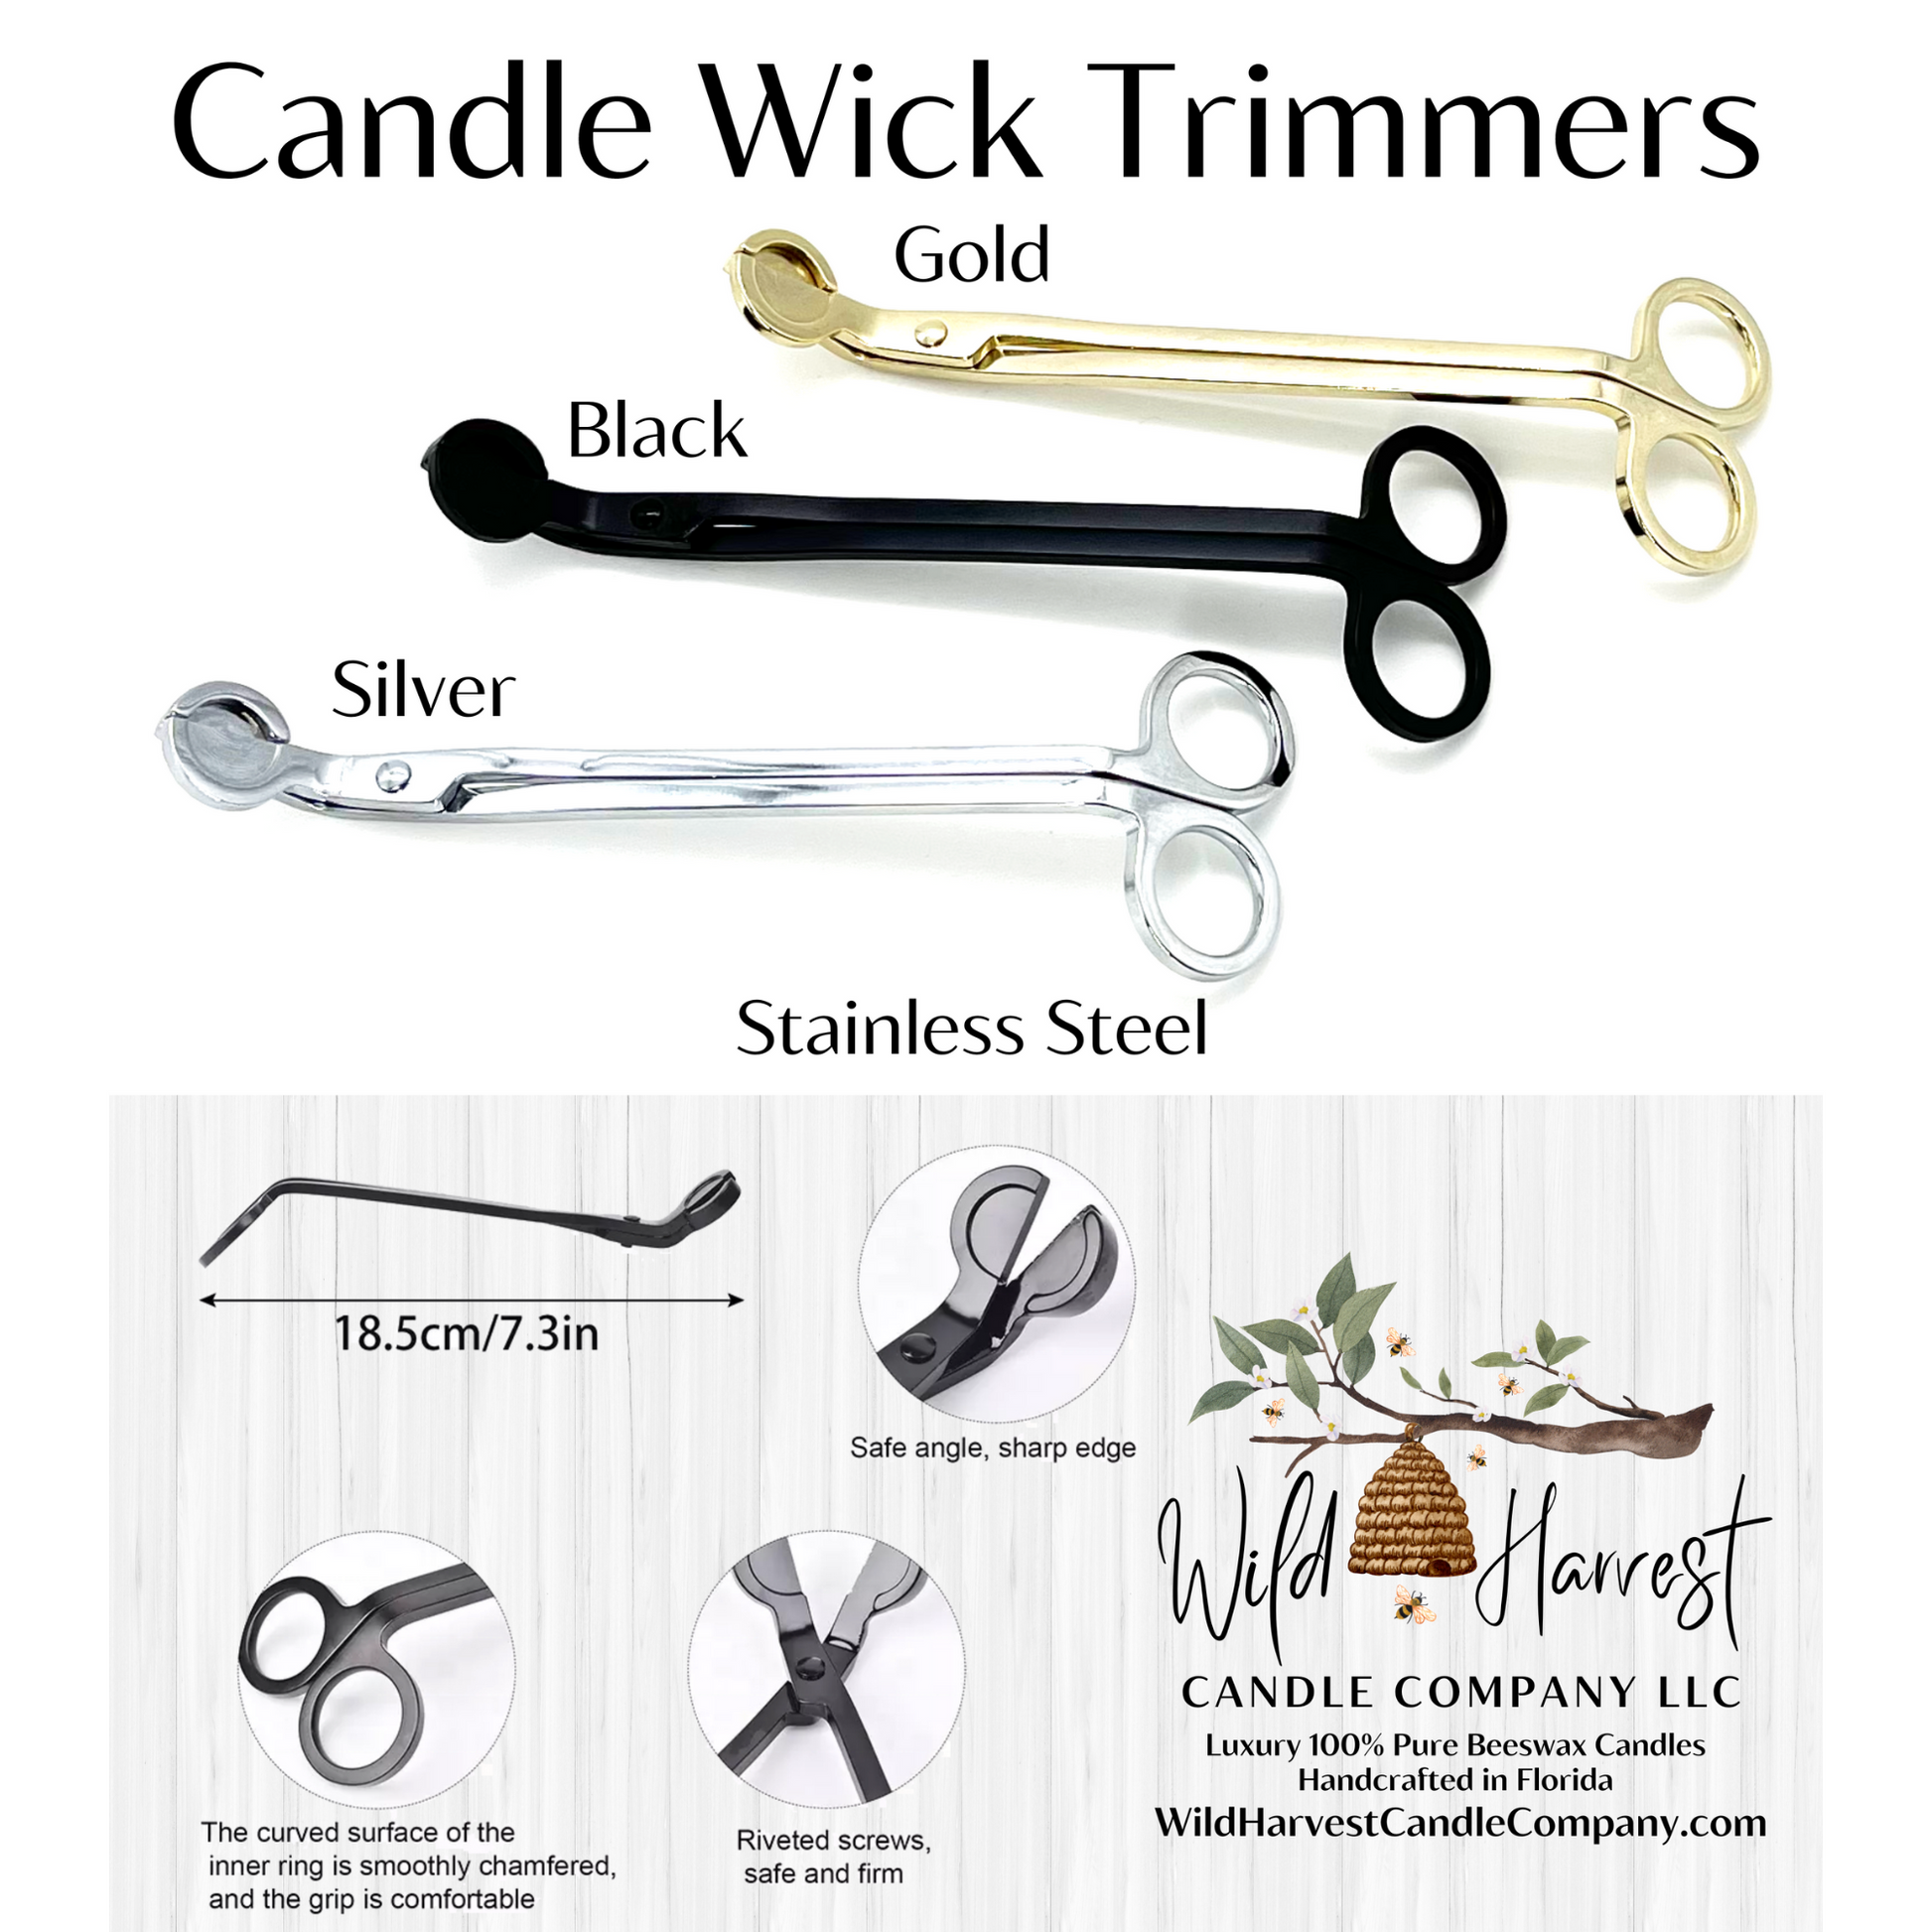
– Candle trimmers (designed to catch trimmed pieces)
– Sharp scissors (requires immediate cleanup of wick fragments)
– Nail clippers (less precise but portable option)
Pro tip: Trim wicks every time you relight—this simple action extends your candle’s life by 30-40% by ensuring proper oxygen flow and controlled flame height.
Execute the Critical First Burn
Candles develop “burn memory” during their initial lighting session. For pillar candles, burn one hour per inch of diameter—most standard 3-4 inch pillars require 3-4 hours for their first burn. Continue burning until the entire wax surface becomes liquid and reaches the edges.
First burn checklist:
– [ ] Wick trimmed to exact 1/4 inch length
– [ ] Candle placed on verified heat-resistant surface
– [ ] Timer set for diameter-matched duration
– [ ] Complete wax melt confirmed before extinguishing
Consequence alert: Incomplete first burns create tunneling—leaving 50% of your wax unusable and making future relighting extremely difficult. Never extinguish before the full top layer liquefies.
Correct and Prevent Tunneling Immediately
Aluminum Foil Tunneling Fix
When tunneling has already occurred, this emergency technique restores proper wax distribution:
- Light your candle normally
- Fold aluminum foil in half for durability
- Create a funnel shape around the candle top
- Leave 1½-2 inch opening at the top
- Burn for exactly 10 minutes
- Remove foil carefully with tongs
Critical safety reminder: Never leave foil-wrapped candles unattended. If wax approaches the rim or edges begin melting, extinguish immediately to prevent fire hazards.
Permanent Tunneling Prevention
The foil method provides temporary relief, but permanent prevention requires strict adherence to burn time rules. Always complete the full first burn duration, and never burn for less than 2 hours during subsequent uses. This maintains your candle’s memory pattern and ensures complete wax utilization.
Select and Protect Your Burning Surface

Heat-Resistant Surface Matrix
Tier 1 (Best options):
– Granite countertops
– Ceramic plates or trays
– Glass cutting boards
– Stainless steel baking sheets
– Natural stone coasters
Tier 2 (With protective barrier):
– Treated wooden tables
– Silicone heat mats
– Metal serving trays
– Marble surfaces
Pro tip: Place a dime under your candle—if it’s still cool after 30 minutes of burning, your surface is sufficiently heat-resistant.
Mandatory Surface Protection Protocol
When surface safety is questionable, always create a heat barrier using household items:
– Ceramic dinner plates (doubles as drip catcher)
– Glass cutting boards (heat-resistant and decorative)
– Metal baking sheets (indoor/outdoor versatility)
– Stone trivets (absorbs heat while looking elegant)
Absolutely Forbidden Surfaces
Never place burning candles on:
– Untreated wood (scorches within minutes)
– Plastic surfaces (melts and releases toxic fumes)
– Fabric or paper materials (instant fire hazard)
– Birch bark or coconut shells (decorative but highly flammable)
Clearance rule: Maintain at least 3 feet of vertical clearance above burning candles—smoke can stain ceilings even without direct flame contact.
Professional Wax Management Techniques
Post-Burn Edge Reinforcement
After extinguishing your candle:
- Wait 2-3 minutes for wax to cool slightly
- Test temperature with fingertip (should be warm but not burning)
- Gently cup softened wax edges inward
- Create a 1/8-inch lip to reinforce candle walls
Temperature test: If wax feels uncomfortably hot, wait another minute before proceeding. Never attempt this while wax is fully liquid.
Complete Wax Utilization Method
While wax remains warm after burning, push remaining wax toward the center using a butter knife or spoon handle. This merges isolated wax pools for complete future burning and prevents wasted edges that create uneven burn patterns.
Master Advanced Lighting Techniques
Standard Lighting Methods
For easily accessible wicks:
– Long matches (safe reach without finger burns)
– Grill lighters (extendable neck for controlled ignition)
– Regular lighters (for standard pillar heights)
Hard-to-Reach Wick Solutions
When wicks sink lower:
– Spaghetti noodle (slow-burning 8-inch reach)
– Twisted paper strip (roll tightly for controlled burn)
– Chopstick match holder (tape match securely to bamboo)
Pro tip: Dip wooden tools in water for 10 seconds before use—this reduces flammability while maintaining reach.
Non-Negotiable Safety Protocols
Mandatory Safety Rules
Never leave burning candles unattended—extinguish before answering doors, using restrooms, or checking phones. Position candles away from:
– Open windows (creates dangerous drafts)
– Air vents (causes wax spillage)
– Children and pets (curious hands and tails)
– Combustible materials (books, curtains, papers)
Retirement Threshold
Retire pillar candles at 1-1½ inch height. Shorter candles become unstable fire hazards as flames approach the surface below. At this point, your candle has delivered its maximum safe burn time.
Proper Extinguishing Methods
Best technique: Use a candle snuffer to eliminate smoke and prevent wax splatter. Alternative method: Hold your finger in front of the flame before blowing—this disperses your breath and contains wax spray.
Essential Equipment Checklist
Must-Have Safety Tools
- Wick trimmer (or sharp scissors)
- Heat-resistant base (plate, tray, or coaster)
- Candle snuffer
- Aluminum foil (for tunneling emergencies)
- Timer (dedicated kitchen timer preferred)
Value-Added Enhancements
- Long matches (fireplace matches work best)
- Silicone heat mat (extra surface protection)
- Decorative ceramic base (permanent solution)
Achieve Maximum Candle Performance
Following these protocols delivers manufacturer-stated burn times while preventing common disasters. Proper wick maintenance extends candle life by 30-40%, while strategic surface protection eliminates furniture damage. Most critically, these safety practices ensure you can enjoy candle ambiance without risking your home or wellbeing.
Key takeaway: Pillar candles are engineered for safe holder-free burning when you follow precise surface selection, wick maintenance, and burn timing protocols. The combination of correct preparation techniques and vigilant safety monitoring creates both beautiful and hazard-free candle experiences without any additional equipment. Always prioritize safety over convenience—your home and health depend on proper candle management.


