
Nothing transforms a room like the warm glow of handmade clay candle holders. When you learn how to make a clay candle holder, you gain complete creative control over textures, shapes, and colors while adding personalized warmth to any space. Whether you’re crafting geometric modern pieces for your coffee table or delicate nature-inspired holders for a romantic dinner, these functional art pieces become instant conversation starters. This guide cuts through the confusion to deliver actionable techniques that ensure professional results—no pottery wheel or kiln required. You’ll discover exactly how to select materials, avoid common pitfalls, and create stunning holders that safely cradle your favorite candles.
Select Your Ideal Clay Type for Candle Holders

Choosing between air dry and polymer clay makes or breaks your project. Each has distinct advantages depending on your skill level, tools, and desired outcome. Understanding these differences prevents wasted materials and frustration.
Why Air Dry Clay Works Best for Beginners
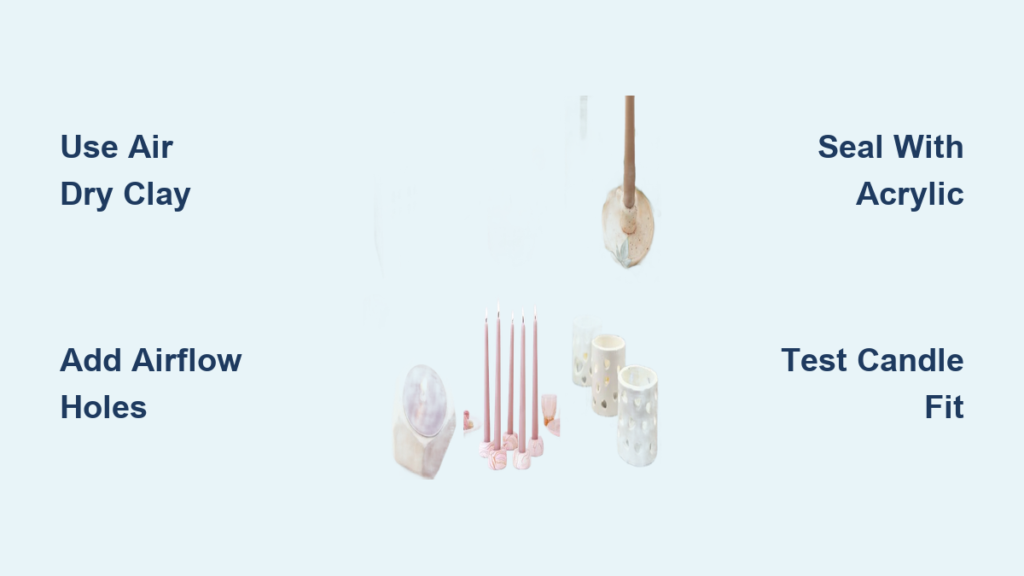
Air dry clay—like Das (available in white, terracotta, or stone effect) or Crayola Air Dry Clay—combines paper fibers and glue to harden naturally without baking. Roll it to a consistent 1/4-inch thickness for structural integrity, then let it dry 24-48 hours away from direct heat or sunlight. Once cured, acrylic paints adhere beautifully, and a clear acrylic sealer adds crucial water resistance. Pro tip: Keep a bowl of water nearby to smooth surfaces, and store unused clay in airtight containers—it stays workable for future projects. Avoid this type for outdoor holders since unsealed pieces won’t withstand moisture.
Polymer Clay for Durable, Waterproof Holders
When how to make a clay candle holder demands serious durability, polymer clay delivers. This PVC-based material bakes solid in a standard oven (typically 15-30 minutes at 275°F), becoming waterproof and chip-resistant. Brands like Sculpey offer vibrant colors that hold intricate details—perfect for embedding beads or creating complex textures. Critical safety note: Always follow manufacturer baking instructions and use a dedicated baking sheet lined with parchment paper. While pricier and sold in smaller quantities than air dry clay, polymer creations withstand years of candle use without cracking.
Must-Have Tools Checklist
Gather these supplies before starting:
– Rolling pin or smooth glass bottle for even thickness
– Sharp craft knife and sculpting tools for precise cuts
– Large cookie cutters (2.5+ inches) for tea light openings
– Acrylic paints and sealant for finishing
– Parchment paper to prevent sticking
– Bowl of water (air dry clay only)
– Toothpicks for airflow holes and detailing
Design Holder Styles That Match Your Aesthetic

Your design choices determine whether the holder complements modern minimalism or rustic charm. Focus on structural integrity first—thin walls crack, while unstable bases tip over when candles burn.
Simple Geometric Forms for Instant Impact
Angular modern holders with crisp edges suit contemporary spaces, while rounded organic shapes create soothing curves for bohemian decor. For foolproof results, build tapered designs that flare outward—this prevents tea lights from wobbling. U-shaped minimalist holders work beautifully with electric candles but require thicker bases (at least 1/2 inch) to counterbalance the open top. Start with these beginner-friendly silhouettes before attempting complex builds.
Nature-Inspired Textures That Tell a Story
Press fresh leaves or flowers into soft clay for instant botanical elegance. Marbled effects emerge when you swirl two polymer clay colors without fully blending—ideal for waterlily designs. For ceramic-like texture, mix coffee grounds into air dry clay before rolling. Avoid this mistake: Overhandling delicate imprints. Press objects firmly once, then lift straight up to preserve fine veins in leaves.
Build a Basic Tea Light Holder in Under 30 Minutes
This air dry clay method works for first-time crafters and yields a sturdy holder ready for painting in two days.
Air Dry Clay Construction Steps
- Roll and cut: Flatten clay to 1/4-inch thickness on parchment paper using a rolling pin.
- Form the base: Press a 3-inch disc firmly onto your workspace—this prevents warping.
- Create the well: Use a rounded spoon handle to carve a 1.5-inch diameter indentation for tea lights.
- Shape walls: Pinch clay upward to 1-inch height, keeping walls even to avoid weak spots.
- Add airflow holes: Poke 3-4 toothpick holes in the base for oxygen flow (critical for safe burning).
- Dry properly: Place holder on a mesh rack for 48 hours, turning once to ensure even drying.
Warning: Never skip the airflow holes—trapped heat can crack clay or overheat candles.
Cylindrical Mold Technique for Taller Holders
Wrap 1/4-inch-thick clay around a glass or tin can, overlapping edges by 1/2 inch. Smooth seams with water-dipped fingers, then slide the mold out. Trim tops evenly with a craft knife before adding texture. This method creates dramatic 3-4 inch holders perfect for pillar candles—just ensure the base is 20% wider than the top for stability.
Master Polymer Clay Techniques for Professional Results
Polymer clay unlocks complex designs but demands precise baking. Under-cured pieces remain fragile; over-baked clay emits fumes.
Geometric Construction Without Cracks
Condition clay by kneading until pliable, then cut identical triangles or hexagons with sharp tools. Assemble pieces like a puzzle, blending seams with translucent liquid clay. Key tip: Bake on a ceramic tile—it distributes heat evenly. After cooling completely, sand rough edges with 400-grit paper before painting.
Marbled Effects That Never Look Messy
Roll equal portions of two colors (like terracotta and ivory) into snakes. Twist them together 3-4 times—stop before colors fully mix—then roll into a ball. Flatten gently to preserve the marble pattern. This technique creates unique, stone-like holders where no two pieces match.
Customize Sizes for Every Candle Type

Tea lights need shallow wells; taper candles require deeper, narrower holders. Test-fit before final drying.
Scale Designs for Stability
- Tea lights: Minimum 1.5-inch well depth with 1/2-inch base thickness
- Taper candles: 3-inch height with 2-inch diameter base (wider than standard holders)
- Graduated sets: Create three holders with 0.5-inch height increments for visual rhythm
Pro shortcut: Trace your actual candle bottom onto clay before cutting—this guarantees perfect fit.
Personalize with Meaningful Details
Press monograms using straws to make dotted “O” shapes, or imprint seasonal motifs: cedar branches for Christmas, hearts for Valentine’s Day. Critical safety step: Keep decorative elements away from the inner well—nothing should protrude into the candle space.
Finish Holders for Long-Lasting Beauty
Painting and sealing make the difference between craft-fair rejects and heirloom pieces.
Paint and Seal Like a Pro
Apply acrylic paint in thin layers, waiting 2 hours between coats. For waterproofing, use two coats of clear acrylic sealer—especially on air dry clay holders near candles. Never skip sealing: Unprotected pieces absorb wax stains and weaken over time. Polymer clay holders skip sealing if baked correctly, but a matte varnish deepens colors.
Safety Checks Before First Use
- Place holder on a flat surface—does it wobble? Sand the base if uneven.
- Insert candle: Is the well 1/8 inch wider than the candle? Adjust if needed.
- Add cork pads to the bottom to prevent surface scratches.
Never place open flames directly on raw clay—always use metal tea light cups.
Fix Common Problems Before They Ruin Your Work
Cracks and warping happen, but these fixes save hours of effort.
Stop Cracking During Drying
Cracks occur when clay dries unevenly. Solution: Maintain consistent 1/4-inch thickness and cover pieces with plastic wrap overnight if your workspace is dry. If cracks appear, fill them with clay slurry (clay + water paste) before final drying.
Rescue Overly Dry Clay
When clay stiffens mid-project, mist lightly with water and knead gently. Never soak it—this causes bubbles. For polymer clay, condition with baby oil if it becomes crumbly.
Create Gift-Worthy Holders in Hours
Handmade holders make memorable presents when you tailor them to the recipient.
Seasonal Gift Sets That Impress
Bundle three graduated holders in autumn colors with pressed maple leaves. Package with soy candles and handwritten care instructions. Pro tip: Use matching paint colors for the holders and gift tags—this creates cohesive presentation.
Market-Ready Designs That Sell
Develop a signature style like coral-textured holders with gold-leaf accents. Price at 3x material cost (e.g., $12 for $4 clay) and offer custom colors. At craft fairs, display holders with lit candles—shoppers buy what they see glowing.
Care for Your Clay Candle Holders Long-Term
Proper maintenance keeps holders looking fresh for years.
Wipe spills immediately with a damp cloth—never soak air dry clay pieces. Store unused holders in padded boxes to prevent chips. Rotate seasonal designs quarterly to refresh your decor without buying new pieces. Most importantly, replace holders showing deep cracks or heat discoloration near the candle well.
Your journey to mastering how to make a clay candle holder ends with functional art that elevates any space. By selecting the right clay, prioritizing safety features like airflow holes, and sealing properly, you create pieces that blend beauty with reliability. Start with a simple geometric air dry clay holder this weekend—within 48 hours, you’ll have a handmade treasure that casts the perfect glow. As you gain confidence, experiment with marbled polymer clay or nature imprints to develop your signature style. Every holder you craft carries the warmth of your creativity, turning ordinary candles into extraordinary moments.


