
Nothing transforms a room faster than the warm glow of candlelight dancing through handcrafted wooden holders. Whether you’re crafting a rustic centerpiece for your farmhouse table or designing sleek modern accents for a minimalist apartment, wooden candle holder ideas unlock endless creative potential. These versatile pieces blend natural beauty with functional artistry, turning simple materials into statement decor that evolves with your space.
From beginner-friendly block designs to intricate lathe-turned masterpieces, wooden candle holders adapt to any skill level or aesthetic. You’ll discover how to select the perfect wood type for your vision, avoid common construction pitfalls, and style holders for year-round impact. Most importantly, we’ll focus on safety-tested techniques that let you enjoy flickering flames without worry.
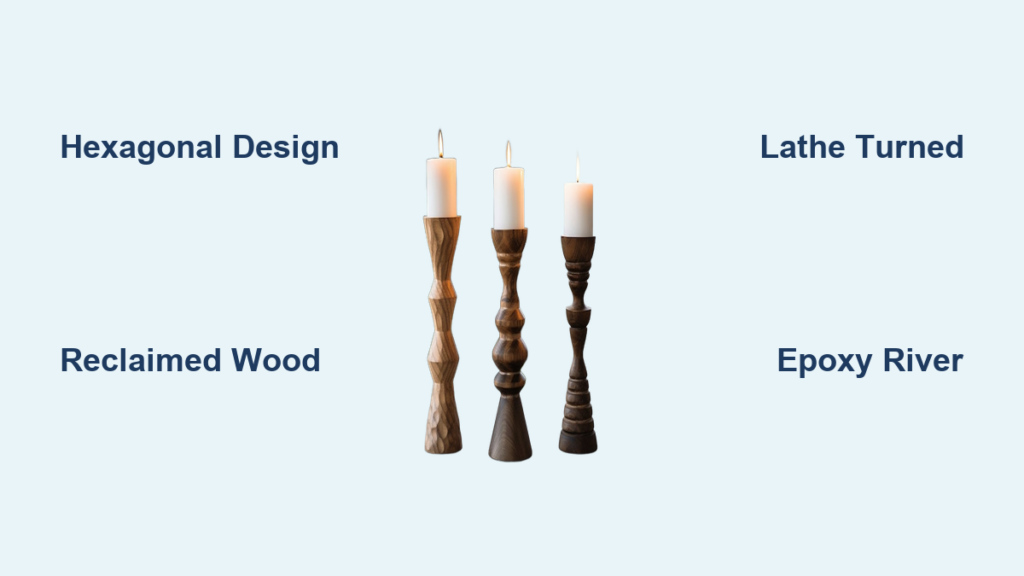
Hexagonal Geometric Candle Holders That Command Attention
Create instant modern drama by transforming basic 2×4 boards into precision hexagonal towers. Set your miter saw to 30-degree angles, cut six identical pieces, then glue them into a seamless ring. Drill a 7/8-inch center hole using a paddle bit for standard taper candles—the geometric edges cast captivating shadow patterns as flames dance.
Pro tip: Achieve Scandinavian softness by lightly rounding sharp edges with 220-grit sandpaper, or maintain crisp lines for industrial appeal. For cohesive groupings, build three holders in graduated heights (3″, 5″, and 7″) using maple for light tones or walnut for dramatic contrast. Always drill holes to exactly 3/4-inch depth to prevent candle instability.
Reclaimed Barn Wood Holders with Authentic Character
Turn weathered barn wood into conversation-starting centerpieces that tell a story through natural patina. Cut salvaged planks to 12-inch lengths, preserving nail holes and saw marks as intentional imperfections. Lightly sand surfaces to remove splinters while maintaining texture, then drill three 1.5-inch tea light holes spaced 2.5 inches apart.
Critical safety check: Ensure wood is completely dry and free from metal fragments before drilling—run a magnet over surfaces to catch hidden staples. Source materials responsibly through local salvage yards or demolition contractors, avoiding wood treated with creosote. These holders require no finish; their natural aging process enhances beauty over time.
Lathe-Turned Candlesticks for Timeless Elegance
Produce heirloom-quality candlesticks using maple or cherry blanks on a wood lathe. Mount 3x3x12-inch blocks between centers, shaping classic trumpet profiles with spindle gouges. Drill precise 7/8-inch holes to 3/4-inch depth for taper candles, then sand through grits up to 400 for glass-smooth surfaces.
Skill-building shortcut: Start with simple cylindrical forms before attempting intricate bead-and-cove detailing. Finish with Danish oil to highlight cherry’s natural red undertones or tung oil for walnut’s luxurious depth. Always verify hole diameter matches candle size—ill-fitting candles wobble dangerously when lit.
Spalted Wood Holders Showcasing Nature’s Artistry
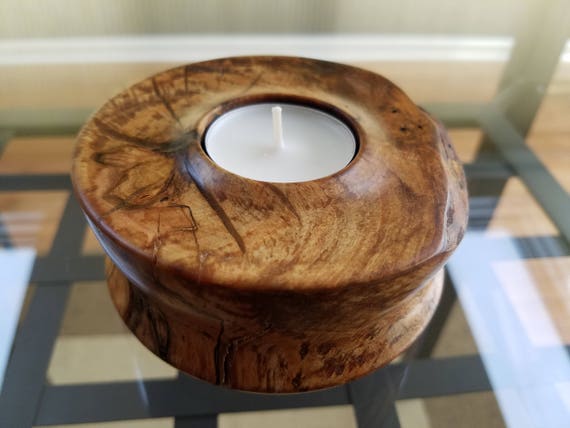
Highlight fungi-created masterpieces by crafting holders from spalted maple or birch. These woods feature striking black veining against creamy backgrounds, creating organic abstract art. Cut 2-inch thick slabs, stabilizing soft areas with clear epoxy before drilling candle holes.
Preservation technique: Seal all surfaces with two epoxy coats, sanding between layers for a flawlessly smooth finish. The resin not only protects but enhances the wood’s natural patterns. Avoid using spalted wood for thin-walled holders—its compromised structure requires substantial thickness for safety.
Pallet Wood Multi-Height Centerpieces
Build affordable, eco-friendly centerpieces from disassembled pallets in under two hours. Remove nails carefully using a pry bar, then cut 2×6 segments into 8-inch lengths. Sand surfaces smooth, drill 7/8-inch holes centered 1.5 inches from edges, and arrange pieces in staggered heights (3″, 5″, 7″).
Material hack: Mix wood tones from different pallet sections for visual interest—some planks will naturally weather darker. Apply a single coat of clear polyurethane to unify the finish while preserving rustic texture. Never skip this step: Unfinished pallet wood can impart unpleasant odors to burning candles.
Epoxy River Table Style Holders
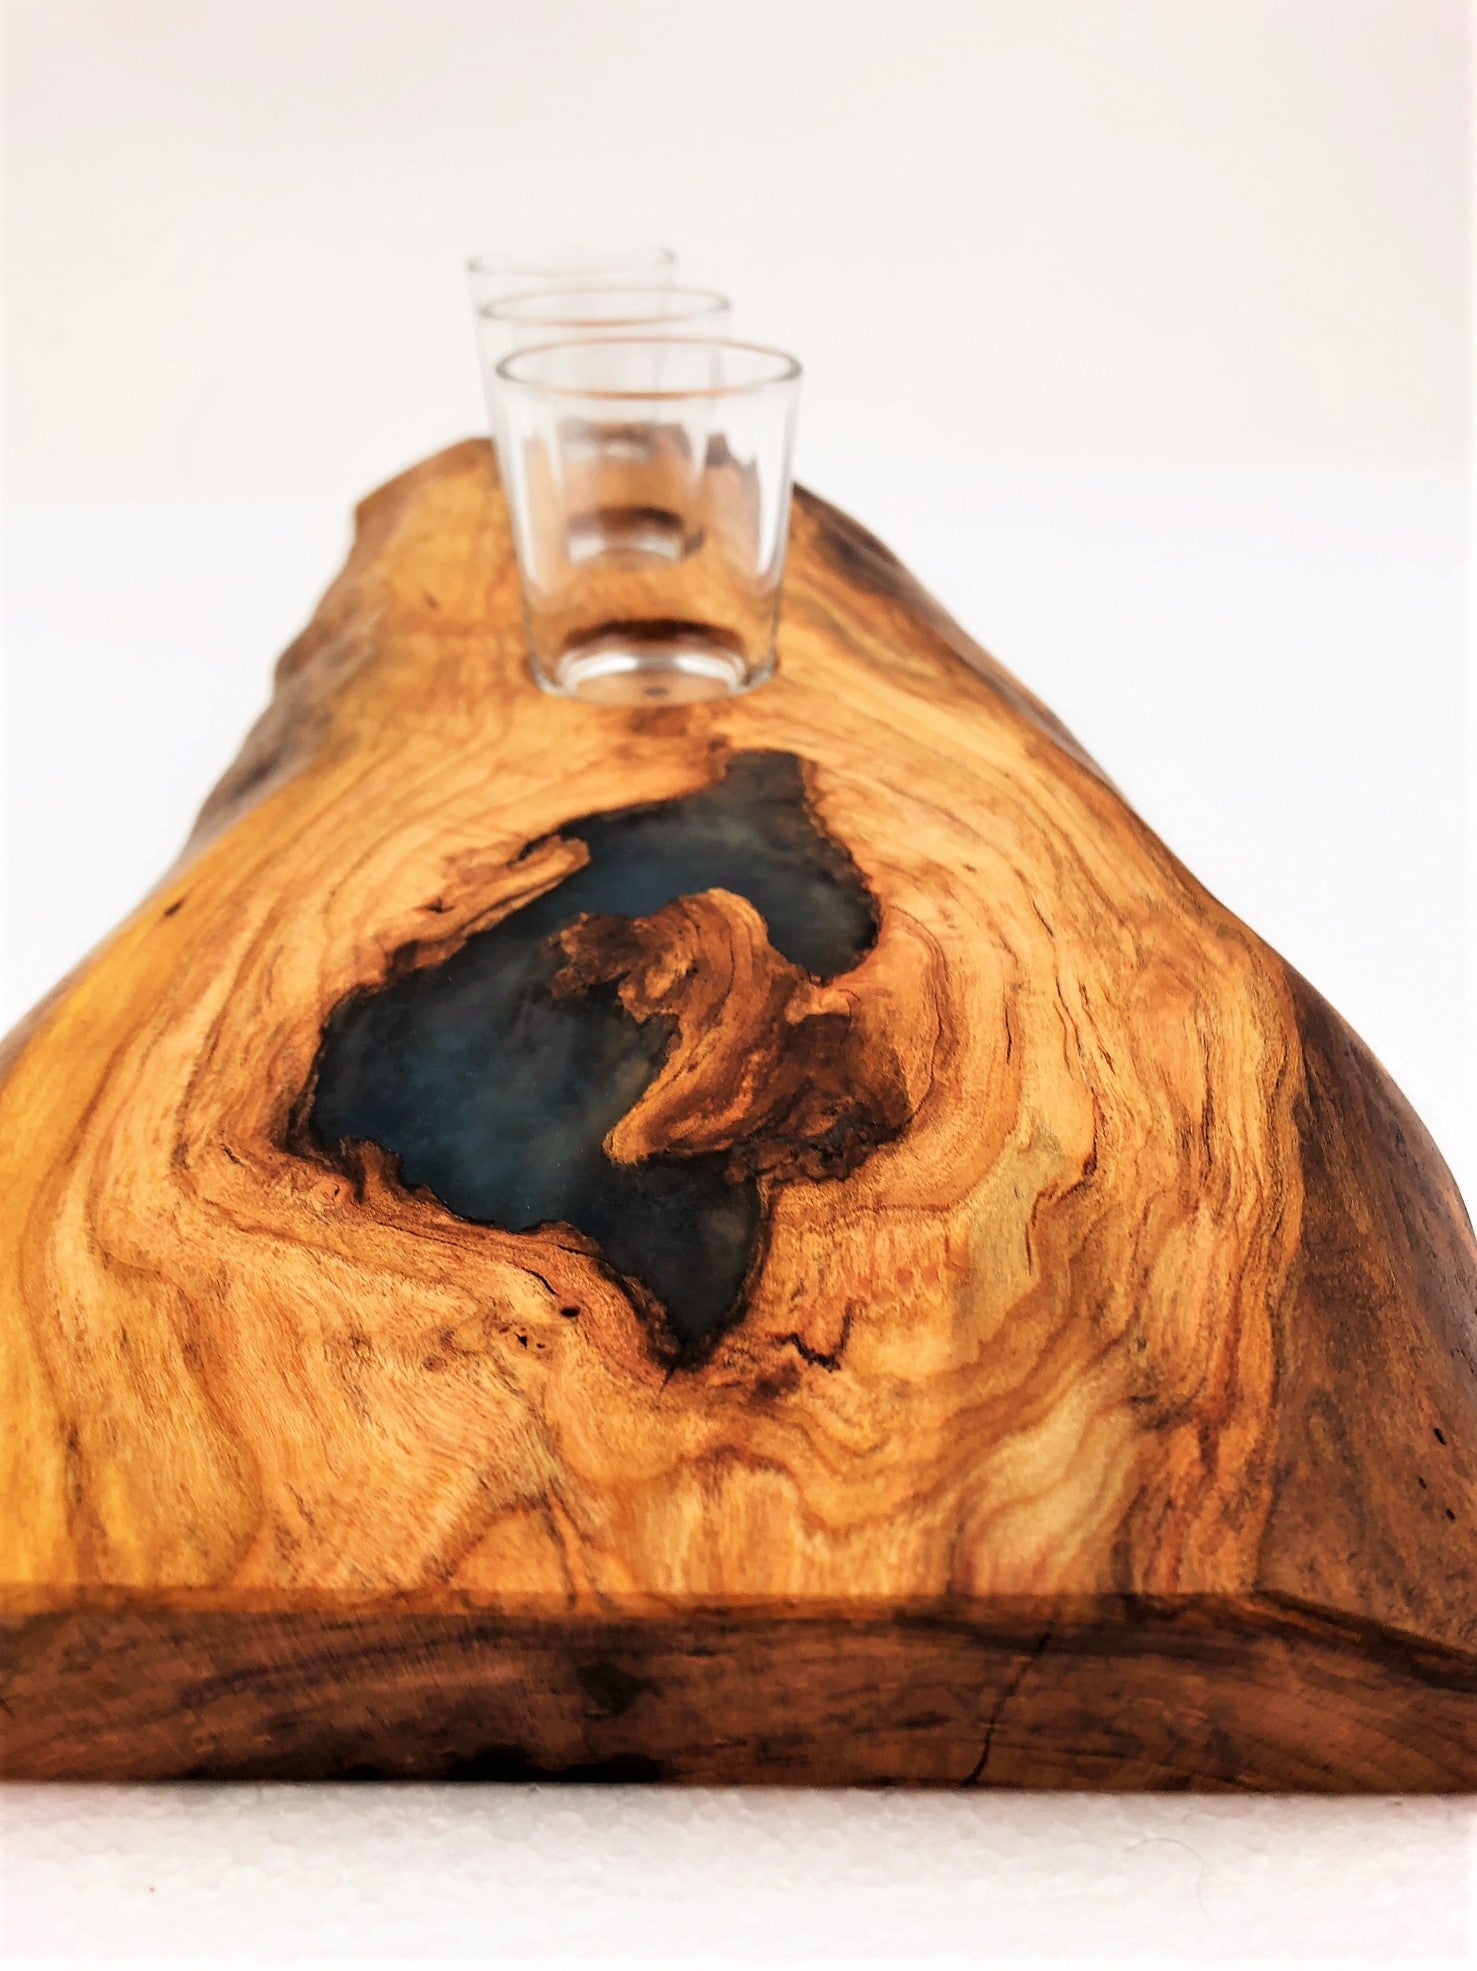
Merge wood and resin for showstopping “river” holders that mimic flowing water. Split walnut or maple slabs lengthwise, creating a natural channel between pieces. Pour blue or amber-tinted epoxy into the gap, allowing 48 hours for full cure before sanding flush.
Professional trick: Embed dried botanicals like lavender sprigs along the river’s edge before pouring resin. Drill candle holes only in solid wood sections—never through epoxy channels. These require extra care during cleaning; wipe spills immediately with a damp cloth to prevent resin clouding.
Triple Tea Light Holders for Effortless Groupings
Craft versatile triangle-shaped holders that work as bathroom accents or coffee table clusters. Cut equilateral triangles from 2×4 blocks (6-inch sides), sand all edges smooth, then drill three 1.5-inch tea light holes at each corner.
Styling secret: Group three identical triangles in a larger triangular formation for visual harmony. For outdoor use, choose eastern red cedar—it naturally repels insects while emitting a subtle spicy aroma. Always place these on heat-resistant surfaces; tea lights generate intense localized heat.
Metallic-Finished Holders for Instant Holiday Glamour
Transform basic geometric holders into Christmas showpieces with metallic spray paint. Use painter’s tape to create clean color-blocked sections on hexagonal or cube designs, then apply gold, silver, or copper spray paint in thin, even coats.
Pro customization: Wrap bases with matching metallic ribbon or attach miniature ornaments using hot glue. Critical safety note: Only use battery-operated LED candles with painted holders—heat from real flames can cause paint to blister and release fumes. These make ideal reusable wedding favors when finished with satin ribbon.
Wood-Burned Monogram Holders for Personalized Gifts
Add custom details to maple blocks using pyrography tools. Practice lettering on scrap wood first, then burn names, dates, or floral motifs into 4×4-inch candle holder bases. Drill a centered 7/8-inch hole for taper candles before burning.
Beginner tip: Trace designs with pencil first, then go over lines with the wood burner at medium heat. Seal finished pieces with food-safe mineral oil—never use finishes containing petroleum distillates near open flames. These make meaningful housewarming or anniversary gifts when personalized.
Cedar Spa Holders for Aromatic Bath Ambiance
Create naturally scented bathroom accents using eastern red cedar’s insect-repelling properties. Cut 3-inch thick discs from cedar rounds, sanding only the top surface while leaving bark edges intact. Drill a single 2-inch hole for pillar candles.
Functional advantage: Cedar’s natural oils intensify when warmed by candle heat, filling bathrooms with a clean, woodsy aroma. Place these holders on stone or ceramic surfaces only—cedar’s softness makes it prone to scratches on wood tables. Clean wax spills with a credit card edge, never sharp tools.
Danish Modern Teak Holders for Mid-Century Appeal
Channel 1950s elegance with tapered teak designs featuring clean lines and warm undertones. Cut 3x3x10-inch blanks, shaping subtle hourglass profiles on a lathe or with hand planes. Finish with Danish oil to enhance teak’s golden glow without obscuring grain.
Styling synergy: Pair these with brass candlesticks and geometric table runners for authentic mid-century displays. Avoid staining teak—it contains natural oils that resist absorption. These holders develop a richer patina with each use, becoming more beautiful over decades.
Graduated Height Sets for Sculptural Impact
Build cohesive collections by creating five holders in ascending heights (3″, 5″, 7″, 9″, 11″). Use identical wood types and finishes for visual harmony, drilling appropriately sized holes for your chosen candles.
Display rule: Arrange in odd-numbered groupings (3 or 5) with tallest pieces at ends for balanced composition. On mantels, flank the set with seasonal elements like pinecones or dried flowers. Never place taller holders near curtains—maintain 12 inches of clearance from all flammables.
Key Takeaway: Your perfect wooden candle holder emerges from matching wood characteristics to your skill level and décor vision. Start with beginner-friendly pallet wood blocks before advancing to epoxy integrations or lathe work. Always prioritize heat-resistant finishes and exact candle sizing—safety transforms beautiful creations into worry-free heirlooms. For immediate inspiration, gather scrap wood this weekend to craft your first tea light holder; in under two hours, you’ll have a personalized piece ready to illuminate your space.


