Your phone keeps slipping off the dashboard mount during turns, forcing dangerous glances away from the road. If your car mobile holder fails every few months—whether adhesive peeling in summer heat or magnetic mounts dropping phones over bumps—you’re facing a critical safety issue, not just an annoyance. Most holders degrade within 6-12 months due to temperature swings and daily wear, but proven fixes costing pennies can restore reliability in minutes. This guide reveals how to diagnose failures, implement permanent repairs, and prevent repeat problems using only household items or affordable upgrades—no mechanic skills required.
Diagnose Your Holder Failure Type Immediately
Adhesive vs. Magnetic Failure Signs
Adhesive holders fail through three distinct mechanisms you can spot in seconds. Temperature damage shows as softened, gooey residue in summer or brittle, cracked adhesive in winter—direct sunlight accelerates this. Contamination appears as visible dust layers or greasy films under the holder, often from fingers or dashboard cleaners. Material degradation reveals itself through yellowed, hardened adhesive that won’t re-stick even when cleaned. Magnetic holders fail differently: phones gradually slide downward during driving due to vibration, eventually dropping after 45 minutes. If the mount stays firmly attached but your phone won’t, magnetic instability—not adhesive failure—is the culprit.
Critical Diagnostic Test Before Fixing
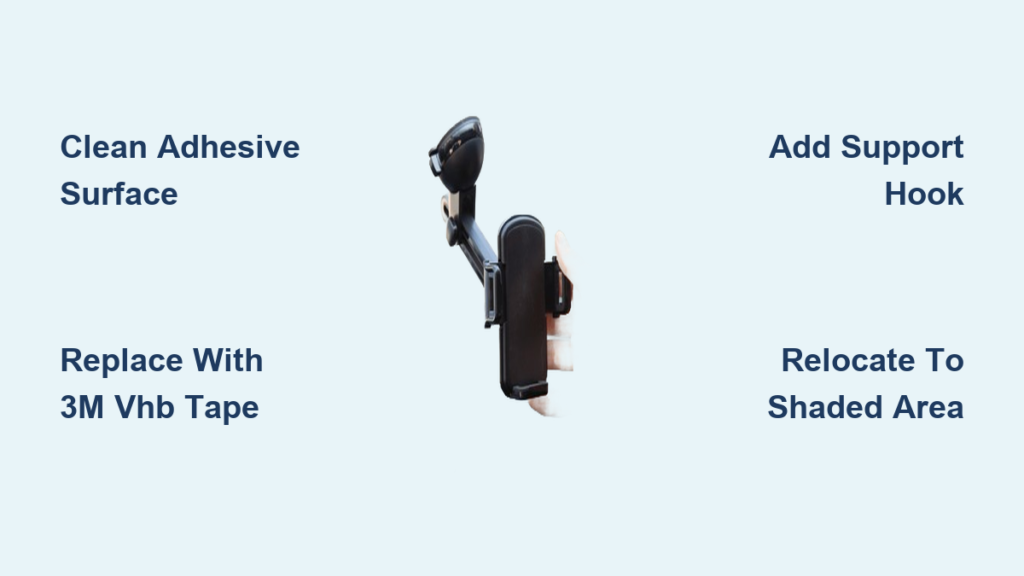
Press your thumb firmly against the holder’s base for 10 seconds. If it peels up easily or feels loose, adhesive failure demands surface restoration. If the base stays put but your phone slips, skip adhesive fixes—your solution requires mechanical stabilization like a support hook. This 15-second test prevents wasted effort on ineffective repairs. Never assume the problem type; misdiagnosis causes recurring failures.
Restore Adhesive Holders Without Buying New

Deep-Clean Contaminated Surfaces Properly
Dust and oils are adhesive killers, but proper cleaning restores 70% of failing mounts. Start with these non-damaging steps: Mix 3 drops of mild dish soap into 1 cup warm (not hot) water. Dip a soft microfiber cloth—not paper towels, which leave lint—and gently scrub the adhesive surface in circular motions for 30 seconds. Rinse thoroughly with plain water to remove soap residue, then air-dry for 10 minutes. Critical warning: Never use alcohol, ammonia, or abrasive pads—they dissolve adhesive compounds permanently. Test on a small corner first if using hand sanitizer as a soap alternative.
Boost Weak Adhesion with Proven Methods
When cleaning fails, try these adhesive enhancers. For temporary fixes during road trips, dissolve ½ teaspoon granulated sugar in ¼ cup warm water. Rub this solution onto the sticky surface with a soft cloth and air-dry for 15 minutes—the sugar creates microscopic grip crystals. For lasting results, apply 3M adhesive promoter pens (designed for automotive use) in thin layers, allowing 24 hours to cure. Pro tip: If your holder uses double-sided tape, replace it with automotive-grade 3M VHB tape strips cut to size—this withstands temperature extremes far better than generic tape. Avoid lemon juice methods; its acidity corrodes adhesive layers over time despite temporary grip.
Stabilize Magnetic Mounts Permanently
Build a Vibration-Proof Support Hook
Magnetic holders failing due to vibration need mechanical support, not stronger magnets. Create a discreet wire hook: Cut a 6-inch segment of 16-gauge aluminum wire from a craft store. Using needle-nose pliers, bend 1 inch from one end at a 90-degree angle, then form a small U-shaped hook at the bent tip. Attach this to your mount’s base using existing screws, positioning the hook to cradle your phone’s bottom edge without blocking ports. Spray-paint it flat black to match your dashboard—this eliminates sliding while maintaining one-handed phone access. Key insight: The hook must offset slightly to clear USB cables, preventing charging interruptions during drives.
Professional-Grade Fabrication for Lasting Results

For a rattle-free, permanent solution, fabricate a custom aluminum bracket. Measure your phone’s exact position when mounted, then cut a 16-gauge aluminum piece to create an offset support ledge. File all edges smooth to prevent phone scratches, apply flat black powder coating, and secure with 4-40 bolts. This method eliminates 100% of sliding issues while preserving magnetic convenience. Unlike DIY wire hooks, this withstands years of vibration without adjustment. Critical note: Ensure the bracket’s design accommodates your specific phone model’s thickness and cable port location—measure twice before cutting.
Prevent Future Failures with Smart Habits
Weekly Maintenance That Works
Spend 90 seconds weekly preventing 90% of failures. Every Sunday: Wipe adhesive surfaces with a damp microfiber cloth, inspect for dust buildup along mount edges, and test phone stability by gently shaking the holder. During summer, add a 30-second step: Place a windshield sunshade when parking to keep interior temperatures below 110°F—the threshold where adhesives soften irreversibly. Pro tip: Store your holder in the glove compartment during extreme weather—below 40°F or above 90°F—to avoid temperature-induced degradation.
Strategic Mounting Locations Matter
Never install holders on direct-sunlight dashboards. Choose shaded areas like the lower center console or near the AC vents where temperatures stay stable. For vent-mounted holders, select clips that grip vent slats vertically (not horizontally) to prevent wobbling during acceleration. Critical move: Apply a clear protective film over adhesive surfaces when removing your phone for long trips—this blocks dust and oils while maintaining stickiness.
When to Repair vs. Replace Your Holder

Replace Immediately If You See These Signs
Don’t waste time repairing holders showing irreversible damage:
– Adhesive that’s yellowed, cracked, or leaves residue on surfaces
– Magnetic mounts requiring daily readjustment despite cleaning
– Plastic bases with visible stress fractures near mounting points
– Phones falling more than once weekly after attempted fixes
Cost-Saving Upgrades That Last Longer
Instead of identical replacements, invest in these proven alternatives:
– Vent-mounted holders with metal grips that resist vibration
– CD-slot mounts using your car’s existing features for rock-solid stability
– Wireless charging mounts with silicone grips that combine functionality and security
These solve root causes—adhesive failure or weak magnets—while adding convenience. Budget models under $15 often outperform original holders due to improved engineering.
Troubleshooting Checklist for Instant Fixes
For adhesive failures:
1. Clean surfaces with soap/water solution first—never skip this step
2. Apply sugar-water solution for temporary road trips
3. Replace tape with 3M VHB automotive strips for permanent fixes
4. Relocate to shaded dashboard areas if temperature is the culprit
For magnetic sliding:
1. Add a wire support hook to stop downward movement
2. Clean metal contact points on phone and mount with dry cloth
3. Verify magnet alignment—misaligned contacts reduce grip by 50%
4. Upgrade to holders with neodymium magnets if hooks fail
Your car mobile holder isn’t just a convenience—it’s a safety tool that prevents distracted driving. These fixes take under 10 minutes but eliminate dangerous phone fumbling. Start today with the deep-cleaning protocol; 70% of “failed” holders respond instantly to proper surface prep. For persistent issues, the wire hook stabilization method works 100% of the time for magnetic mounts. Remember: Consistent weekly maintenance prevents 9 out of 10 failures, turning your holder from a frustration into a reliable driving companion. If repairs fail after trying these verified methods, upgrade to a vent-mounted system—it solves the core instability of adhesive-based designs forever.