
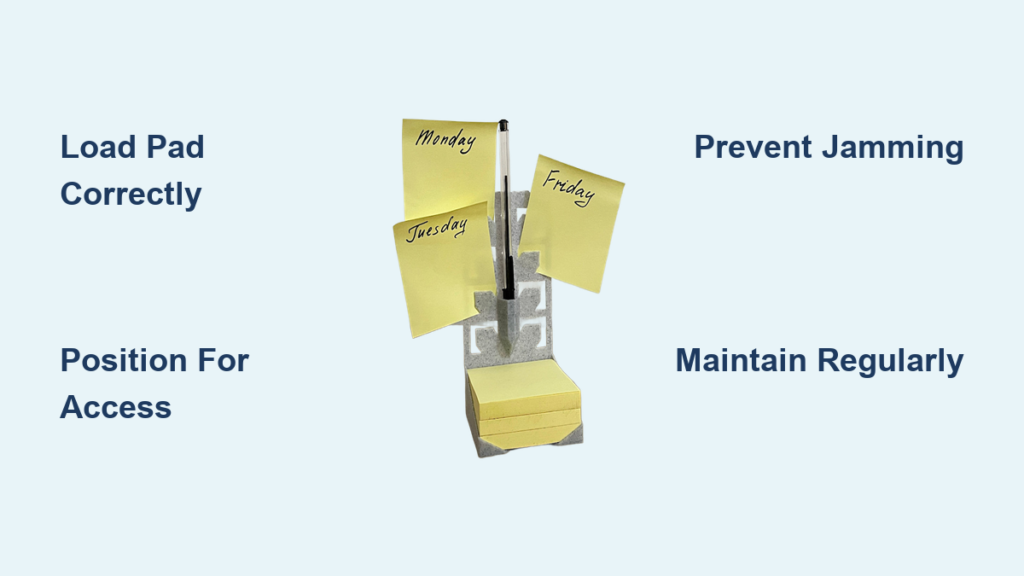
A Post-it holder sitting empty on your desk is like having a smartphone with a dead battery—technically present, completely useless. Whether you’ve invested in a sleek commercial dispenser or spent Sunday afternoon crafting a handmade version, knowing the proper techniques transforms this simple tool into your productivity command center. You’ll discover exactly how to load, position, and maintain both commercial pop-up dispensers and handmade holders. Plus, pro tips for keeping notes flowing smoothly and preventing the dreaded “stuck pad” syndrome that plagues frustrated users everywhere.
Load Commercial Pop-up Dispenser Correctly
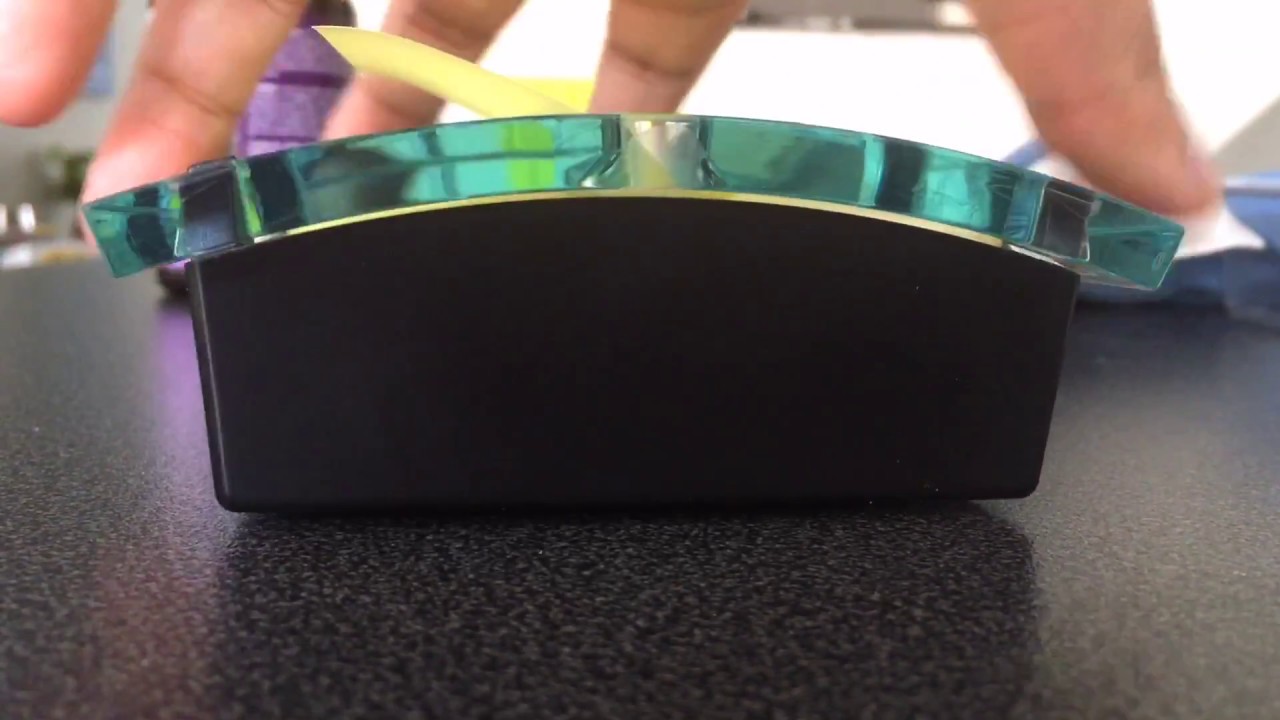
Remove Empty Pad Safely
Grip the dispenser base firmly with your non-dominant hand. Slide your thumb between the pad and dispenser wall, applying gentle upward pressure. The empty cardboard backing should lift free without resistance. If stuck, wiggle gently—force risks damaging the spring mechanism. Never pull notes from the side, as this misaligns the adhesive strip and causes future jamming.
Prepare New Post-it Pad
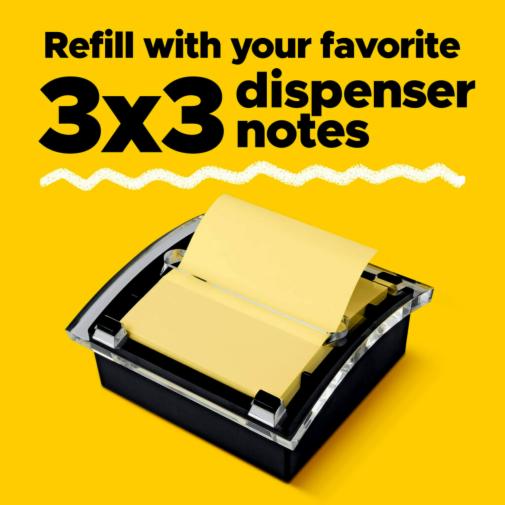
Select genuine 3M Post-it Pop-up Notes (standard 3×3 inch). Generic brands often jam the mechanism due to inconsistent adhesive patterns. Peel away the entire blue backing sheet to reveal the full adhesive strip. Pro tip: Save the backing—it’s perfect for labeling file folders later. Ensure your workspace is clean and dry before handling the pad, as moisture compromises the adhesive.
Align and Secure Properly
Place the new pad adhesive-side-down inside the dispenser cavity. Press firmly along all four edges for 3-5 seconds. The adhesive strip should sit completely flat—wrinkles cause misfeeds. Pull the top note upward until you feel slight resistance, then release. The next note should pop up automatically.
Quick Test: Remove three consecutive notes. Each should emerge cleanly, leaving the next note perfectly positioned above the dispenser rim. If notes tear or stick together, realign the pad immediately before continuing.
Build Handmade Holder Step-by-Step
Cut Base Accurately
Measure and cut cardstock to 7 3/8″ × 3 1/4″. Precision matters—sloppy cuts prevent proper folding. Use a metal ruler and sharp craft knife for clean edges. Mark lightly in pencil before cutting to avoid mistakes on expensive cardstock. For bulk production, stack multiple sheets and cut simultaneously with a paper trimmer.
Score Perfect Fold Lines
Using a scoring tool, create three precise lines along the 3 1/4″ edge:
– 3 1/8″ from left edge (note pad base)
– 3 1/2″ from left edge (pen holder fold)
– 3 7/8″ from left edge (back support)
Score firmly once—multiple passes weaken the paper fibers and cause cracking. Run your fingernail along the score lines to create crisp folds without tearing.
Create Pen Holder Slot
At the 3 1/2″ score line, fold the cardstock. Cut two parallel slits 1/4″ apart using a craft knife. The slot should accommodate standard pens (like Hobby Lobby basics) without stretching. Test with your preferred pen before proceeding. For wider pens, adjust the slit spacing by 1/8″ increments until you achieve secure fit without excessive force.
Assemble with Precision
Apply Tear & Tape adhesive (#138995 recommended) between 3 1/2″ and 3 7/8″ marks. Fold and press firmly for 10 seconds. Add three adhesive strips to the back interior for the note pad. Center the 3×3 Post-it pad and press for 5 seconds on each edge.
Expert Note: Position the pad slightly higher than center—this prevents the pen from catching on the notes when removed. Allow 15 minutes for full adhesive bonding before use to prevent shifting during operation.
Position Holder for Maximum Efficiency
Desktop Sweet Spots
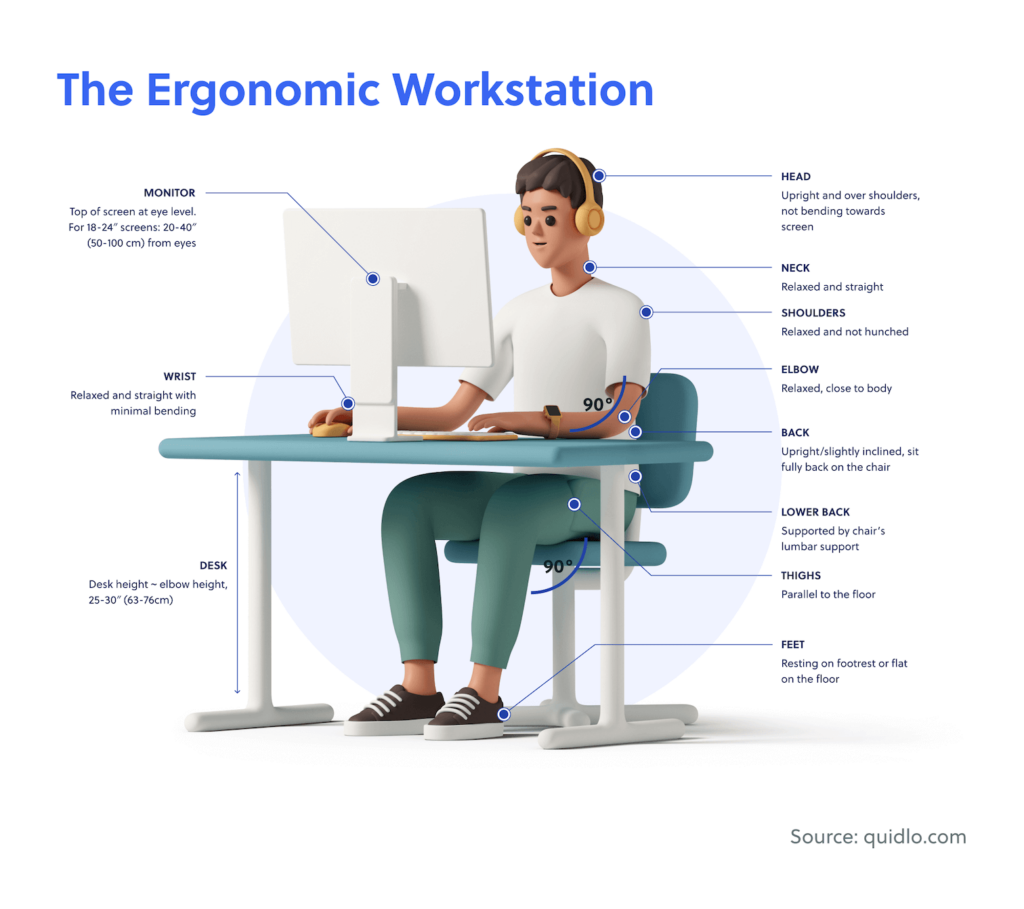
Place your holder within 12 inches of your dominant hand’s resting position. For right-handed users, position slightly to the right of your keyboard. Left-handed? Mirror the placement. The low profile prevents interference with mouse movement. Test your placement by closing your eyes and reaching naturally—your fingers should land on the top note without straining.
Angle for Easy Access
Tilt commercial dispensers 15 degrees toward your chair. This slight angle reduces wrist strain during frequent note retrieval. Handmade holders naturally sit at the perfect angle due to their folded base design. If your holder slides during use, place a small rubber pad underneath to anchor it in place without damaging your desk surface.
Avoid These Placement Mistakes
- Direct sunlight: Causes adhesive failure and paper yellowing
- Near HVAC vents: Creates curled notes that jam dispensers
- Under monitor edges: Blocks visual access to top notes
- Coffee mug proximity: Liquid damage ruins entire pads
Maintain Peak Performance
Weekly Checks Prevent Jams
Every Monday, inspect your holder while planning the week. For commercial dispensers:
- Ensure the top note sits 1/8″ above the rim
- Check for adhesive residue buildup
- Verify the spring mechanism moves freely
For handmade holders:
– Test pen holder tension—loose slots drop pens
– Replace notes when 10-15 sheets remain
– Clean adhesive areas with rubbing alcohol monthly
Replace Notes Before Empty
Change pads at 15 sheets remaining. Running completely empty risks jamming the dispenser mechanism. Keep spare pads in a sealed bag to prevent adhesive drying. When replacing, take 30 seconds to wipe the dispenser base with a dry cloth to remove paper dust before loading the new pad.
Clean Commercial Mechanisms
Every 3-4 pad changes, wipe the dispenser interior with a barely damp cloth. Focus on the spring area where paper dust accumulates. Dry thoroughly before reloading—moisture destroys note adhesive. For stubborn residue, use a cotton swab dipped in rubbing alcohol, but never spray liquids directly into the dispenser.
Troubleshoot Common Issues
Notes Won’t Pop Up
Commercial dispenser: Check pad alignment—misaligned adhesive strips cause binding. Remove and realign carefully. If the issue persists, the spring mechanism may need replacement.
Handmade holder: Pad sits too low. Add a cardstock shim under the pad to raise it 1/8″. The top note should extend above the holder’s front edge by 1/4 inch for easy grabbing.
Pen Falls from Slot
Pen holder too loose: Add a thin cardstock shim behind the slot to tighten the grip. Test with different pen diameters until you find the perfect fit. If your pen has decorative elements, consider using a simpler pen for daily use with your holder.
Adhesive Failure
Commercial: Clean dispenser base with rubbing alcohol. Ensure complete dryness before reloading. Exposure to heat accelerates adhesive degradation.
Handmade: Replace Tear & Tape strips annually. Environmental factors weaken adhesive over time. For immediate fixes, apply a small dot of removable mounting putty to secure the pad temporarily.
Customize for Personal Style
Seasonal Transformations
Handmade holders offer unlimited personalization. Swap designer paper for seasonal themes without rebuilding the base structure. Autumn leaves for fall, snowflakes for winter—your desk décor evolves with minimal effort. Keep extra decorated fronts on hand for quick changes when holidays approach.
Professional Branding
Create corporate-themed holders using company colors and logos. Perfect for client gifts or employee desk drops. Use heavyweight cardstock in brand colors, then add embossed logos for executive-level presentation. Add a subtle metallic accent to elevate the professional appearance without overwhelming the design.
Personal Touches That Sell
For craft fair success, add these finishing touches:
– Monogrammed toppers using die-cut letters
– Layered borders with contrasting cardstock
– Ribbon accents in complementary colors
– Themed embellishments for specific professions (medical symbols, legal scales, etc.)
Package finished holders in 4×6 self-adhesive bags with decorative toppers to transform simple crafts into gift-worthy accessories that command premium pricing.
Your Post-it holder—commercial or handmade—should work as hard as you do. Master these techniques and transform random sticky note chaos into organized productivity. Whether you’re managing daily tasks or creating handmade gifts, proper usage ensures your notes are always ready when inspiration strikes.
Keep your holder loaded, positioned strategically, and maintained regularly. The few minutes invested in proper setup save hours of frustration and countless lost ideas. By understanding exactly how to use post it holder systems correctly, you’ll maximize both functionality and aesthetic appeal while keeping your workspace organized and efficient.


