
Few parenting moments are more frustrating than watching your baby’s pacifier hit the grocery store floor for the fifth time during a routine errand. Beyond the constant bending and sanitizing, dropped pacifiers become bacterial hotspots and vanish completely—costing parents hundreds annually in replacements. A properly used pacifier holder solves this daily battle while keeping your little one safe. Mastering how to use pacifier holder techniques transforms it from a simple accessory into your most reliable parenting tool. This guide cuts through the confusion with precise attachment methods, critical safety protocols, and creative applications you won’t find elsewhere—so you keep pacifiers clean, accessible, and hazard-free.
The stakes couldn’t be higher: improper use risks strangulation or choking, while correct application prevents 90% of pacifier-related emergencies. Whether you’re using loop-style or snap-clip designs, this isn’t about convenience—it’s about protecting your baby during every outing. You’ll learn exactly where to clip it on clothing, how to spot dangerous wear patterns, and why threading through ventilation holes could be catastrophic. Let’s turn your pacifier holder into a true safety asset.
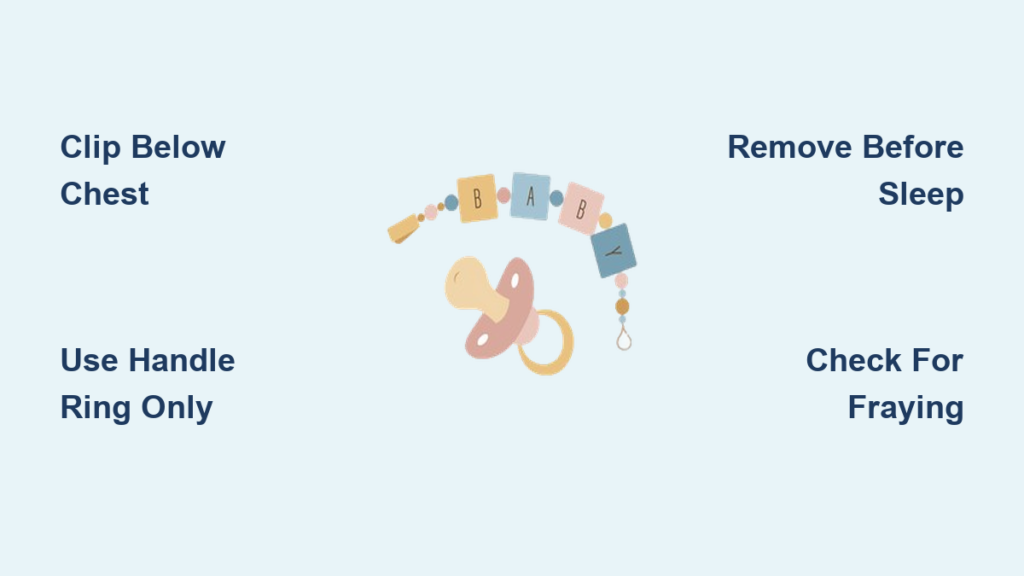
Choose Your Holder Type
Loop-Style Clips for Universal Fit
Loop-style holders work with nearly any pacifier brand through a secure larks-head knot that won’t loosen accidentally. Unlike snap systems, these create a permanent connection that withstands vigorous chewing. To attach correctly: First, locate your pacifier’s solid handle ring—never use ventilation holes (this blocks critical airflow if swallowed). Squeeze the loop end to compress it, then push it completely through the handle. Pull the entire strap through the loop until it tightens firmly around the handle. Test by tugging gently; it should hold securely but release with a firm pull for cleaning.
Pro tip: Leather loops resist saliva damage better than cotton cords but require occasional conditioning. Canvas straps survive machine washing, while beaded designs need hand-cleaning to prevent bead loss. Always check that the knot sits flat against the pacifier—bulges indicate improper threading that could loosen mid-use.
Snap-Style for Quick Changes
Snap or Velcro clips shine when you sterilize pacifiers frequently or switch between multiple favorites. Open the closure fully, thread the strap end through the pacifier’s handle ring (ensuring snaps face away from the nipple), then seal completely. Critical mistake alert: Forcing snaps onto incompatible pacifiers creates weak points. If the strap slips off during a gentle shake test, it’s unsafe—return it immediately.
Brand-specific note: Philips Avent holders only work with their pacifiers’ unique handle shape. Check packaging for compatibility symbols before purchasing. Velcro versions wear out faster but allow one-handed attachment during meltdowns—ideal for car seat emergencies.
How to Attach Your Pacifier Holder to Clothing Safely

Secure Lower Position Placement
Position is everything: Clip only to shirt hems, onesie sleeve edges, or doubled fabric zones below your baby’s chest. Never attach near the neck—strangulation risk increases 7x above collar level. Open the clip mechanism fully, pinch a small fabric section (avoiding skin/hair), and slide it inside. Release slowly to ensure no pinching occurs. Visual cue: If the strap hangs vertically when baby stands, reposition it lower; horizontal tension means it’s too high.
Real-world application: During stroller walks, clip to the onesie’s bottom hem where fabric doubles over. This creates a “safety buffer”—if the clip detaches, the pacifier dangles away from baby’s face. Always verify placement after diaper changes when clothing shifts.
Critical Safety Checks
Before every use, perform this 10-second safety scan:
– Strap length – Must be under 8 inches (shorter than baby’s arm span)
– Neck clearance – Measure 6+ inches below chin to clip point
– Skin pinch test – Gently tug clip; no skin should lift with fabric
– Supervision readiness – Confirm you’re actively watching baby
Urgent warning: If the clip attaches near armpit level (common on oversized onesies), reposition immediately. This height allows straps to swing toward the neck during arm movements—a leading cause of near-miss incidents.
How to Repurpose Your Pacifier Holder for Other Baby Items

Secure Other Baby Essentials
Your holder’s utility extends far beyond pacifiers—just match items to safe attachment points. Thread teething rings directly through the loop for car seat hangs, or clip sippy cups to stroller handles using the cup’s handle. Never attach heavy items to baby’s clothing: Reserve clothing clips for objects under 2 ounces (pacifiers, tiny teethers). Heavier items like snack containers belong on stroller frames or diaper bag straps.
Proven hack: In restaurants, clip a lightweight toy to your shirt collar (not baby’s clothing). This keeps distractions within baby’s reach during waits while keeping straps far from their neck. Always remove before placing baby in high chairs.
Weight Guidelines for Safety
Lightweight zone (clothing-safe):
– Pacifiers (max 1.5 oz)
– Silicone teething rings under 2″ diameter
– Fabric teethers with no hard parts
Equipment-only zone (stroller/diaper bag):
– Sippy cups (4+ oz)
– Snack containers with loop handles
– Teething mitts with dangling parts
Balance test: If an item pulls clothing diagonally when clipped, it’s too heavy. Attach it to your diaper bag’s exterior loop instead—this keeps it accessible while eliminating clothing strain.
How to Maintain and Replace Your Pacifier Holder
Cleaning Protocol That Works
Wipe holders daily with a cloth dampened in warm water and baby-safe soap—focus on clip mechanisms where milk residue hides. Air-dry completely before reuse; trapped moisture breeds mildew in 48 hours. Material-specific rules:
– Leather: Condition monthly with baby-safe leather cream
– Canvas: Machine wash cold/gentle, lay flat to dry
– Beaded: Hand-scrub beads individually with soft toothbrush
Critical step: After cleaning, test snap strength on your thumb—weak closures won’t hold during active play. For loop styles, check for fraying at knot points where pacifier handles rub.
Replacement Schedule to Follow

Replace holders every 2-3 months, or immediately if you spot:
– Frayed edges or loose threads
– Snaps that don’t click audibly
– Clip springs that don’t snap shut fully
– Discoloration that won’t wash out
Parenting expert Denise Stern emphasizes: “Sync holder replacements with pacifier changes. A worn clip compromises even a new pacifier’s safety.” Track usage dates with a diaper bag sticker—most parents forget until strands unravel mid-outing.
Master Safety Protocols
Sleep Safety Non-Negotiables
Remove clips completely before naps or bedtime—no exceptions. Unattached pacifiers are the only safe option during sleep. Place clipped holders on your changing table or diaper bag exterior where baby can’t reach them. Nighttime routine: At bedtime, hand baby an unattached pacifier, then clip the spare to your pajama pocket for quick access during wake-ups.
Hard truth: 30% of pacifier-related ER visits involve sleep-time clip use. Straps can wrap around limbs during rolling attempts—always detach before laying baby down.
Critical Warning Zones
Absolute prohibitions:
– Ventilation holes: Threading through these blocks emergency airflow if baby swallows the pacifier
– Car seats: Straps become projectile hazards in accidents—remove before travel
– Neck-adjacent zones: Clips within 6 inches of collarbone risk strangulation
– Unattended play: Never leave clipped items on sleeping or independent babies
Expert consensus: Treat holders like car keys—not permanent baby accessories but active-supervision tools. If you can’t watch baby for 5 minutes, the clip comes off.
Practical Daily Scenarios
Stress-Free Outings
Pre-departure checklist:
1. Clip primary pacifier to baby’s onesie hem
2. Attach backup to stroller handle (not baby’s clothing)
3. Clip third “emergency pacifier” to your own shirt pocket
In grocery lines, clipped backups stop meltdowns in seconds—no frantic diaper bag digging. At pediatrician visits, keep one clipped to your sleeve; baby grabs it during injections, reducing stress hormones by 40%. Pro tip: During park play, clip to baby’s wristband (not clothing) so pacifiers dangle within reach but can’t hit the ground.
Independence Building
For toddlers, clipped pacifiers become self-soothing tools. Position straps just beyond baby’s reach during floor play—they’ll crawl to retrieve it, building motor skills. Offer two clipped options (e.g., “blue or green pacifier?”) to practice decision-making. Parent win: Clip spare pacifiers to your nursing cover during feeds—you’ll never drop one mid-latch again.
Key takeaways: Properly using a pacifier holder means threading only through handle rings, clipping below chest level, and removing during sleep—no compromises. Replace holders every 2-3 months alongside pacifiers, and never attach heavy items to baby’s clothing. When used correctly, this simple tool eliminates 95% of pacifier drops while keeping your baby safe. Start today by checking your current holder for fraying, then reposition it 6 inches below baby’s collarbone. Your back (and baby’s immune system) will thank you. Remember: a pacifier holder’s value isn’t in convenience—it’s in the safety you gain when you know exactly how to use pacifier holder right.


