
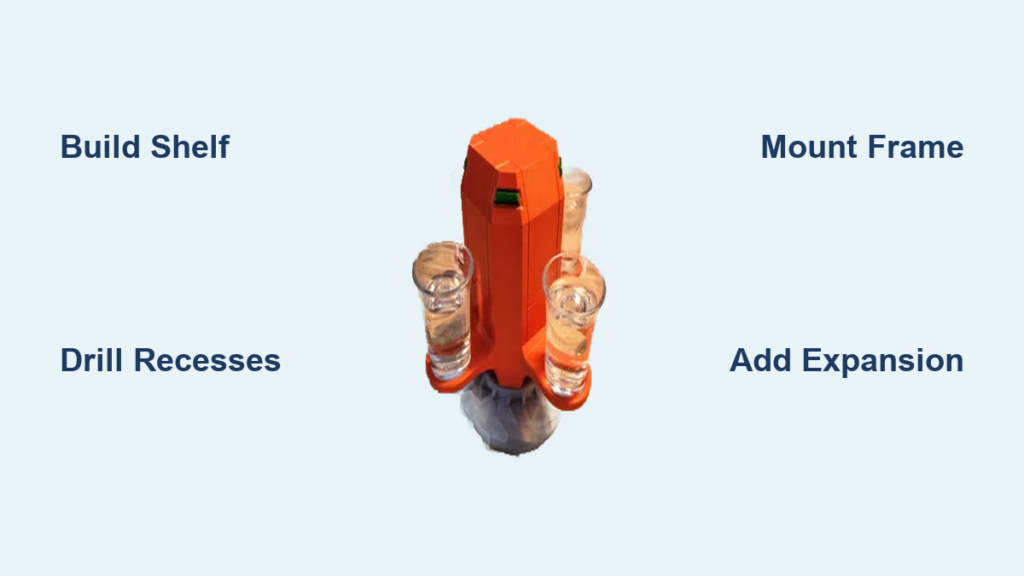
That dusty cardboard box crammed in your closet? It’s failing your shot glass collection spectacularly. Whether you’ve got 20 souvenir glasses from road trips or you’re chasing a 50-state collection goal, a proper how to build a shot glass holder project transforms scattered clutter into a stunning display. Most collectors start with 20-25 glasses hidden in drawers and boxes—wasting prime wall space while risking breakage. This guide delivers a customizable solution that accommodates standard 2.5″ glasses and taller 4-5″ shooters, with modular design allowing seamless expansion as your collection grows. You’ll create a wall-mounted showcase using basic tools and materials, no advanced woodworking required.
Select Your Shot Glass Display System
Build a Simple Shelf Holder for Quick Organization
Skip complicated joinery when you need fast results. A basic shelf system uses 1x scrap lumber to create functional storage in under two hours. Cut 1×6 or 1×8 boards to your desired width (12-24 inches works for most walls), ensuring 4-5 inches of depth to hold 2-3 glasses per row. Space shelves 3 inches apart for standard glasses, adding 2 inches of extra clearance for taller shooters. Mount directly to wall studs using 2.5″ wood screws—this workshop-friendly approach handles casual collections but lacks dust protection. Critical warning: Never mount into drywall anchors alone; always hit wall studs to prevent catastrophic failure when loaded with glass.
Construct a Shadow Box for Museum-Quality Display

Transform your collection into wall art with a deep-frame holder. This 3-4 inch deep shadow box design securely displays 50+ glasses while keeping dust away. Build the outer frame from 3/4″ hardwood (maple or birch), creating internal shelves with precisely spaced recesses for each glass base. The recess depth should be 1/4″ to 1/2″ depending on your glass thickness—measure your tallest glass first to avoid clearance issues. Add a 3/16″ glass panel door with magnetic catches for full protection, mounted using a French cleat system that allows easy removal for cleaning. This professional solution works best in living areas where your collection deserves center stage.
Create a Modular Stacking System for Future Expansion
Solve the “I filled my holder already!” frustration with vertical stacking. Each modular row holds 10-12 glasses and connects via tongue-and-groove joints that let you add sections as your collection grows. Build individual rows to identical specifications, then machine matching joints on stored components for seamless future integration. Space rows every 3 inches for standard glasses but create every third row with 4.5″ clearance for tall shooters. This system compresses 50 glasses into just 6-8 linear feet by maximizing vertical space—ideal for collectors chasing long-term goals like state collections. Pro tip: Pre-cut 2-3 extra rows during initial construction; store them labeled with your finish formula for perfect color matching later.
Calculate Your Exact Capacity Needs
Inventory Glasses and Measure Critical Dimensions
Start by gathering every shot glass you own—most collectors discover 20-25 scattered across drawers and boxes. Measure your tallest glass (some shooters hit 4-5 inches) and widest base diameter. Count standard glasses (1.5-2 oz capacity, ~2.5″ tall) separately from tall shooters. Use this worksheet to plan:
– Standard glasses: _ × 2.5″ height
– Tall shooters: × 4.5″ height
– Total capacity needed: __ glasses
– Always add 30% extra space for future acquisitions—your collection will grow faster than expected.
Map Wall Space to Your Collection Size
A 50-glass collection requires approximately 12 linear feet with traditional shelf layouts but only 6-8 feet with modular stacking. Measure your available wall space before cutting wood, accounting for doorways and furniture. For collections exceeding 30 glasses, split displays across multiple wall sections rather than building one massive unit. Position your holder at eye level (48-60 inches from floor) for optimal viewing—never place it where it could get bumped in high-traffic areas. Time-saver: Sketch your wall space on grid paper, then plot glass positions at 2″ center-to-center spacing before finalizing dimensions.
Gather Precision Tools and Durable Materials
Choose Wood That Withstands Daily Handling
Skip pine—it dents easily from repeated glass placement. Opt for hard maple or birch plywood for shelves that resist wear. For budget builds, use 1/2″ plywood with hardwood edge banding on visible surfaces. Your shopping list:
– 1×8 hardwood boards (shelves)
– 3/4″ hardwood (frame construction)
– 1/4″ plywood (backing panel)
– Wood glue and 1-1/4″ brad nails
– Danish oil or polyurethane finish
Critical note: Apply finish to all wood surfaces before assembly—it’s impossible to reach recessed areas later.
Essential Tools for Perfect Recesses
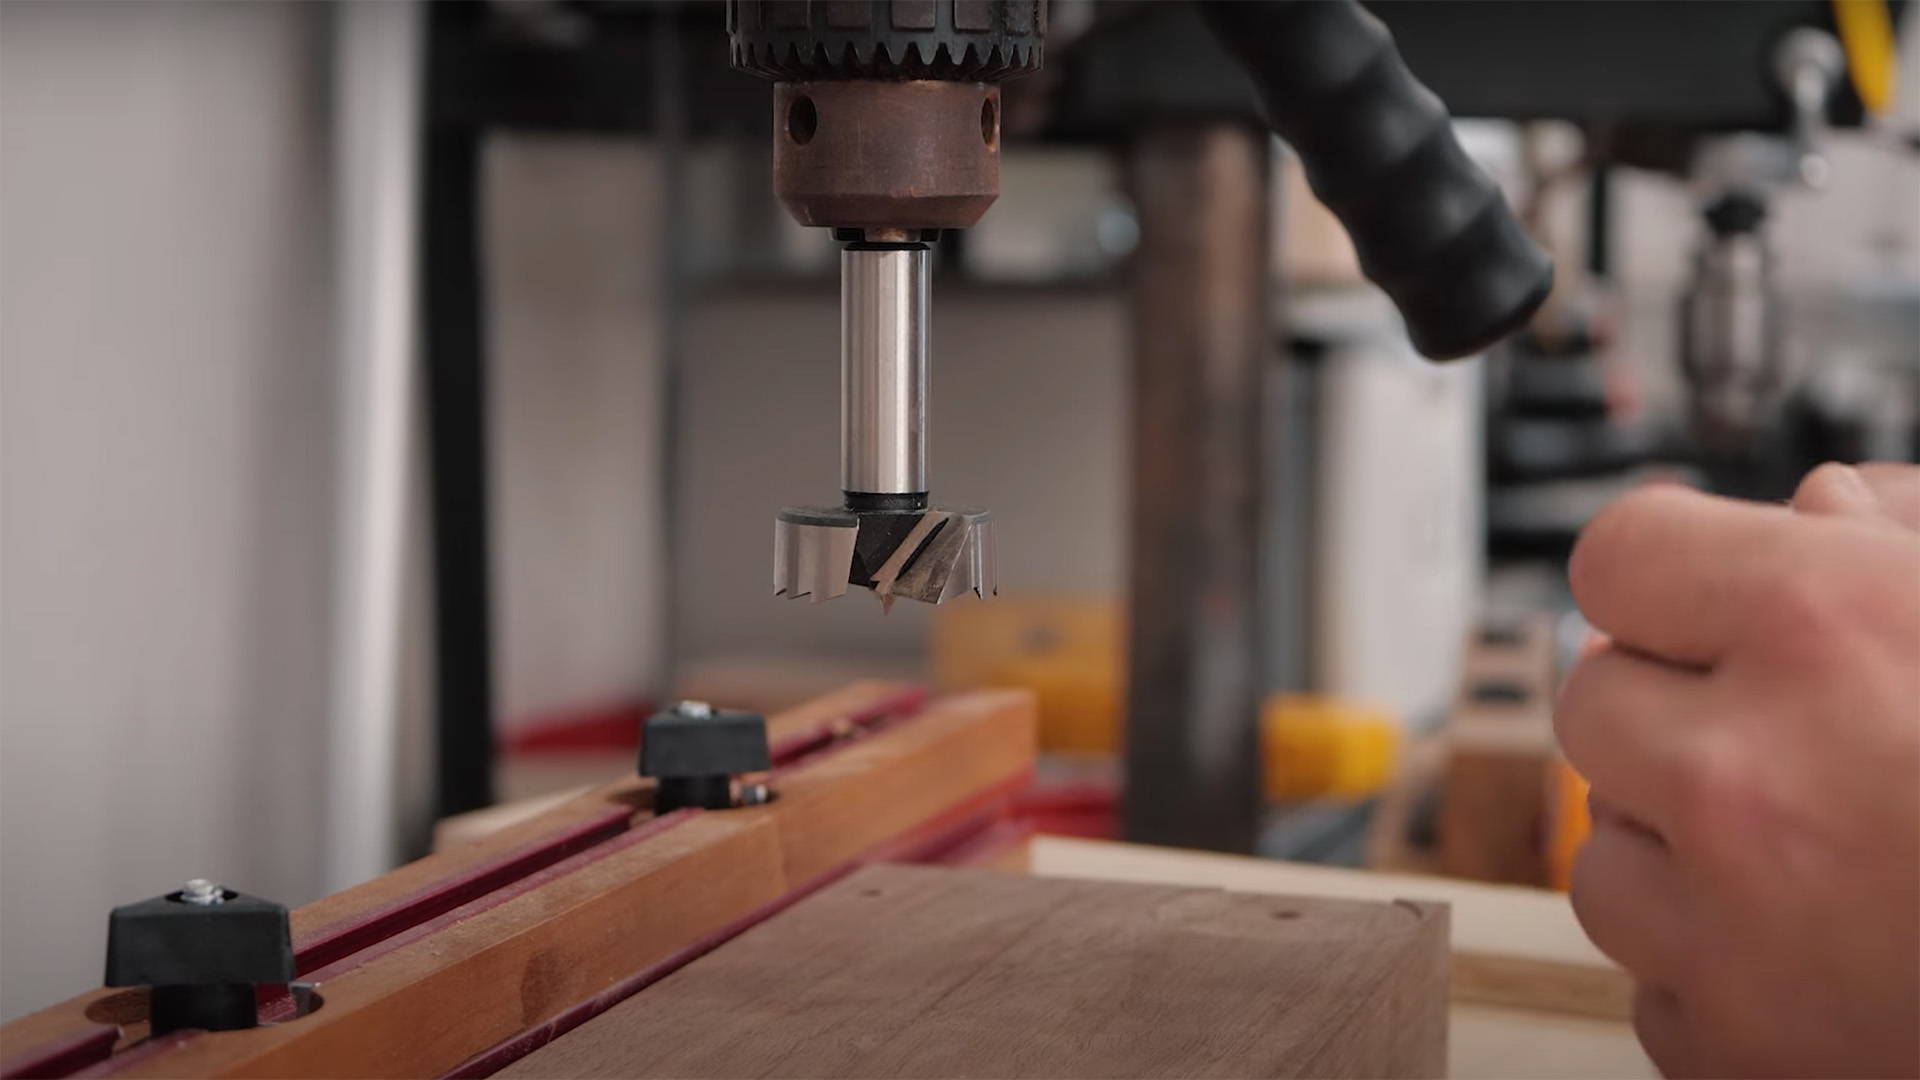
Forstner bits (1-1/4″, 1-1/2″, 2″) create clean, flat-bottomed holes that standard spade bits can’t match. Pair with a drill press or handheld drill guide for vertical accuracy—hand-drilling guarantees wobbly recesses that won’t hold glasses securely. You’ll also need:
– Table saw with straight-edge guide
– Router with edge guide (for trough-style designs)
– Minimum 4 bar clamps for assembly
– Awl for precise hole marking
Pro tip: Test drill depths in scrap wood first—adjust until glasses sit 1/8″ above shelf surface to prevent tipping.
Build the Shadow Box Frame for Rock-Solid Mounting
Cut Frame Components to Exact Specifications
Rip hardwood to 3-1/2″ width for frame sides. For a 24-glass holder, cut:
– 2 pieces: 3/4×3-1/2×20″ (sides)
– 2 pieces: 3/4×3-1/2×18″ (top/bottom)
– 1 piece: 1/4×18×24″ (backing panel)
– 4 shelves: 3/4×2-1/2×17″ (internal)
Always cut top/bottom pieces 1/4″ longer than desired width to accommodate joinery. Sand all edges to 220-grit before assembly—rough wood shows through finishes.
Assemble with Rabbet Joints for Maximum Strength
Cut 1/4×3/8″ rabbets along the inside edges of your frame using a table saw. This creates a recess for the backing panel that adds structural integrity while hiding plywood edges. Follow this sequence:
1. Cut rabbets on all frame pieces
2. Dry-fit with backing panel to verify alignment
3. Apply glue to joints only (no screws visible)
4. Clamp square using corner clamps
5. Wipe excess glue immediately
Let cure 2 hours before sanding joints flush—rushing this step causes weak spots.
Drill Precision Recesses That Hold Glasses Securely
Mark Hole Patterns with Grid Paper Accuracy
Space holes 2″ apart center-to-center starting 1″ from frame edges. For 24 glasses, create 4 rows of 6 holes. Use 1/4″ grid paper to plot positions, then transfer marks with an awl for perfect drill bit centering. Critical adjustment: Wider glasses need custom spacing—test fit each unique glass before final drilling. Always drill recesses before installing shelves into the frame.
Execute Flawless Holes with Depth Control
Secure your shelf to the drill press table with a backer board to prevent tear-out. Set depth stop to 1/4″ for standard glasses (adjust for thicker bases). Drill test holes in scrap wood first—glasses should sit 1/8″ above surface. Clean holes with 220-grit sandpaper wrapped around a dowel. Pro tip: Vacuum chips frequently during drilling—buildup causes burning in hardwoods and rough edges.
Install Adjustable Shelves for Flexible Display
Cut Dado Slots for Height Customization
Create 1/4×3/8″ dadoes in frame sides every 3 inches using your table saw. This allows rearranging rows when you acquire taller glasses later. Cut both frame sides simultaneously using a stop block for perfect alignment. Test fit shelves in dados—they should slide smoothly but not wobble. Warning: Never cut dados deeper than 1/3 wood thickness or you’ll weaken the frame.
Secure Shelves Without Visible Hardware
Slide shelves into dados and apply a tiny amount of glue only at the back edge where it won’t be seen. Wipe excess immediately with a damp cloth. Let cure 1 hour before handling—premature loading shifts shelves out of alignment. Sand any glue squeeze-out after drying for seamless integration.
Add Custom Features That Tell Your Story
Implement a Visual Categorization System
Insert 2″ wide hardwood blocks between glass sections to create themed zones. Paint vacation destinations directly on blocks (“Las Vegas 2023” on red-stained wood) or use wood-burned state abbreviations. This transforms storage into storytelling—group “don’t ever want to go back” glasses separately from cherished souvenirs. Pro tip: Apply decorative trim over block seams to hide gaps and add professional flair.
Build True Expandability Into Your Design
Machine matching tongue-and-groove joints on extra row components during initial construction. Store these labeled pieces with your finish formula for perfect future integration. Design top/bottom joints specifically for vertical stacking—never rely on wall mounting alone to support added weight. Critical step: Test expansion joints before final assembly to ensure seamless connection.
Finish and Mount Your Holder for Lasting Display
Apply Protective Finish That Enhances Wood Grain
Use Danish oil for workshop areas (enhances grain while resisting moisture) or polyurethane for bar zones (maximum spill protection). Apply three thin coats with 220-grit sanding between layers. Never skip: Finish the inside of recesses—glass condensation will warp unfinished wood.
Install with French Cleat Wall Mounting
Cut matching 45-degree bevels on 3/4×3″ hardwood strips—one for the frame back, one for wall studs. Locate studs with a detector, then mount the wall strip with 3″ screws. Engage the two cleats and test stability before loading glasses. Add soft bumpers to the frame bottom to prevent wall scuffs. Safety check: Always verify cleat engagement by lifting the empty holder—never assume it’s secure.
Maintain Your Display for Decades of Enjoyment
Establish a Simple Cleaning Routine
Dust monthly with a microfiber cloth—avoid sprays near glass edges. Remove glasses individually every 6 months for thorough cleaning. If using a glass door, wipe with vinegar-water solution to avoid streaks. Critical reminder: Check mounting hardware annually in high-traffic areas—loose cleats cause catastrophic failures.
Plan for Seamless Future Expansion
Your modular design accommodates growth—when adding rows, verify joint alignment before gluing. Document your finish formula in the holder’s back corner. Reserve wall space for 2-3 additional sections during initial mounting. Consider adding under-shelf LED lighting as your collection grows—conceal the switch on the frame side for dramatic effect. Building how to build a shot glass holder with foresight means your display evolves alongside your adventures, turning random souvenirs into a curated legacy that sparks stories for years.


