
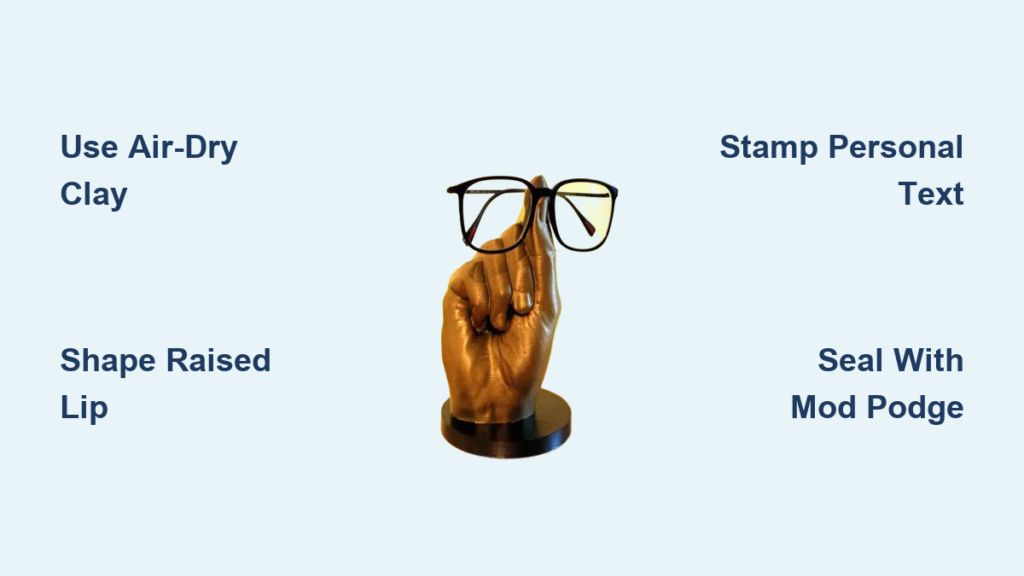
You pull off your glasses to chop onions, set them carefully on the counter, and later discover they’re scratched by a stray knife or—worse—crushed underfoot. This daily frustration ends with a simple solution: a custom clay glasses holder that keeps your eyewear safe while adding handmade charm to any space. Learning how to make a glasses holder solves this problem permanently, transforming air-dry clay into a functional tray that prevents damage and gives your specs a dedicated home. In less than a day of active work, you’ll create a personalized storage solution that fits your style and needs.
No kiln, pottery wheel, or advanced skills are required for this project. Using affordable, accessible materials, you’ll build a durable holder with raised edges to prevent sliding and ample room for personalization. Whether you’re a beginner crafter or experienced DIYer, this guide delivers a practical accessory that protects your investment while complementing your home décor. By the end, you’ll know exactly how to make a glasses holder that withstands daily use and becomes a conversation starter.
Essential Materials for Clay Glasses Holder
Gather these supplies before starting your glasses holder project. Having everything ready prevents mid-process scrambling and ensures smooth workflow. The white air-dry clay eliminates base painting needs, while your actual glasses serve as the perfect sizing template throughout construction.
Primary Materials List
- White air-dry clay – Skip priming with this pre-colored option that dries pure white
- Your glasses – Critical for accurate sizing during base formation and lip height
- Matte Mod Podge – Creates a protective, non-reflective seal against moisture damage
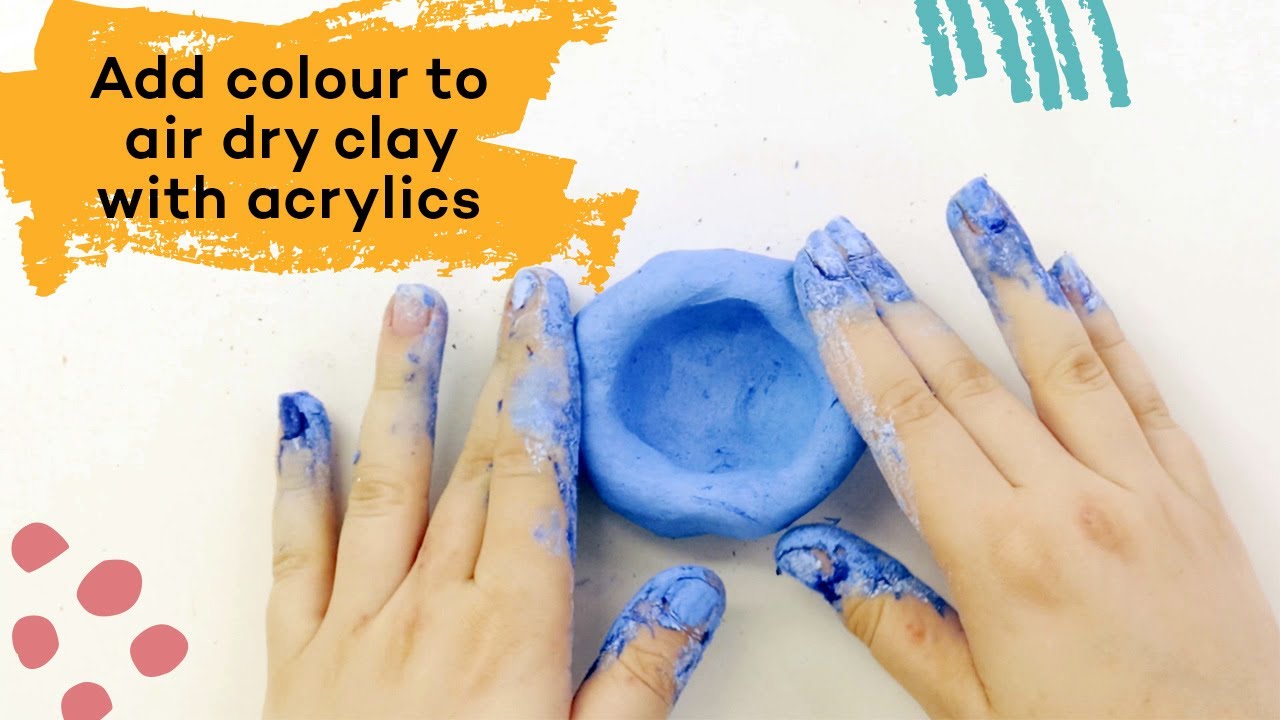
- Acrylic paints – Coral for main body, white for letter base, gold for elegant accents
- Adhesive feet – Felt or clear plastic options to protect surfaces and improve airflow
Required Tools
- Rolling pin or large glue stick – Flattens clay evenly without specialized equipment
- Craft utility knife – Makes precise cuts for sizing and detail work
- Small water bowl – Manages clay moisture to prevent cracks during shaping
- Letter stamps – Cookie-decorating sets work perfectly for clear impressions
- Detail paintbrush – Handles intricate letter painting with precision
- Cooling rack – Ensures 360° air circulation during the critical drying phase
Prepare Clay Base to Fit Your Glasses
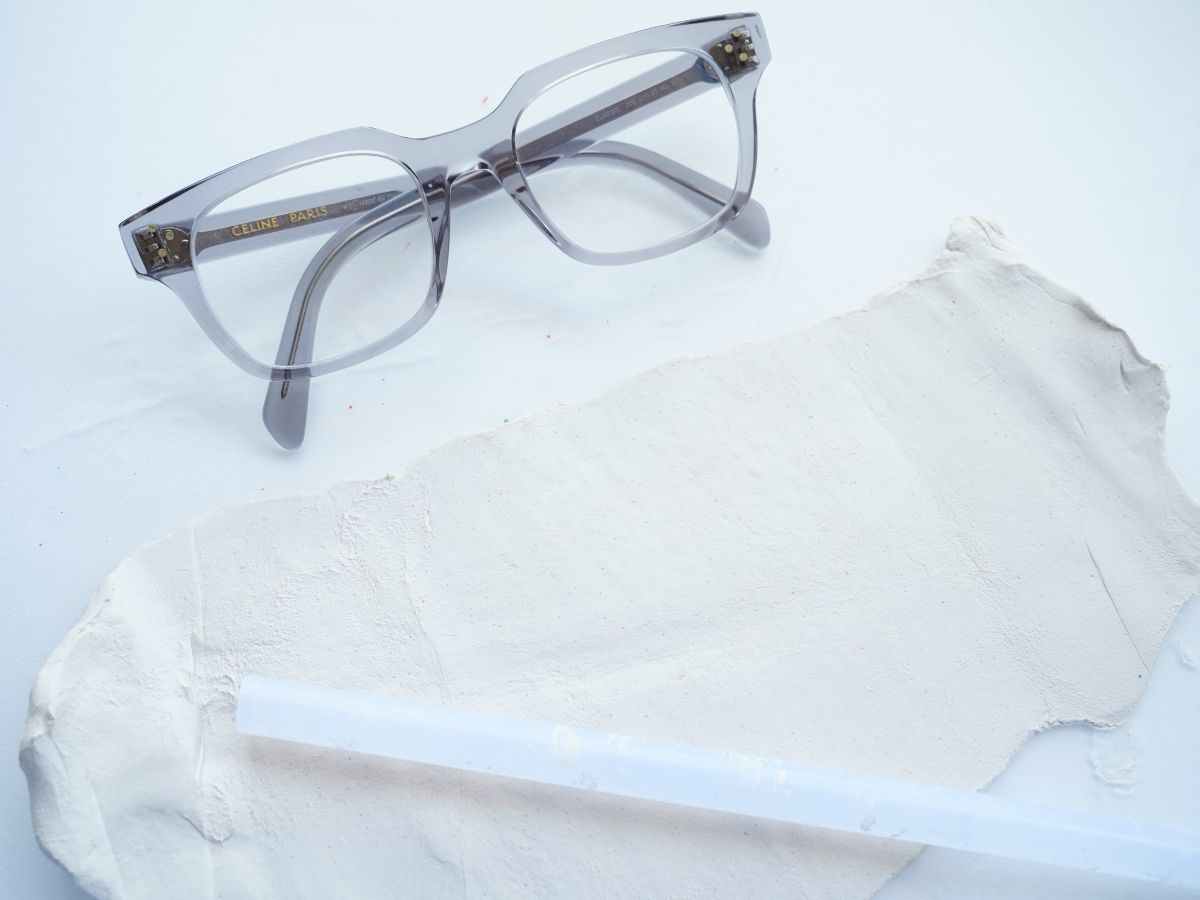
Start with an apple-sized clay portion—about 2 inches in diameter. Roll it into a smooth ball, then flatten into a rectangle using your rolling pin or glue stick. Aim for consistent ¼-inch thickness throughout; too thin risks breakage, while too thick prolongs drying time. Place your glasses horizontally beside the clay during sizing to ensure at least ½ inch clearance on all sides—this extra space accommodates the raised lip you’ll add next.
Pro tip: Keep your water bowl within arm’s reach. When clay shows dry spots or cracks, lightly dampen fingertips and smooth the area. This moisture management prevents structural weaknesses while embracing the organic texture of handmade pieces. Resist over-smoothing—minor imperfections add character without compromising function.
Form Tray Structure That Prevents Sliding
Working clockwise around the rectangle, gently lift and fold a ¼-inch lip upward to create the tray’s walls. This raised edge serves two critical functions: it stops glasses from sliding off surfaces and reinforces the holder’s structural integrity. Apply even pressure as you shape—excessive force creates thin spots prone to cracking, while insufficient pressure leaves weak seams.
Smooth the interior corner where base meets wall using a damp fingertip. This rounded transition eliminates stress points that could develop cracks during drying. Check lip height consistency by placing your glasses inside; the rim should sit slightly below lens height to prevent contact with frames. Properly formed walls will securely cradle your glasses without obstructing lens access.
Add Personal Text That Stands Out
Center your word by starting with the middle letter—this technique ensures balanced placement. “Glasses” works universally, but consider “Sunnies” for sunglasses or family names for personalized sets. Position the center stamp without pressing first, adjust spacing, then firmly press into the clay. Clean stamps between impressions to prevent clay buildup that blurs letters.
Letter placement technique: Test depth on scrap clay before committing to your tray. For multi-word designs, space letters at 1.5x their height for readability. Add decorative touches like stars at word ends using bottle cap circles or toothpick dots. Remember: white paint goes in stamped areas first during painting, so crisp impressions are essential for professional-looking results.
First Drying Phase Avoids Warping
Transfer your shaped tray to the cooling rack immediately—never place directly on flat surfaces. This 24-hour air-drying phase requires patience; rushing causes warping or cracks. The rack’s elevated design allows moisture to escape evenly from all sides, preventing the “wet bottom/dry top” problem that plagues flat drying.
Environmental factors: Dry in a cool, shaded room away from vents or windows. Direct sunlight creates surface cracks, while heat sources cause uneven drying. After 12 hours, gently flip the tray if possible—use two hands to support the lip. Test dryness by pressing the thickest area; if it leaves no indentation, it’s ready for painting. Full drying typically takes 24-48 hours depending on humidity.
Paint Your Holder for Lasting Beauty
Base Letter Treatment
Fill stamped letters with white acrylic paint using your detail brush. Work paint into every crevice with light strokes—this base coat ensures your final text color remains vibrant against any background. Let dry completely (30+ minutes) before proceeding; tacky paint smudges when touched.
Main Color Application
Apply coral (or your chosen color) to the entire tray, front and back. Paint one side thoroughly, let dry 1-2 hours, then flip to paint the reverse. This prevents sticking and ensures full coverage. Consider room-specific colors: navy for offices, sage for bedrooms, or cream for universal appeal.
Gold Accent Details
Once base colors dry, add gold to letter interiors and tray edges. Use minimal paint on a clean brush—dip just the tip—to avoid bleeding. Steady your painting hand against the tray for precision. Gold accents elevate the design while maintaining the holder’s handmade charm.
Seal and Protect Against Daily Wear
Apply two thin coats of matte Mod Podge with a clean brush, allowing 2 hours between coats. This sealant prevents chipping from daily use and repels kitchen splashes or bathroom moisture. Matte finish preserves the handcrafted look, though gloss Mod Podge works for those preferring shine—test on a scrap piece first.
Critical tip: Extend brushstrokes in one direction for seamless coverage. Avoid thick applications that create drips or pool in letter crevices. The final coat needs 4-6 hours to cure before adding feet. Proper sealing transforms your clay piece into a durable household item that withstands years of use.
Add Protective Feet for Surface Safety
Attach adhesive feet to all four bottom corners—add two more for larger trays. These tiny protectors prevent surface scratches on wood or glass counters while elevating the holder for air circulation. Press firmly for 30 seconds per foot to ensure maximum adhesion.
Foot selection guide: Use felt feet on delicate wood surfaces to prevent scuffs, and clear plastic feet on glass or marble for invisible protection. Replace feet every 2-3 years when adhesion weakens—simply clean the bottom, peel off old feet, and apply new ones.
Best Placement Locations for Daily Convenience
Kitchen Counter Setup
Position beside your main prep zone where you routinely remove glasses for cooking. The coral color complements most kitchens while keeping specs safe from knife accidents or spills. This spot eliminates frantic searches mid-recipe.
Bedside Table Solution
Place on your nightstand for instant morning access. No more rolling over glasses left on pillows or frantic pre-coffee searches. The tray’s lip prevents items from sliding off during sleep movements.
Living Room Convenience
Keep on side tables during TV time or conversations. Guests won’t accidentally move your glasses when clearing surfaces, and the holder doubles as jewelry storage for rings or earrings.
Customize Your Design for Personal Style

Alternative Color Schemes
- Navy blue – Projects professionalism on home office desks
- Sage green – Creates calming bedroom vibes beside lamps
- Cream/beige – Blends seamlessly with neutral décor schemes
- Pattern stencils – Use painter’s tape for geometric borders
Personalization Ideas
Scale sizes for children’s glasses or oversized sunglasses. Replace “glasses” with “Readers” for bifocals or family names like “Dad’s Specs.” Try oval bases for softer bedroom aesthetics or circular designs for modern spaces.
Troubleshooting Common Issues Like a Pro
Crack Prevention
Cracks indicate uneven thickness or rapid drying. Maintain consistent ¼-inch depth throughout construction. If cracks appear during drying, lightly sand and repaint—minor repairs blend perfectly with the textured surface.
Paint Bleeding Solutions
Prevent color bleeding by ensuring complete drying between layers. Use thin paint coats rather than heavy applications. For crisp edges, apply painter’s tape before accent painting and remove while paint is still wet.
Stamp Impression Problems
Clean stamps thoroughly between uses with a toothpick to clear clay debris. If impressions fill, lightly mist stamps with water before pressing. Test depth on scrap clay to avoid faint or overly deep impressions.
Skill Level and Time Requirements Made Simple
This project welcomes all experience levels—no pottery skills required. Tweens can complete it with supervision, while adults enjoy the therapeutic rhythm of clay work. The active time totals just 2 hours, with 24-48 hours for drying between steps. Perfect for weekend crafting or gift-making sessions.
Advanced crafters can layer colors, create textured backgrounds with lace impressions, or add dimensional elements like raised dots. The modular process allows skill progression—you’ll master fundamentals before tackling complex variations.
Care and Maintenance for Longevity
Wipe gently with a damp cloth for cleaning—never submerge. For stubborn spots, use a mild soap solution on a soft cloth. Reapply Mod Podge annually, especially for kitchen holders exposed to cooking oils. Rotate placement seasonally to prevent uneven sun fading, though the sealant provides UV protection.
Your handcrafted glasses holder now serves as both functional storage and decorative accent. Beyond protecting eyewear, it corals rings, keys, or other small treasures with its secure lip design. The next time you how to make a glasses holder project, try matching sets for the whole family or miniature versions as heartfelt gifts for friends who constantly misplace theirs.


