
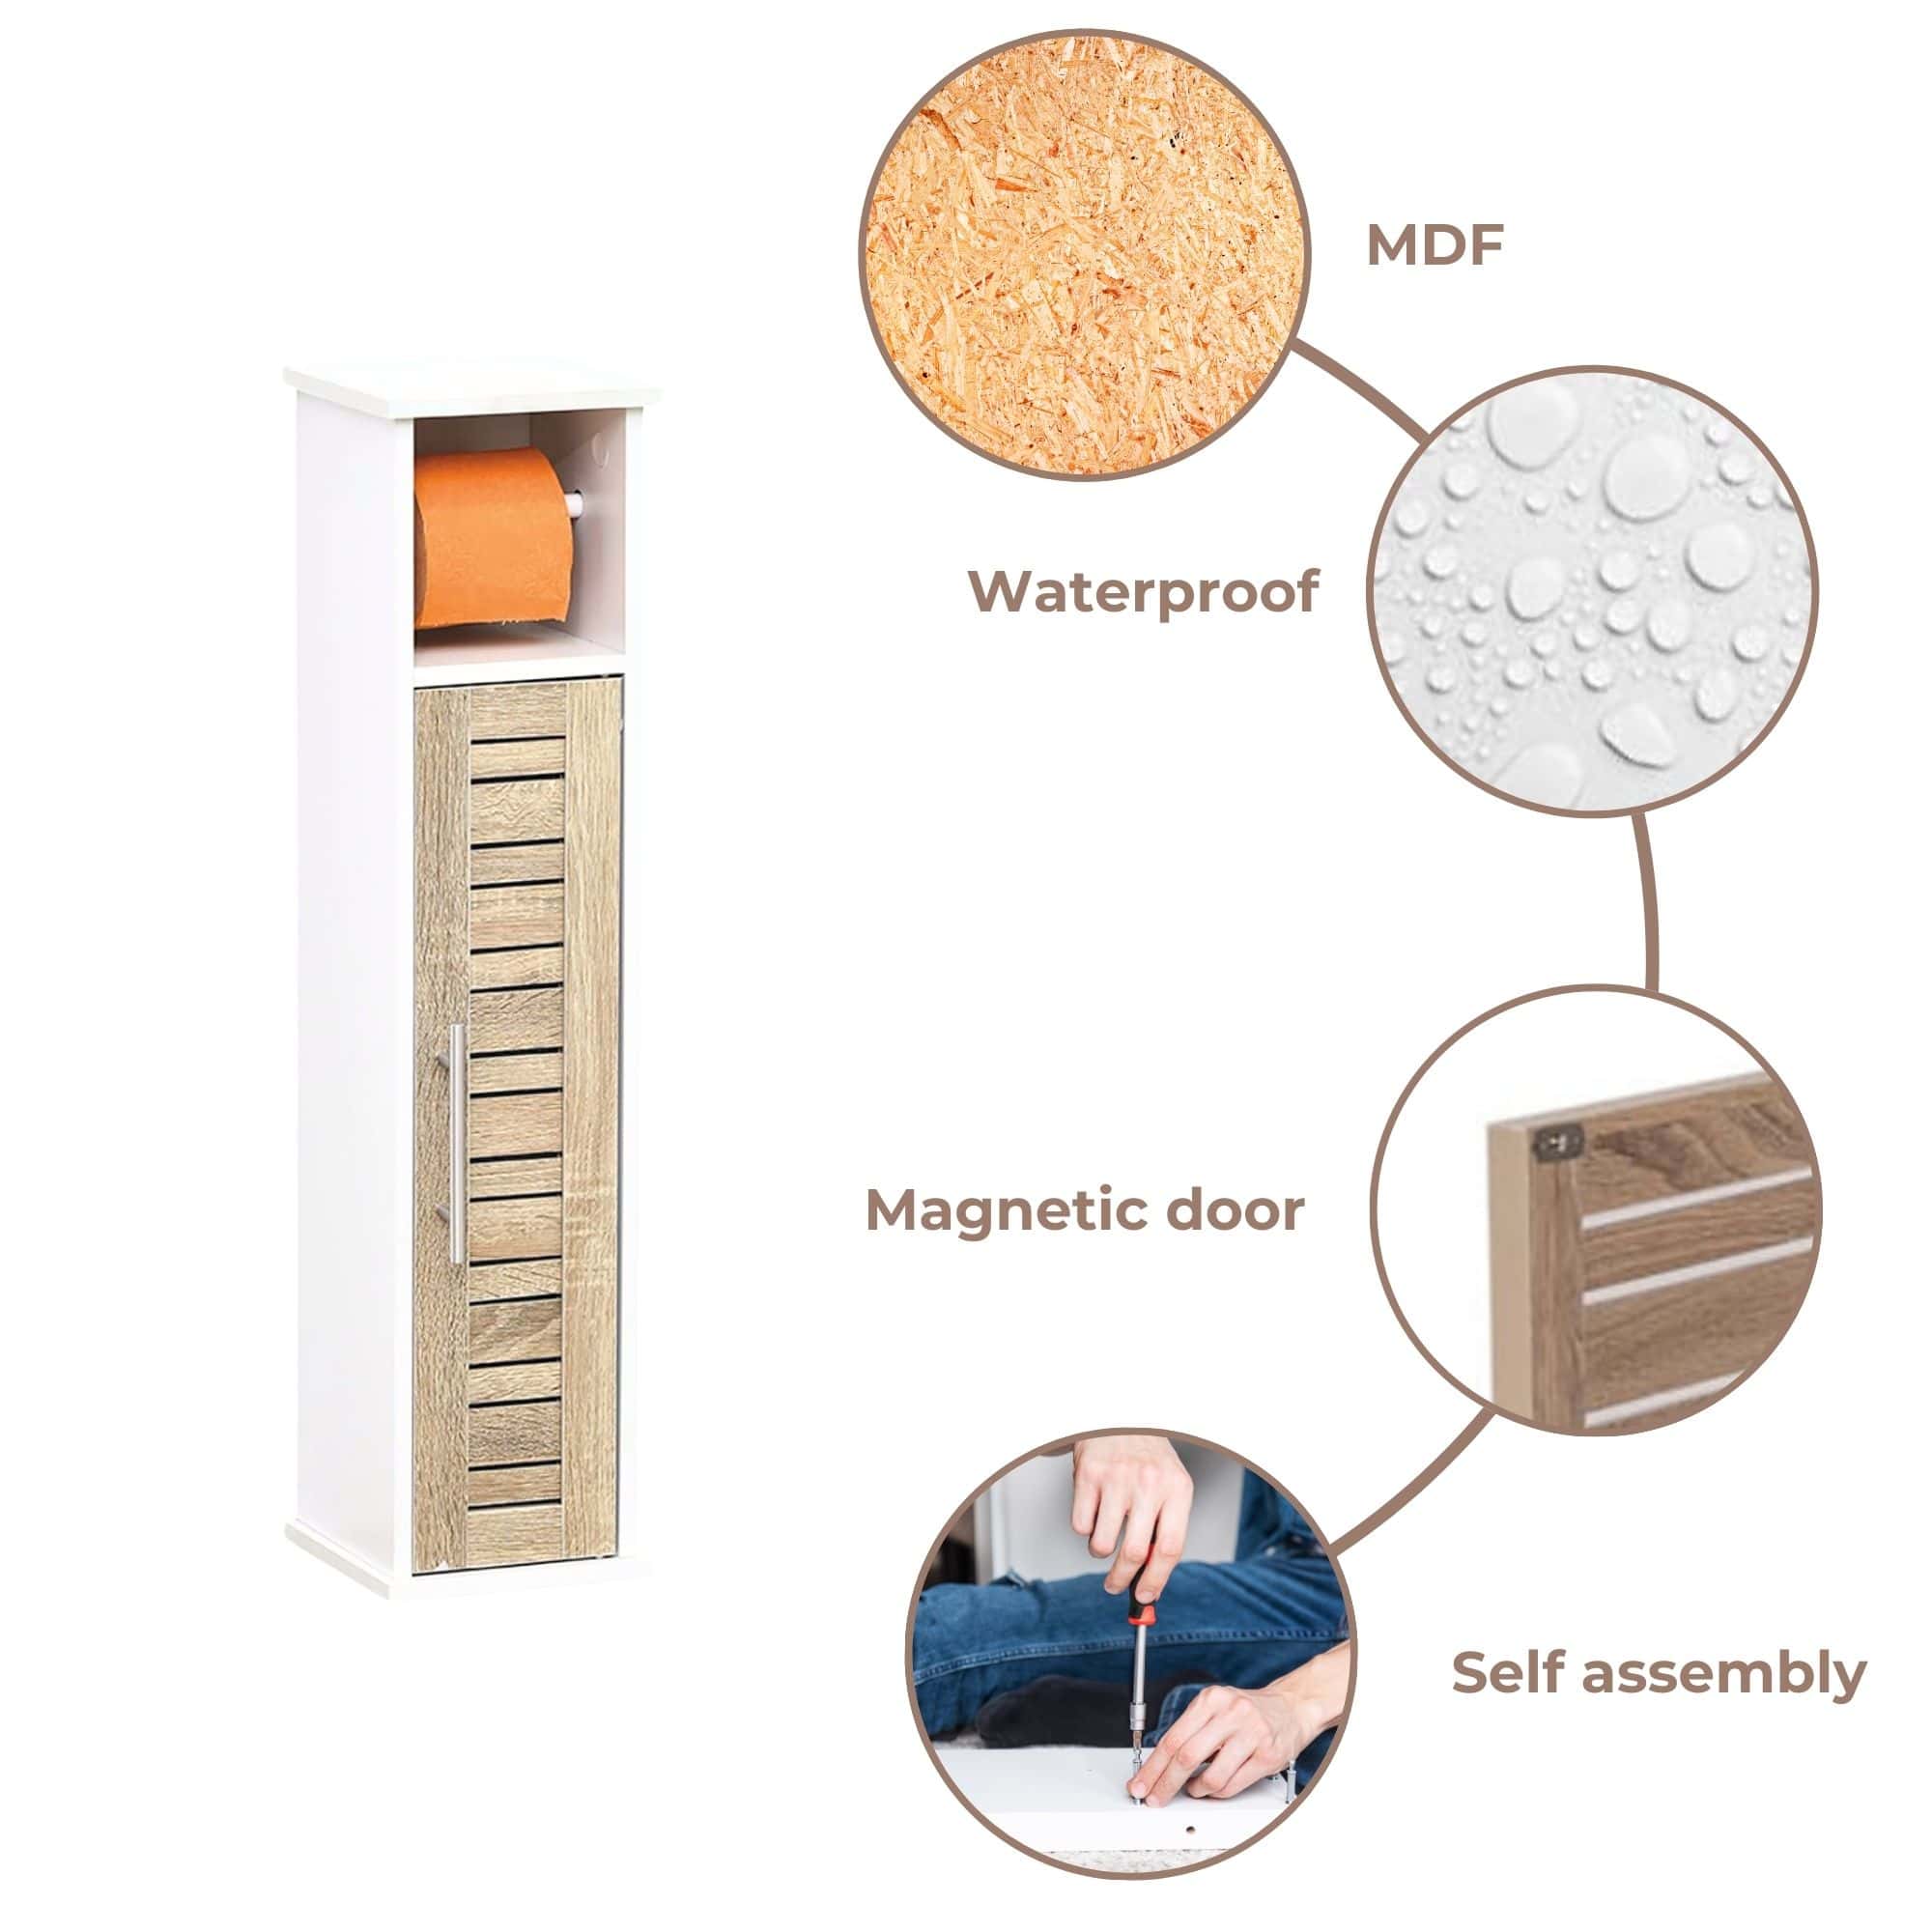
That frustrating wobble when you grab a sheet of toilet paper? It’s a dead giveaway of a poorly installed holder on MDF cabinet sides. Most DIYers make the critical mistake of treating vanity panels like solid wood, leading to stripped holes and spinning brackets within months. Modern vanities use 3/4-inch MDF that compresses under stress, requiring specialized mounting techniques most hardware store guides ignore. This guide delivers field-tested methods that transform shaky installations into rock-solid fixtures, whether you have full cabinet access or are working blind behind sealed panels. You’ll discover exactly which bolts prevent MDF bulging, the 15-minute reinforcement trick that eliminates future loosening, and how to position your holder for perfect clearance every time.
Select Your Mounting Method for Maximum Durability
Choosing the wrong installation approach guarantees future headaches with MDF cabinets. Your decision hinges on interior access and long-term reliability needs—cutting corners here means replacing hardware within a year. Avoid the common error of assuming standard anchors will suffice; MDF’s compressed fiber structure demands compression-based solutions, not thread-dependent fasteners.
Direct Through-Bolting Method for Full Access
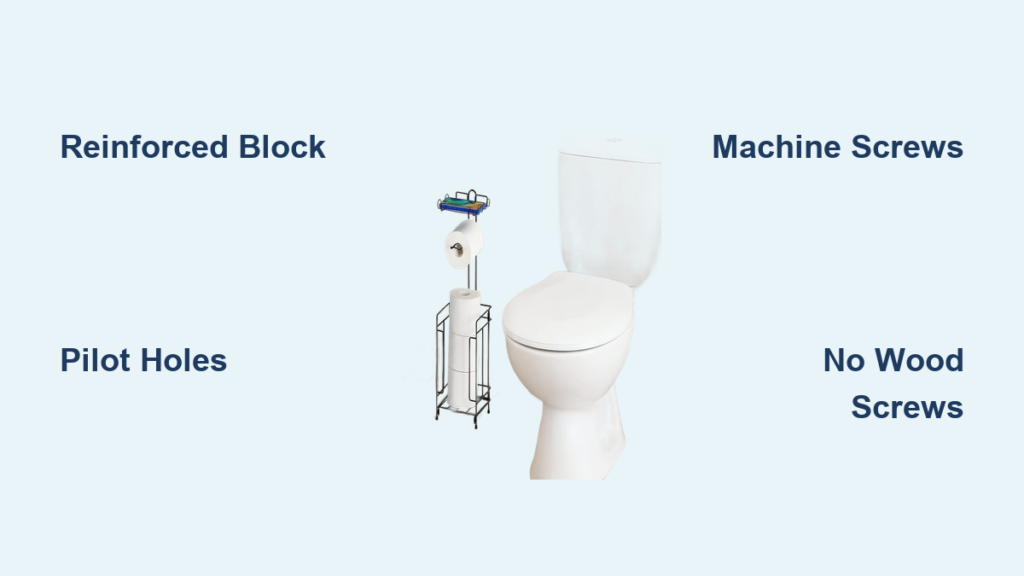
When you can reach inside the cabinet, this method creates immediate stability by compressing MDF between bracket and nut. Drill 7/64-inch pilot holes through the 3/4-inch panel, then insert 1-inch machine screws with washers. Tighten nuts just until snug—over-tightening crushes MDF fibers and creates weak points. This technique works for light loads like toilet paper holders but requires annual retightening as MDF gradually compresses. Never use wood screws alone; their tapered design fails as MDF lacks solid grain for threads to grip.
Reinforced Block Method for Permanent Security
For installations that won’t loosen over time, add a 1″x3″ pine backing block inside the cabinet. Cut an 8-inch strip, drill matching holes using your bracket as a template, and clamp it precisely behind your mounting location. This distributes stress across solid wood instead of fragile MDF fibers. Machine screws pass through bracket, MDF, and block before securing with nuts against the wood. The pine block’s natural give prevents MDF bulging while providing permanent anchor points. This method adds 10 minutes but eliminates retightening for decades—critical for high-traffic bathrooms.
Limited Access Solutions for Sealed Cabinets
When drawers block interior access, toggle bolts become your best option. Drill 1/4-inch holes through MDF, insert toggles with bracket attached, and tighten until wings flare against the cabinet interior. Molly bolts work as a secondary option but require exact hole sizing for 3/4-inch material—drill to manufacturer specifications to ensure proper expansion. Both methods sacrifice some longevity compared to through-bolting but prevent complete installation failure. Never attempt these without pilot holes; MDF will crack around undersized anchors.
Gather Cabinet-Specific Tools and Hardware
Skipping proper hardware guarantees MDF damage. Generic bathroom installation kits contain wood screws that destroy MDF over time. Invest in these MDF-specific items before starting:
Essential Tools:
– Power drill with 7/64″ bit (critical for clean pilot holes)
– 1/4″ bit for toggle installations
– Phillips screwdriver (manual for final tightening)
– Tape measure with 1/16″ increments
– Carpenter’s pencil for precise marking
– Small C-clamp for block positioning
Hardware Selection:
– Direct Mounting: 1″ machine screws with flat washers and matching nuts
– Reinforced Method: 1.5″ machine screws, 1″x3″ pine block (8″ length)
– Limited Access: 1/4″ toggle bolts rated for 50+ lbs pull-out strength
– Critical Avoidance: Standard wood screws, wall anchors, or screws under 1″ length
Pinpoint Perfect Holder Position Before Drilling
An inch too high or forward causes daily irritation. Most homeowners install holders where it’s convenient to drill, not where they’re comfortable to use. Measure twice to avoid drilling multiple holes in thin MDF that won’t hold new anchors.
Height and Clearance Rules
Position the holder center 26 inches from the floor—this accommodates both seated and standing users. Place it 8-10 inches forward from the cabinet back edge to prevent roll interference with the wall. Crucially, open all nearby drawers and doors fully while holding the bracket in place; the holder must clear moving parts by at least 1/2 inch. Test roll spin clearance by placing a full roll in the bracket—ensure it rotates freely without scraping cabinet edges.
Quick Alignment Verification
Mark your final position with pencil, then press painter’s tape over the marks. Hold the bracket against the tape and press firmly to transfer hole locations. Remove the bracket and verify marks align with your measurements. This prevents accidental misplacement that would require filling MDF holes—a messy process that weakens the mounting surface.
Execute Direct MDF Mounting Without Damage

This method works only with perfect pilot holes. Skipping this step causes MDF to bulge outward, creating immediate weakness. The goal is clean penetration without fiber compression.
Step 1: Precision Pilot Drilling
Mark bracket holes on cabinet exterior with pencil. Drill 7/64″ pilot holes completely through the 3/4″ MDF using light pressure. Stop drilling when the bit exits—continuing compresses interior fibers. Blow out dust with compressed air; residual particles cause binding during bolt insertion.
Step 2: Controlled Hardware Installation
Insert machine screws through bracket and MDF. Add flat washers on both sides before threading nuts. Tighten nuts gradually in quarter-turn increments, alternating between screws. Stop when resistance increases noticeably—overtightening creates crater-like depressions in MDF that accelerate loosening. The bracket should have slight rotational play (about 1/8 inch) when new; this compresses as MDF settles.
Step 3: Real-World Stability Test
Mount the holder and load a full roll. Pull downward with 5 lbs of force while twisting the roll. Any bracket movement beyond initial settling indicates oversized holes—remove hardware and fill holes with toothpicks dipped in wood glue before repositioning 2 inches away.
Build Unshakable Reinforced Mounting in 15 Minutes
This method doubles installation time but quadruples lifespan. The wooden block transforms MDF’s weakness into strength by creating a solid anchor point unaffected by fiber compression.
Create Your Backing Block
Cut a 1″x3″ pine strip to 8 inches using a miter saw. Sand edges smooth to prevent snagging cabinet contents. Hold your mounting bracket against the block and trace screw holes. Drill 7/64″ pilot holes through the block—these must align perfectly with your cabinet marks later.
Position Block for Invisible Security
Clamp the block inside the cabinet at your marked location. Drill through existing pilot holes in the MDF into the block to verify alignment. Adjust block position until screws slide through both materials freely. Ensure the block sits at least 1 inch above drawer tracks and clears all hardware.
Achieve Permanent Compression
Insert 1.5″ machine screws through bracket, MDF, and block. Tighten nuts against the pine block until resistance increases—wood compresses less than MDF, allowing slightly firmer tightening. The holder should feel welded to the cabinet with zero rotation. Test by hanging a 10 lb weight from the roll; successful installations show no movement.
Avoid MDF-Specific Installation Disasters
These three errors cause 95% of failed installations. MDF behaves fundamentally different than solid wood, requiring counterintuitive techniques that contradict standard mounting advice.
Never Use Screws Without Pilot Holes
MDF lacks wood grain, so screws act like wedges that split fibers outward. This creates immediate voids around hardware. Always drill pilot holes 1/64″ smaller than bolt diameter—this allows compression without bulging. For toggle bolts, drill exactly to manufacturer specifications; undersized holes prevent proper expansion.
Reject Wood Screws Entirely
Their tapered shanks create expanding force that pulverizes MDF fibers. Machine screws with uniform threads distribute load evenly. If using toggles, select models with wide wings that spread pressure across more surface area—narrow toggles cut through MDF like knives.
Prevent Interior Hardware Hazards
Drill only deep enough for hardware to clear the MDF. Protruding screws inside cabinets can puncture stored items or create sharp edges. When using blocks, sand all corners smooth and position them away from drawer slides. Measure hardware length against cabinet depth before installation.
Validate Installation With Professional Testing
Don’t trust initial tightness—MDF lies. What feels secure today may loosen within weeks. Perform these tests before considering the job complete.
Immediate Load Simulation
Mount a full 12-pack toilet paper roll. Apply downward pressure equivalent to grabbing two sheets firmly (about 3 lbs). Next, simulate roll removal by twisting the holder clockwise with steady force. Any bracket rotation beyond 1/16 inch indicates insufficient compression—tighten nuts incrementally until movement stops.
Longevity Verification
Re-test after 48 hours of normal use. MDF compression occurs fastest initially. If loosening appears, don’t just retighten—add larger washers between bracket and cabinet to increase compression surface area. For reinforced mounts, this step should be unnecessary if pine block was properly secured.
Fix Common Problems Without Starting Over
Most failures have simple field repairs. Avoid the urge to relocate the holder—each new hole further weakens MDF.
Holder Wobbles After Tightening
Remove hardware and inspect holes. If MDF fibers are compressed (holes appear oval), fill with wood glue and toothpicks. Let dry 24 hours, then redrill pilot holes 1/8 inch offset from original. For reinforced mounts, tighten block nuts an additional 1/8 turn—wood compression often resolves minor wobble.
Bracket Rotates During Use
This indicates insufficient torque against MDF. Disassemble and add fender washers (1-1/2″ diameter) between bracket and cabinet. The wider surface distributes force, preventing fiber rotation. For severe cases, switch to reinforced mounting by adding a block behind the existing bracket.
Cracks Radiating From Mounting Holes
Stop using immediately—this signals structural failure. Fill cracks with wood filler, then relocate holder at least 2 inches away. At new location, use reinforced mounting with a 10-inch pine block spanning the crack zone. Never repair cracks by simply moving 1 inch over; compromised fibers extend beyond visible damage.
A rock-solid toilet paper holder installation on MDF cabinets demands respect for the material’s limitations. By choosing reinforced mounting whenever possible, drilling precise pilot holes, and validating stability through load testing, you’ll create a fixture that outlasts the vanity itself. That extra 15 minutes spent adding a pine backing block pays lifelong dividends—no more frustrating wobbles, no annual retightening, and no unsightly patch jobs from failed installations. When you follow these MDF-specific techniques, your holder won’t just hold toilet paper; it will hold its position through years of daily use, proving that the right method matters more than the hardware you choose.


