
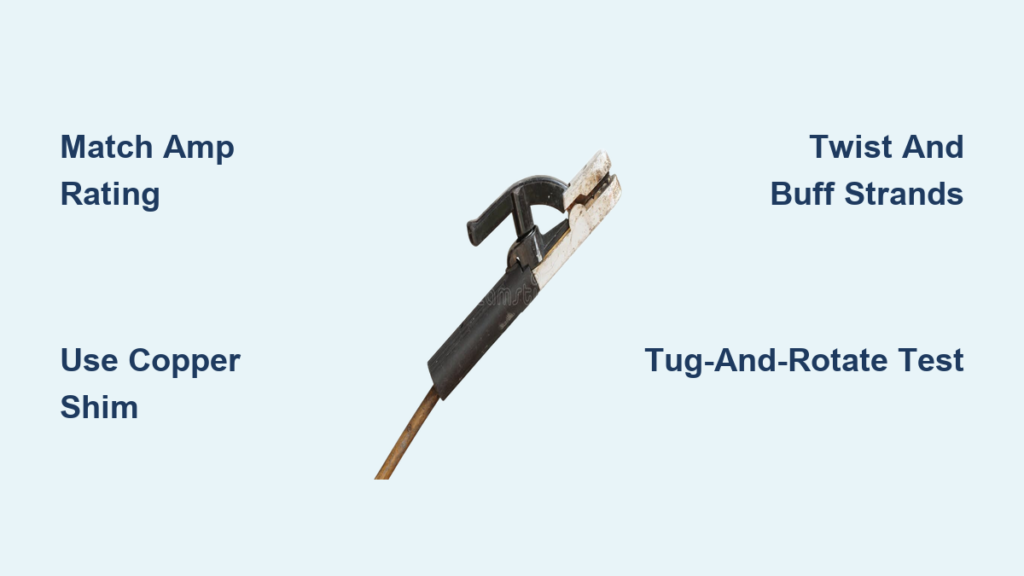
Your electrode holder starts glowing cherry red during a critical weld, the jaw jams shut on a spent rod stub, or you spot hairline cracks spiderwebbing across the handle—these aren’t just annoyances. They’re urgent warnings that your stinger (the welder’s electrode holder) is failing. Ignoring them risks inconsistent arcs, dangerous heat buildup, and costly downtime. The good news? Swapping this critical component takes under 15 minutes with basic tools and prevents hours of frustration. In this guide, you’ll discover the exact replacement process trusted by fabrication shops, including pro tricks for maximum conductivity and avoiding rookie mistakes that cause premature failure. Whether you’re repairing a cracked Hobart 160i stinger or upgrading to a heavy-duty Tweco unit, these field-tested steps ensure your next weld starts strong.
Match Amp Rating to Your Welding Current

Why Oversizing Prevents Overheating
Never pair a 200-amp holder with a 250-amp circuit—that mismatch guarantees rapid heat buildup that cooks cables and degrades connections. Always select a holder rated at least 20% above your maximum welding output. For weekend warriors using 150-amp machines, a 200-amp pistol grip offers lightweight control with glove-friendly ergonomics. Full-time fabricators running continuous beads need 300-amp units like the Jackson model to handle heat soak during marathon sessions. Underestimating this spec is the #1 cause of “new holder overheats” complaints on welding forums.
US Pistol-Grip vs British Straight-Bar Styles

North American shops overwhelmingly prefer US-style pistol grips with side-mounted thumb levers—their curved handles fit naturally in gloved hands during overhead work. But when welding inside tight pipe joints or machinery frames, British straight-bar holders (like Duro’s 200-amp flat-bar model) become essential. Their slim profile slides into cramped spaces where pistol grips snag, and crucially, they eliminate spring mechanisms that wear out in dirty shop environments. One pipefitter’s pro tip: Keep both styles in your kit. Swap to the straight-bar for confined-space repairs, then revert to pistol-grip comfort for open-air fabrication.
Trusted Models and Where to Buy
Don’t gamble on eBay specials that melt at 180 amps. Stick with these field-proven units:
– Tweco “Short Stub”: The industry standard ($20 at Airgas under Radnor branding). Its reinforced clamp bites electrode rods securely even with heavy spatter buildup.
– Jackson 300A: Shockingly affordable at $9.99 from ATL Welding Supply (free shipping over $100). Ideal for MIG/STICK combo welders needing heavy-duty reliability.
– Duro 200A Flat-Bar: No springs, no pins—just pure copper contact ($15 locally). Mechanics swear by its all-position reliability when welding truck frames.
Gather Essential Tools Before Starting
Critical Must-Have Items
- Replacement electrode holder (correct amp rating/style)
- 3mm or 1/8″ Allen key (usually included with new holder)
- Wire strippers or sharp utility knife
- Emery cloth or fine-grit sandpaper
- Optional but recommended: 8mm copper pipe scrap, propane torch, rosin-core solder
Why Copper Pipe Beats Improvised Shims
That tiny copper square in your holder package isn’t optional—it’s your conductivity lifeline. If lost, never substitute steel washers or aluminum foil. Instead, cut a 10mm segment from 8mm copper pipe, slit it lengthwise, and flatten it with a hammer. Heat it to dull red with a torch (annealing softens the metal), then quench in water. This homemade shim prevents set screws from slicing copper strands—a mistake that causes 70% of “new holder overheats” failures.
Disconnect Power with Zero Shortcuts
Capacitor Discharge Protocol
Unplugging alone isn’t enough on modern inverter welders. After killing main power, wait 3 full minutes—not 30 seconds—for high-voltage capacitors to drain. Verify zero voltage at the cable terminal with a multimeter set to DC 1000V range. One rig welder learned this the hard way: He skipped waiting, touched bare cable strands during replacement, and triggered a capacitor arc that welded his pliers to the terminal. Treat every welder like it’s live until proven dead.
Remove Old Holder Without Damaging Cable
Salvage Heat-Damaged Cables
Loosen the two set screws on the old holder’s cable barrel using the Allen key. If the copper strands appear blackened, brittle, or fused together (common after repeated overheating), snip back 2 inches with diagonal cutters to expose fresh metal. Never attempt to clean charred strands—they’ll break under clamp pressure. For severely damaged cables, splice in a new section using crimp lugs rated for welding current. A frayed cable under the new holder guarantees repeat failures.
Prepare Cable End for Maximum Conductivity
The Twist-and-Buff Technique
Strip exactly 25-30mm (1-1¼ inches) of insulation to expose copper—too little causes poor contact, too much risks stray strands. Twist strands clockwise with needle-nose pliers until they form a tight, rope-like bundle with zero stray “whiskers.” Then, lightly sand the entire exposed section with emery cloth until strands gleam like new copper pennies. This removes oxidation that increases resistance. One shop foreman’s rule: If you can’t see your reflection in the strands, keep buffing.
Install Copper Shim Like a Pro
Positioning Matters More Than You Think
Place the shim flat across the twisted strands—not folded or crumpled—before inserting into the holder barrel. If using copper pipe shim, ensure the slit faces upward so it expands evenly when clamped. The shim must sit fully under the set-screw pressure zone; if it protrudes past the barrel, the clamp won’t secure it. A subtle trick: Dip the shim in light oil before insertion. This lubricates the strands during tightening, preventing gouging while the copper deforms.
Insert Cable into New Holder Correctly
How to Feel the “Seat Point”
Push the cable straight into the holder barrel with firm, even pressure. You’ll feel subtle resistance increase when the shim aligns under the clamping zone—stop immediately. Forcing it further jams strands against the jaw mechanism, causing erratic electrode grip. If the cable slides in too easily, your stripped length is excessive. Trim back 5mm and re-twist. Proper insertion depth ensures the jaw pivot mechanism stays clear of cable bulk.
Tighten Set Screws Without Shearing Heads
The Quarter-Turn Rule
Tighten both screws alternately—one full turn on left, one on right—to distribute pressure evenly. Stop when resistance sharply increases (usually hand-tight plus ¼ turn). Over-tightening shears Allen key heads, especially on cheap holders. Test conductivity by squeezing the jaw shut: If the electrode wobbles, the cable isn’t seated. If the holder heats within minutes, the screws are too loose. One pipefitter’s failsafe: After initial tightening, weld a 2-inch bead, then re-tighten screws as copper cold-flows.
Verify Mechanical Security Before Welding
The Pull-and-Rotate Test
Grip the holder firmly and yank the cable toward you with 15-20 pounds of force—any movement means re-tightening is needed. Next, rotate the holder 360 degrees while maintaining tension. If the cable twists inside the barrel, strands are improperly twisted. A secure joint should withstand violent shaking during overhead welding. This step catches 90% of installation errors before they ruin your workpiece.
Final Inspection and Insulation Fixes
Eliminate Shock Hazards in Seconds
Check for stray copper strands poking from the holder body—these can arc to grounded surfaces. If found, slide heat-shrink tubing over the joint and shrink with a heat gun, or wrap tightly with 3 layers of 600V-rated electrical tape. Never use duct tape; its adhesive melts at welding temperatures. For extra protection in humid environments, apply dielectric grease inside the holder barrel before insertion to repel moisture.
Troubleshoot Post-Install Issues Fast
Why Your New Holder Might Fail Immediately
| Symptom | Root Cause | Field-Tested Fix |
|---|---|---|
| Holder heats in <5 mins | Underrated ampacity or loose cable | Confirm holder rating > max amps; re-tighten screws |
| Arc sputters randomly | Oxidized strands or missing shim | Disassemble, re-buff strands, reinstall with shim |
| Electrode slips mid-bead | Worn jaw faces (not spring-related) | Replace holder—jaw surfaces can’t be serviced |
Extend Holder Life with Smart Maintenance
Pro Shop Techniques You Need
- First-hour retightening: Copper strands cold-flow after initial heat cycles. Re-torque screws after your first short weld session.
- Jaw cleaning ritual: Chisel hardened spatter from jaw grooves weekly using a cold chisel. Buildup prevents full electrode seating.
- Storage hack: Hang stingers on insulated hooks—not metal surfaces—to avoid moisture wicking into cable entries. One shipyard welder swears by storing holders in rice-filled containers during humid seasons.
Critical Pre-Weld Checklist
Tape this inside your helmet visor:
– [ ] Holder amp rating ≥ max welding amps
– [ ] 25-30mm bright, twisted copper strands
– [ ] Shim fully covering strands under clamp
– [ ] Zero exposed copper outside holder body
– [ ] Cable passes tug-and-rotate test
Replacing a stick welder’s electrode holder isn’t just maintenance—it’s an investment in consistent arc starts and clean welds. Get the amp rating right, master the copper shim technique, and verify mechanical security, and your new stinger will deliver years of trouble-free service. When that next critical repair job demands perfect penetration, you’ll know exactly why pros treat this ten-minute swap as non-negotiable. Now grab your Allen key and reclaim control of your weld.


