
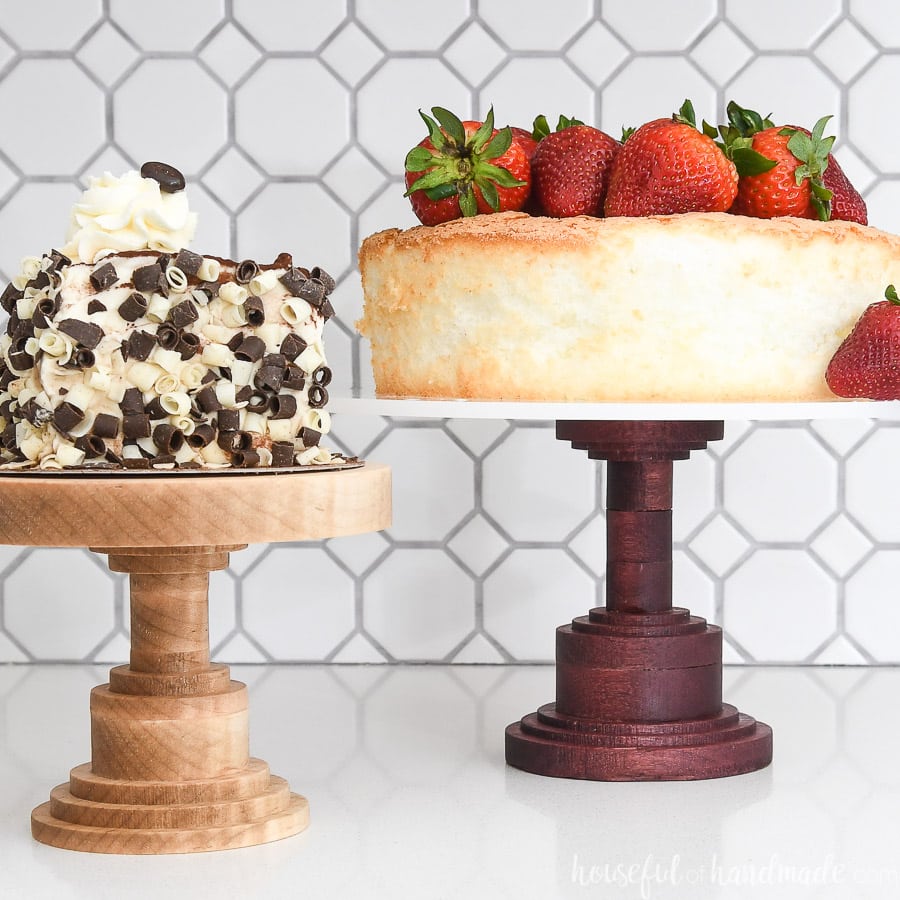
Nothing ruins a beautifully decorated cake faster than a wobbly, unattractive stand. Whether you’re displaying a towering wedding cake or presenting cupcakes at a birthday party, the right cake holder elevates both your dessert and the occasion. Instead of settling for store-bought options that don’t match your style or needs, how to make a cake holder gives you complete control over size, design, and functionality. This guide walks you through every step of creating a professional-quality cake holder, from selecting materials to applying the final food-safe finish. You’ll learn multiple construction methods, from simple single-tier stands to elaborate rotating displays, ensuring you can build exactly what your celebration demands.
Essential Materials and Tools for Your Cake Holder Project
Choose the Right Wood for Cake Display Stability
Hardwoods for Long-Lasting Durability
Maple, walnut, cherry, and oak offer superior strength and stunning grain patterns that become conversation starters. These woods naturally resist warping and accept finishes beautifully—select ¾-inch thickness for stability supporting cakes up to 25 pounds. Avoid cedar for direct food contact surfaces due to natural oils that could affect flavor.
Budget-Friendly Softwood Solutions
Pine provides an affordable starting point for beginners. While lighter and easier to work with, it requires thorough sealing to prevent moisture absorption from frosted cakes. Always apply extra finish coats to all edges where cake moisture might penetrate.
Sustainable Bamboo Advantages
Bamboo delivers natural antimicrobial properties and consistent grain that won’t splinter. Available in ½-¾ inch thicknesses, it’s lighter than hardwood while maintaining excellent strength—ideal for portable stands you’ll transport to potlucks or parties.
Hardware Requirements for Different Cake Holder Types
Basic Single-Tier Stand Essentials
– 12-inch hardwood circle (base)
– 10-inch hardwood circle (plate)
– 4-inch turned pedestal
– Food-safe wood glue
– Mineral oil or beeswax finish
– Sandpaper (120, 220, 400 grit)
Rotating Mechanism Must-Haves
– 6-8 inch lazy Susan bearing (50-100 lb capacity)
– 16-20 mounting screws (½-inch length)
– Non-slip mat material (cut to plate size)
– Drill with precise pilot bit
Build a Classic Wooden Cake Stand in 3 Steps
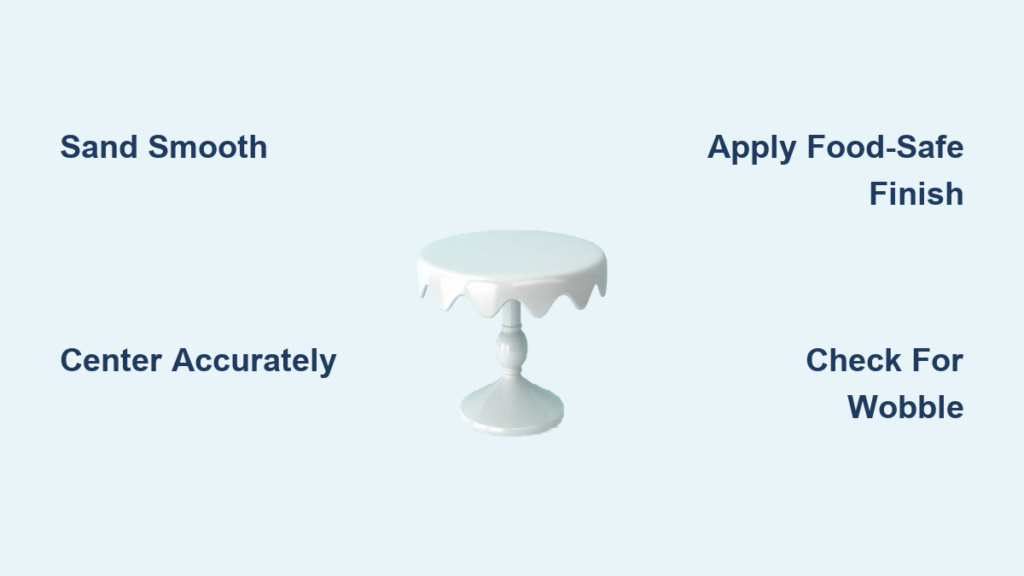
Prepare Wooden Components with Professional Results
Start by sanding your wooden circles and pedestal through three grits. Begin with 120-grit to remove any imperfections, progress to 220-grit for smoothness, then finish with 400-grit for a furniture-quality surface. Pro tip: Sand with the grain to prevent cross-grain scratches that show through the finish. Mark the exact center of both circles using a compass or by measuring from multiple edge points—accuracy here determines whether your stand wobbles or sits perfectly level.
Foolproof Assembly Process for Zero Wobble
Apply wood glue rated for food contact to both ends of your pedestal. Spread thin, even coats using a small brush to avoid messy squeeze-out. Position the pedestal on the center mark of your base plate, then immediately place the top plate on the pedestal’s upper end. Clamp the entire assembly for 24 hours using bar clamps or heavy books, placing wax paper between clamps and wood to prevent glue stains. After curing, sand the entire piece once more with 400-grit paper to level any slight irregularities—this final sanding makes the difference between amateur and professional results.
Apply Food-Safe Finish That Protects Your Cake
Apply 3-5 coats of mineral oil using a lint-free cloth, allowing 4-6 hours drying time between applications. The wood will appear dull initially but develops a rich sheen after multiple coats. For enhanced protection against cake moisture, add a final coat of beeswax, buffing gently with 0000 steel wool for a satin finish. Critical safety note: Ensure complete curing (24-72 hours) before first use with food—rushing this step risks finish transfer to your cake.
Construct Tiered Display Stands Without Leaning

Three-Tier Configuration That Supports Heavy Cakes
Drill perfectly centered holes through each plate using a drill press or careful hand drilling—this is where accuracy prevents wobble. Create a counterbore on the bottom of your base plate to recess the final nut, ensuring your stand sits flat. Thread components in sequence: base plate, washer, nut (tightened underneath), spacer nut, middle plate, spacer nut, top plate, final washer and nut. Check level at each stage using a small level to prevent leaning that could topple your cake.
Weight Distribution Secrets for Tall Cakes
Place heavier items on lower tiers, reserving the top tier for lightweight decorations or a small cake topper. This configuration prevents tipping even with substantial cakes—never put a dense 8-inch chocolate cake on the top tier of a three-tier stand. For extra security with wedding cakes, add ¼-inch stainless steel washers between tiers to distribute weight evenly.
Add Rotation Mechanism for Professional Decorating
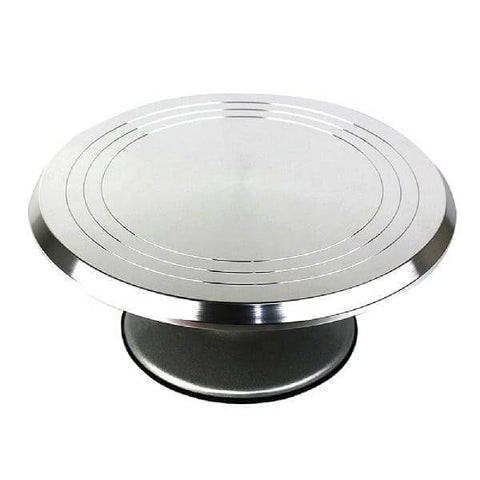
Lazy Susan Installation That Spins Smoothly
Mark screw hole locations on your base plate by centering the lazy Susan bearing and tracing through the holes. Pre-drill pilot holes to prevent wood splitting during screw installation—this step is crucial for hardwoods like maple. Attach the bearing’s stationary portion to your base plate using provided screws. Test rotation before attaching the top plate—smooth movement indicates proper installation. If binding occurs, slightly loosen screws and realign before final tightening.
Non-Slip Surface That Prevents Cake Sliding
Cut non-slip mat material (available at craft stores) to fit your top plate exactly. This prevents cake movement during rotation and provides additional stability for tall or layered cakes. For best results, apply the mat after your final finish coat but before the beeswax—this creates a seamless transition between materials.
Troubleshooting Common Cake Holder Problems
Fix Wobbling Issues in Under 5 Minutes
Quick Solutions That Work Immediately
– Add self-adhesive felt pads under uneven corners
– Tighten all hardware connections with a hex key
– Replace warped components with new wood
– Add a weighted base (attach a metal disc underneath)
Wobble usually stems from uneven drilling or surface imperfections—never try to “fix” it by tightening clamps excessively during assembly, as this creates internal stress that worsens over time.
Repair Finish Problems Without Starting Over
Cloudy finishes typically indicate trapped moisture—allow additional curing time or lightly sand and reapply. For peeling finishes, completely remove old coating with fine sandpaper before refinishing. Critical tip: Always test finishes on scrap wood first—some oils can cause allergic reactions if not fully cured, especially walnut oil which contains potential allergens.
Maintenance and Care for Long-Lasting Use
Cleaning Guidelines That Preserve Your Craftsmanship
Wooden Stands
Hand wash only using mild soap and warm water—never submerge. Dry immediately with a soft towel, then air-dry completely before storage. Re-oil monthly or whenever the wood appears dry (it should never feel rough). Avoid vinegar-based cleaners that can degrade natural finishes.
Storage Solutions That Prevent Damage
Store disassembled tiered stands in labeled containers to prevent loss of small hardware. Wrap wooden components in soft cloth to prevent scratches during storage—never stack bare wood pieces directly on each other. For rotating stands, leave a slight gap between top and base plates to maintain bearing alignment.
Budget Breakdowns for Every Skill Level
$15 Basic Stand Perfect for Beginners
Using pine circles from home centers ($8) and basic mineral oil finish ($3), create a functional 10-inch stand in under 2 hours. Add $4 for sandpaper and glue—ideal for everyday use with sheet cakes or cupcakes. While not heirloom quality, this budget version handles most casual gatherings beautifully.
$75 Premium Project That Rivals Store-Bought
Walnut hardwood ($40), professional lazy Susan hardware ($20), and custom decorative elements ($15) create a luxury piece that elevates any dessert. This investment-grade stand supports 20+ pound cakes and becomes a family heirloom with proper care—worth every penny for frequent entertainers.
Final Safety Considerations Before First Use
Always verify FDA approval for all materials, especially finishes and metal components. Inspect stands regularly for cracks, finish degradation, or loose hardware that could compromise safety—discard any stand showing structural weakness. Never use cedar for direct food contact surfaces, and ensure all finishes are completely cured (72 hours minimum) before placing cakes on your new holder.
Your handmade cake holder becomes both a functional serving piece and a conversation starter at every gathering. With proper construction and care, these stands last for decades, making them worthy investments for any home baker. Start with a simple single-tier design to build confidence, then progress to rotating or tiered versions as your skills grow—each project brings you closer to creating the perfect custom display for your most important celebrations.


