
Picture this: you’ve spent hours crafting perfect cake pops, only to watch them roll off a flimsy tray as guests scramble to catch them. A poorly chosen holder doesn’t just ruin presentation—it turns your sweet creations into a dessert disaster. The right cake pop holder ideas transform treats into showstopping centerpieces that stay secure from setup to the last bite. Whether you’re a home baker preparing for a birthday or a professional handling a wedding, this guide reveals proven display solutions that prevent messy mishaps and maximize visual impact. Discover how to match holders to your event’s theme, scale, and budget while keeping every pop perfectly positioned.
Mason Jar Cake Pop Displays That Never Tip Over
Skip unstable trays by anchoring cake pops in wide-mouth mason jars filled with decorative stabilizers. Colored rice, coffee beans, or bulk sprinkles add vibrant texture while locking sticks firmly upright—no more leaning or falling. For individual favor displays, drill precise holes through metal lids and insert pops directly into the jar’s opening.
Themed Jar Transformations in Under 10 Minutes:
– Wrap burlap around jars and secure with twine for rustic weddings
– Adhere comic book pages with mod podge for superhero birthday parties
– Layer pastel sugar inside clear jars to match baby shower palettes
– Group three jars of graduated heights for instant visual drama
Pro bakers swear by this trick: fill jars only ¾ full to prevent spills when transporting. The weight of the base material counteracts top-heavy pops, eliminating wobble on uneven tables. For outdoor events, secure jars to trays with double-sided tape—this simple step stops wind or accidental bumps from turning dessert displays into chaos.
DIY Tin Can Holders That Cost Less Than $1 Per Pop
Transform empty tomato paste or coffee cans into sturdy, theme-matched displays using supplies you already own. After thorough cleaning, line cans with scrapbook paper featuring nursery rhymes for baby showers or metallic foil for New Year’s parties. Fill the base with plaster or marbles to anchor the structure before inserting pops.
Size-Specific Can Solutions:
– Tomato paste cans (2.5″ diameter): Hold 3-4 pops for intimate gatherings
– Soup cans (3″ diameter): Perfect for 8-10 pops at kids’ parties
– Coffee cans (6″ diameter): Display 12+ pops for office events
Avoid common mistakes by sanding sharp can edges and sealing painted surfaces with food-safe varnish. For holiday themes, wrap cans in red-and-green plaid fabric and fill with cinnamon sticks—this doubles as a fragrant decoration. When transporting, nest smaller cans inside larger ones to save space while protecting delicate coatings from smudges.
Foam Foundation Systems for Flawless Large Events

Styrofoam blocks are the secret weapon for displaying 20+ cake pops without a single collapse. Cut a 4×6 inch block to size, then wrap it tightly in tissue paper matching your event colors—this hides the foam while adding polish. For weddings, shape blocks into hearts using cookie cutters as stencils, then cover with lace fabric.
Critical Foam Safety Tip: Never let cake pop sticks touch bare foam. The greasy coating on chocolate-dipped pops degrades foam, creating crumbs that contaminate treats. Always:
1. Wrap blocks completely in decorative paper or fabric
2. Insert sticks through the covering material
3. Replace foam after each event for food safety
Floral foam works surprisingly well for fresh displays—lightly mist it before inserting pops to prevent crumbling. For grand entrances, stack two foam blocks at staggered heights using hot glue, then drape with faux greenery. This creates a cascading effect that draws guests toward your dessert table while keeping every pop securely positioned.
Edible Cake Pop Stands That Guests Can Devour
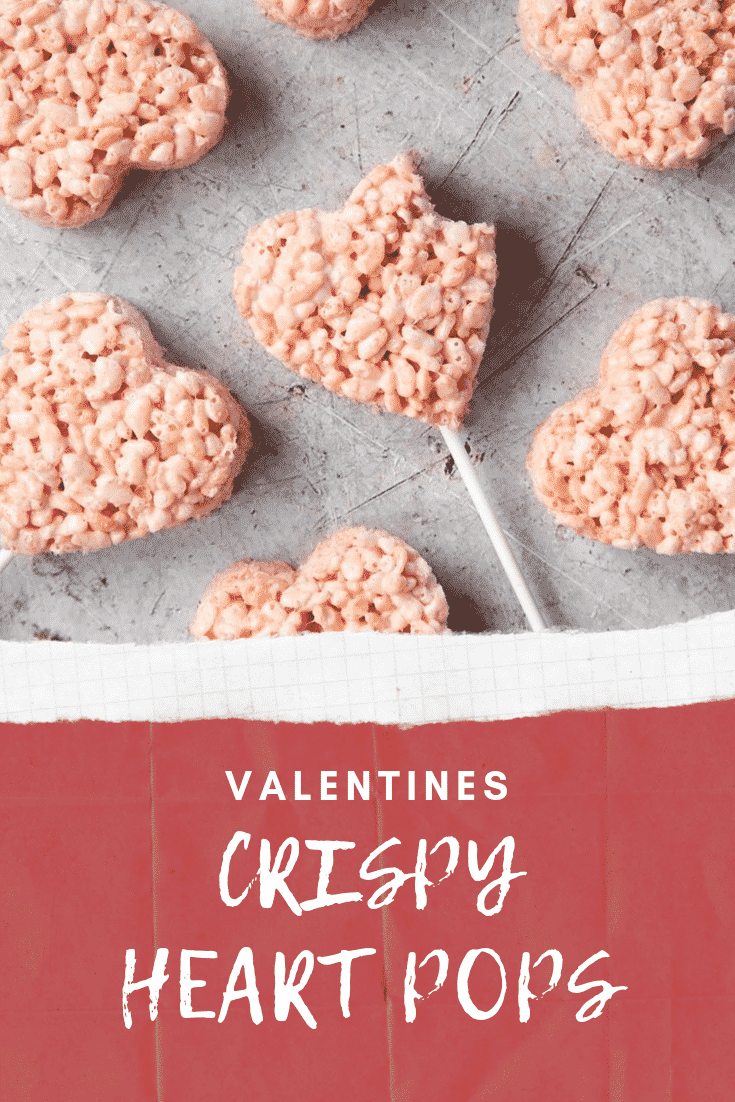
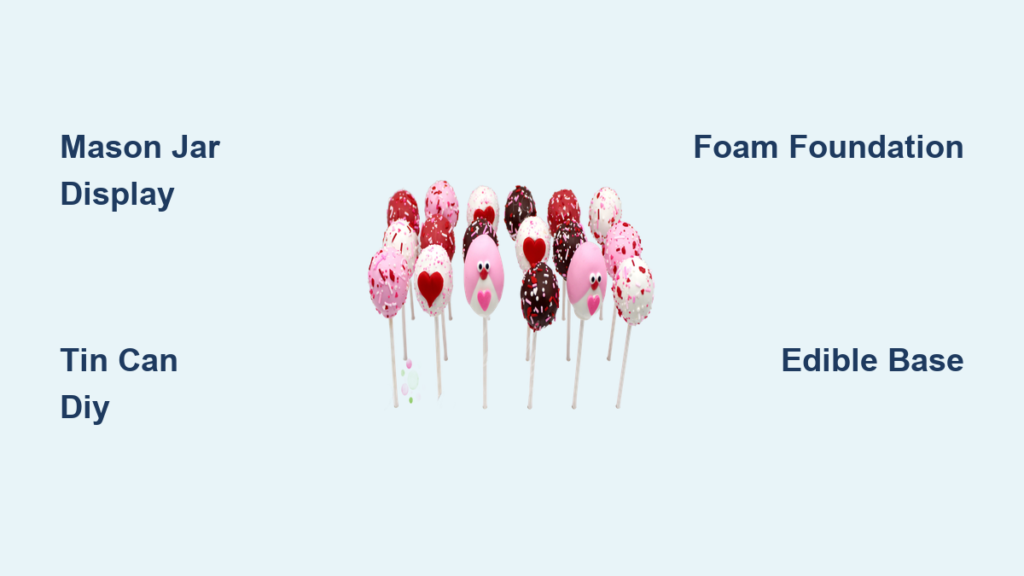
Why waste space on non-edible holders when your base can be part of the treat? Press warm rice crispy squares into heart-shaped pans for Valentine’s Day displays—insert pops once cooled for perfect grip. For quick holiday solutions, hollow mini pumpkins, fill with caramel, and arrange orange-and-black cake pops like edible jack-o’-lanterns.
3 Foolproof Edible Bases:
– Oreo towers: Stack 3 cookies with chocolate “glue,” inserting one pop per tower
– Toasted baguette slices: Cut 1″ thick rounds for rustic stability
– Graham cracker grids: Arrange 8 crackers in a checkerboard pattern secured with melted candy
Bakers warn against using soft breads like sandwich loaves—they compress under stick pressure. Instead, lightly toast bases first to create a firm surface that grips sticks without cracking coatings. These edible holders solve storage headaches too: pack them flat in containers with parchment layers, and they’ll survive transport without shifting.
Natural Wood Presentations for Rustic Charm
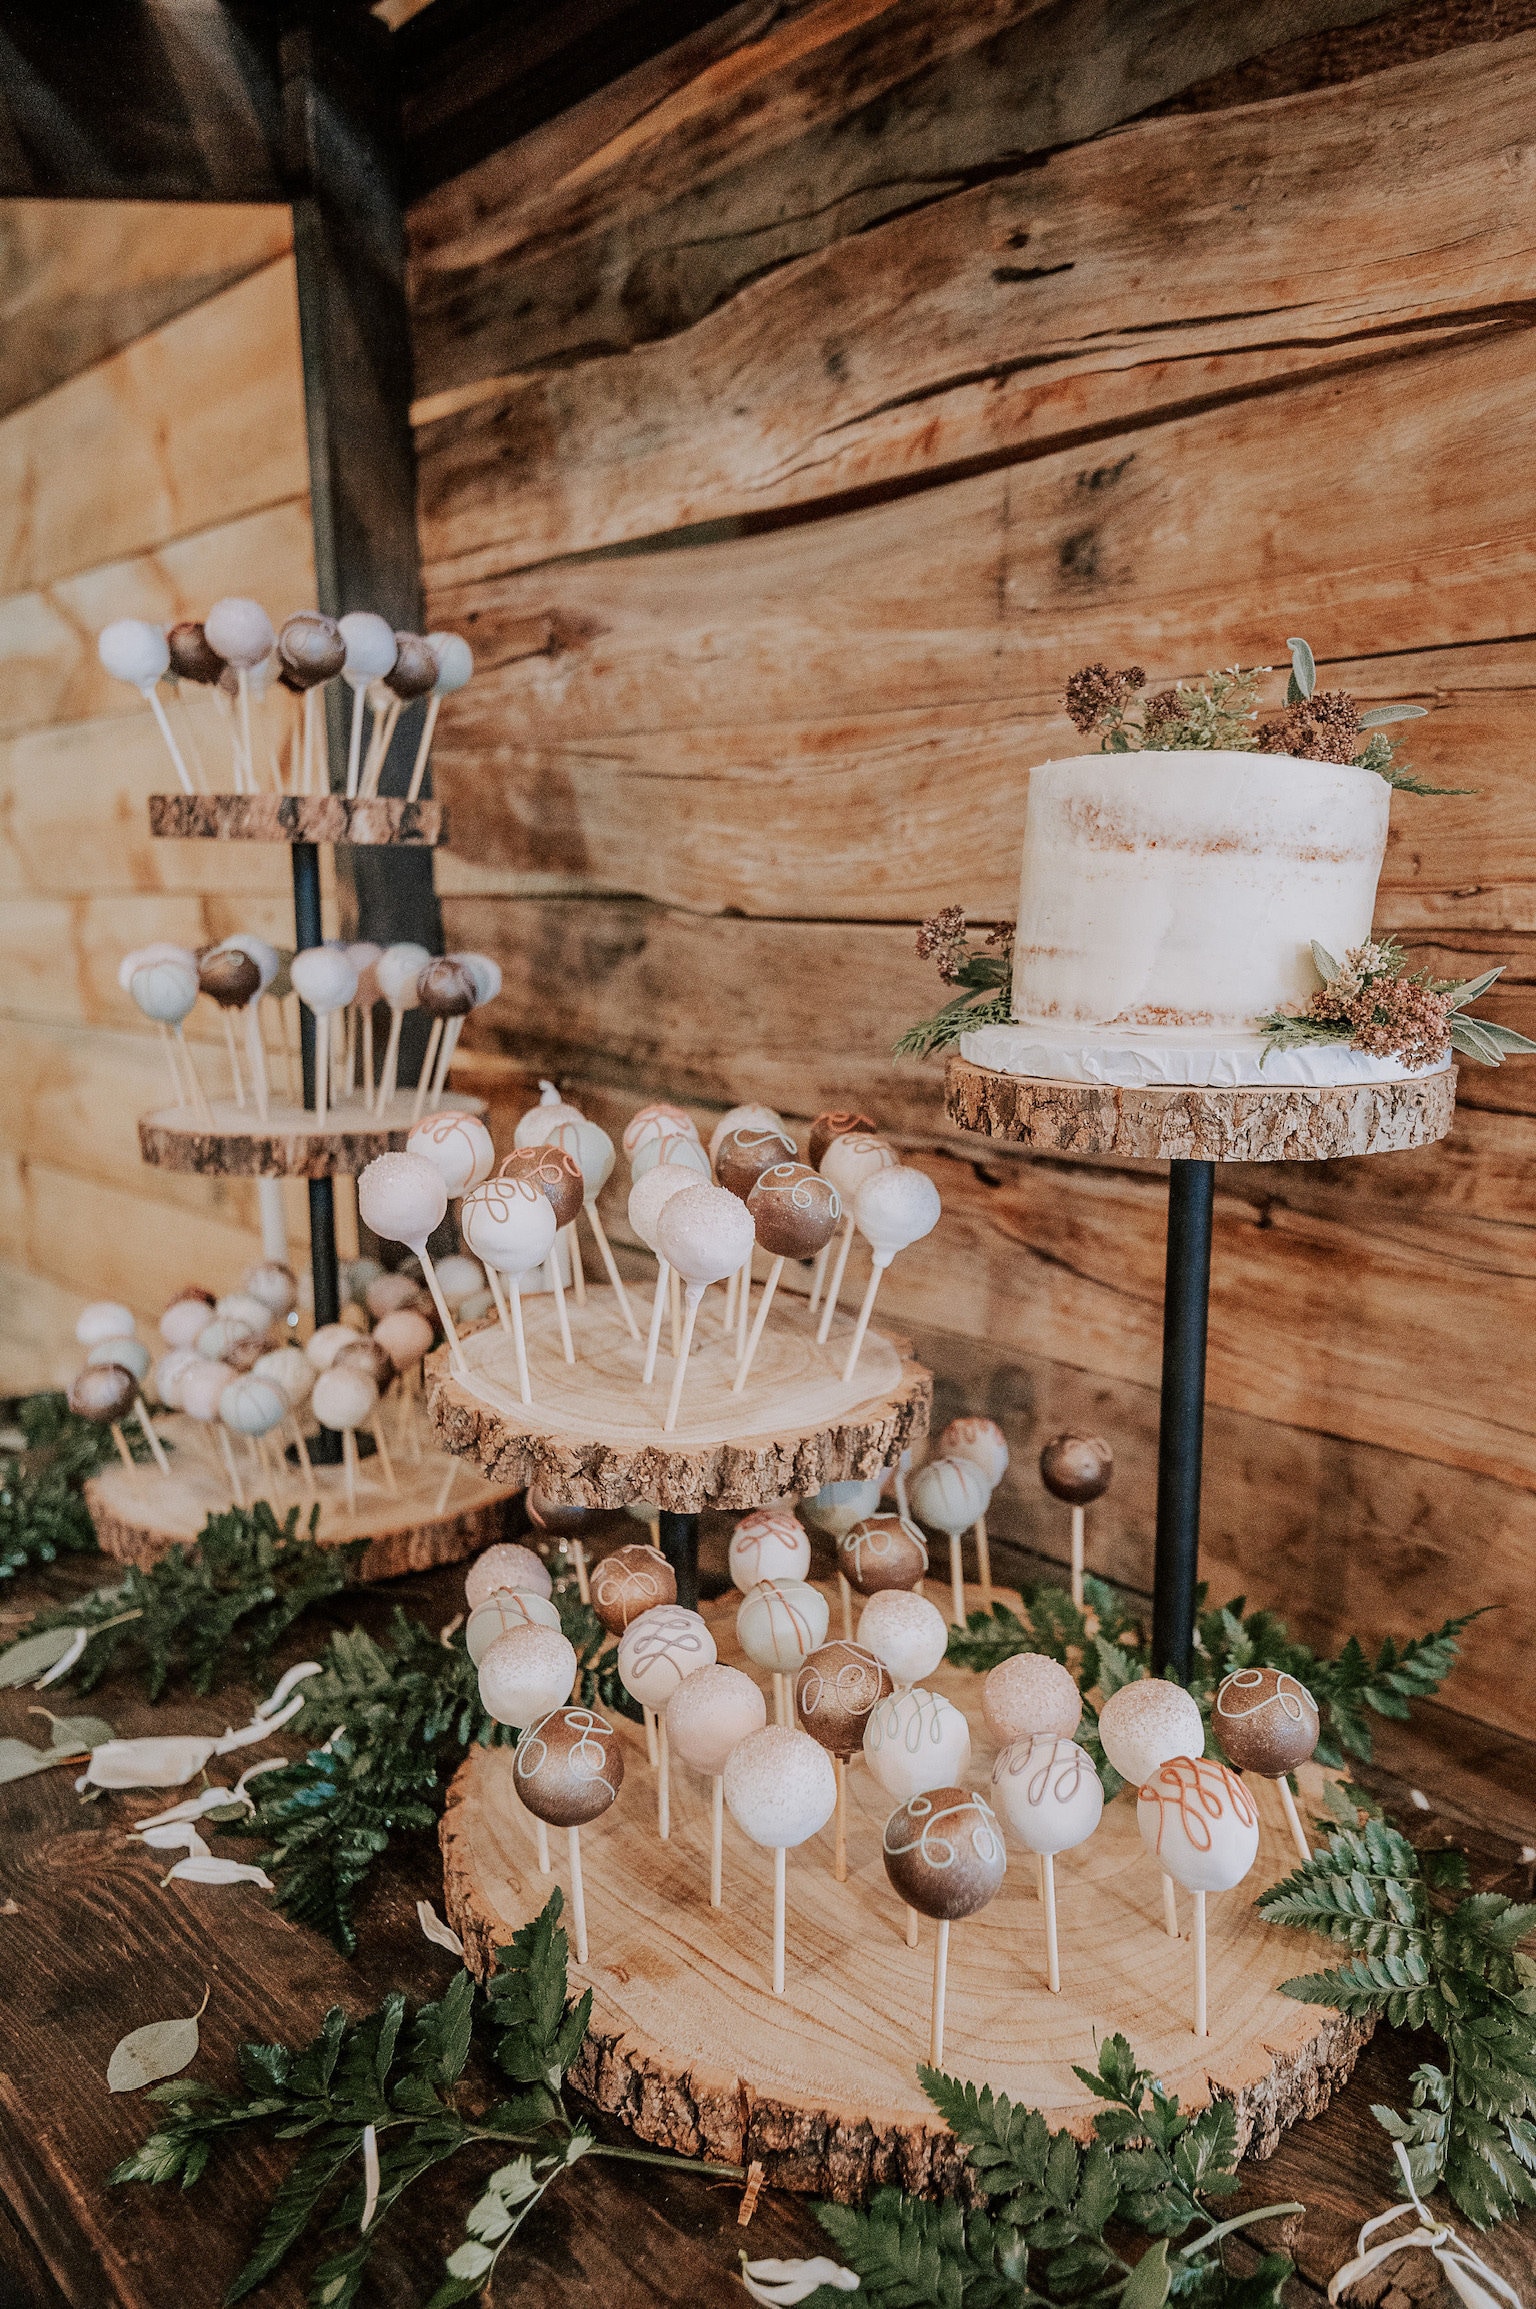
Tree slice bases bring organic elegance to farmhouse weddings or garden parties. Sand 1-2 inch thick oak or maple rounds until smooth, then seal with food-safe mineral oil to preserve the wood’s natural grain. Drill ¼-inch holes spaced 2 inches apart to hold 6-8 pops per slice—this spacing prevents accidental knocks during serving.
Driftwood Display Hack: Select pieces with natural crevices, or drill shallow holes at 15-degree angles for dynamic arrangements. Place slices on burlap-covered trays and tuck sprigs of rosemary between pops for aromatic flair. For rainy events, position wood bases under canopies—untreated wood warps when wet, but mineral oil sealing prevents moisture damage for 3-5 uses.
Pro tip: Arrange slices in a staggered “river rock” pattern across the table. This creates visual movement that guides guests toward your dessert spread while ensuring every pop remains easily accessible.
Professional Display Systems for Stress-Free Events
When perfection is non-negotiable, acrylic tiered stands deliver bakery-quality results with zero DIY stress. A 3-tier model holds 36 pops in organized sections, letting guests view all flavors without crowding. For corporate events, choose rotating bases that turn with a gentle push—this 360-degree access prevents long lines at dessert tables.
Rent vs. Buy Calculator:
– Under 5 events/year: Rent lighted acrylic displays ($25/day)
– 5+ events/year: Buy modular metal wire racks ($60 investment)
– Commercial bakeries: Invest in refrigerated cases ($200) for chocolate varieties
Never skip the stability test: fill your display with pops at home first. If it wobbles, add weight to the base with hidden sandbags (for rentals) or hot-glued marbles (for owned units). For outdoor weddings, position lighted bases away from direct sun—LEDs overheat and dim when exposed to temperatures above 85°F.
Transform cake pop disasters into dessert triumphs by matching holders to your event’s specific needs. Remember these quick takeaways: mason jars prevent tipping for small gatherings, foam foundations handle large displays safely, and edible stands double your treat count. Always transport displays vertically with foam inserts, and replace porous materials like foam after each use for food safety. Start with one DIY method that fits your theme—like comic-covered tin cans for birthday parties—and expand your collection as you host more events. Within three gatherings, you’ll have a versatile toolkit that makes every cake pop display look professionally designed. Ready to wow your guests? Choose one holder idea today and watch your treats become the unforgettable highlight of any celebration.


