
That shaky, inconsistent Copperplate you’ve been struggling with? It’s not your skill—it’s your tool. The oblique pen holder’s angled flange automatically maintains the critical 55-degree writing position your wrist can’t sustain, transforming scratchy attempts into professional calligraphy. Without mastering this specialized holder, you’ll waste hours fighting inconsistent angles and hand fatigue. In this guide, you’ll discover precisely how to install nibs, grip the holder, and execute perfect strokes—whether you’re addressing wedding invitations or practicing Spencerian script.
Forget generic “beginner tips.” You’ll learn the exact pressure control tactics, flange adjustments, and posture fixes that separate frustrated amateurs from confident calligraphers. By the end, you’ll troubleshoot common issues before they ruin your project and build muscle memory for effortless flourishing.
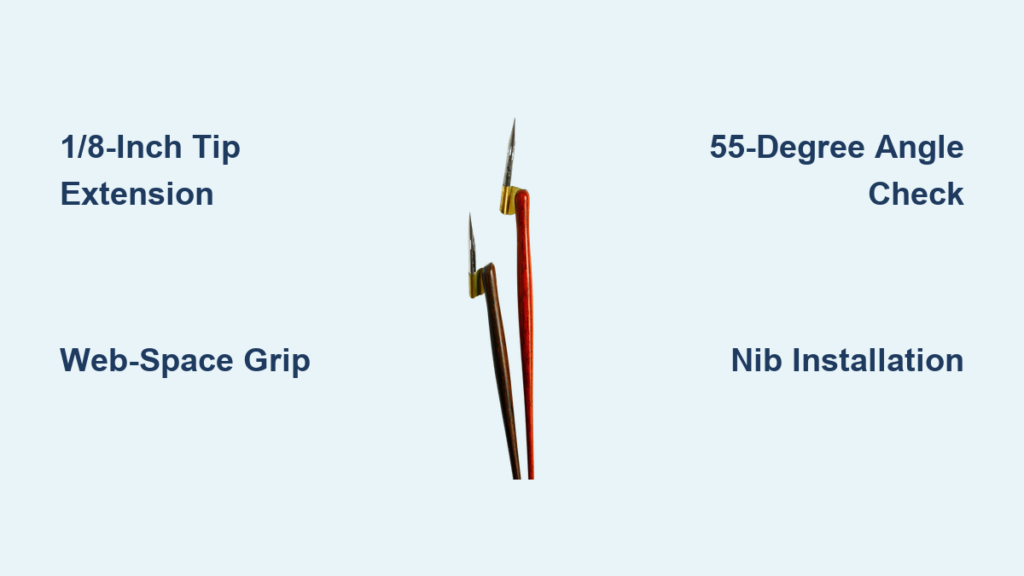
Nib Installation That Prevents Ink Skipping

Your oblique holder’s magic starts with flawless nib installation. Skipping this step causes frustrating ink skips and inconsistent line variation that no amount of practice fixes. The key is aligning the nib’s vent hole with the flange’s curve while ensuring precise tip extension.
Eliminate Manufacturing Oils Before First Use
New nibs arrive coated in oils that repel ink, causing beads instead of smooth flow. Swab the entire nib—including tines and vent hole—with rubbing alcohol on a lint-free cloth. Dry completely before installation. Critical mistake: Skipping this creates “dry spots” where ink refuses to flow, forcing constant re-dips during writing.
Perfect 1/8-Inch Tip Extension Technique
Hold your oblique holder vertically with flange pointing up. Slide the nib base into the flange’s curved seat until it stops naturally. The vent hole must align with the flange’s highest curve—this channels ink smoothly. Check your work: The tip should extend exactly 1/8 inch beyond the flange edge. Too short? The flange scrapes paper. Too long? The nib wobbles uncontrollably.
Left-Handed Flange Adjustment Protocol
Standard oblique holders position the flange for right-handed writers. If you’re left-handed, gently reverse the flange orientation using smooth-jaw pliers wrapped in tape. Pro tip: Hunt 22 nibs often require 5-10 degree flange bends for optimal flow—test on scrap paper before your final project. Never force adjustments; metal fatigue causes permanent flange damage.
Grip and Posture Fixes for Shaky Lines

Hand cramps and inconsistent angles stem from incorrect grip—not lack of talent. Your oblique holder only works when positioned as an extension of your forearm, not a tool you wrestle with.
Web-Space Grip Method
Hold the holder 1-2 inches behind the flange (never at the end). Rest it in the web space between thumb and index finger, supported by your middle finger. Pressure check: Reduce grip strength by 30%—your knuckles shouldn’t whiten. The flange should point toward your left shoulder (right-handed), creating a straight line from elbow to nib tip.
Paper Angle That Prevents Fatigue
Position paper at a 45-degree angle to your body’s center line. Keep your forearm parallel to the paper’s bottom edge with feet flat on the floor. Distance rule: Maintain 8-12 inches between eyes and paper. Closer distances cause hunching; farther strains precision. Rotate the paper—not the pen—to maintain angles during curves.
55-Degree Contact Point Verification
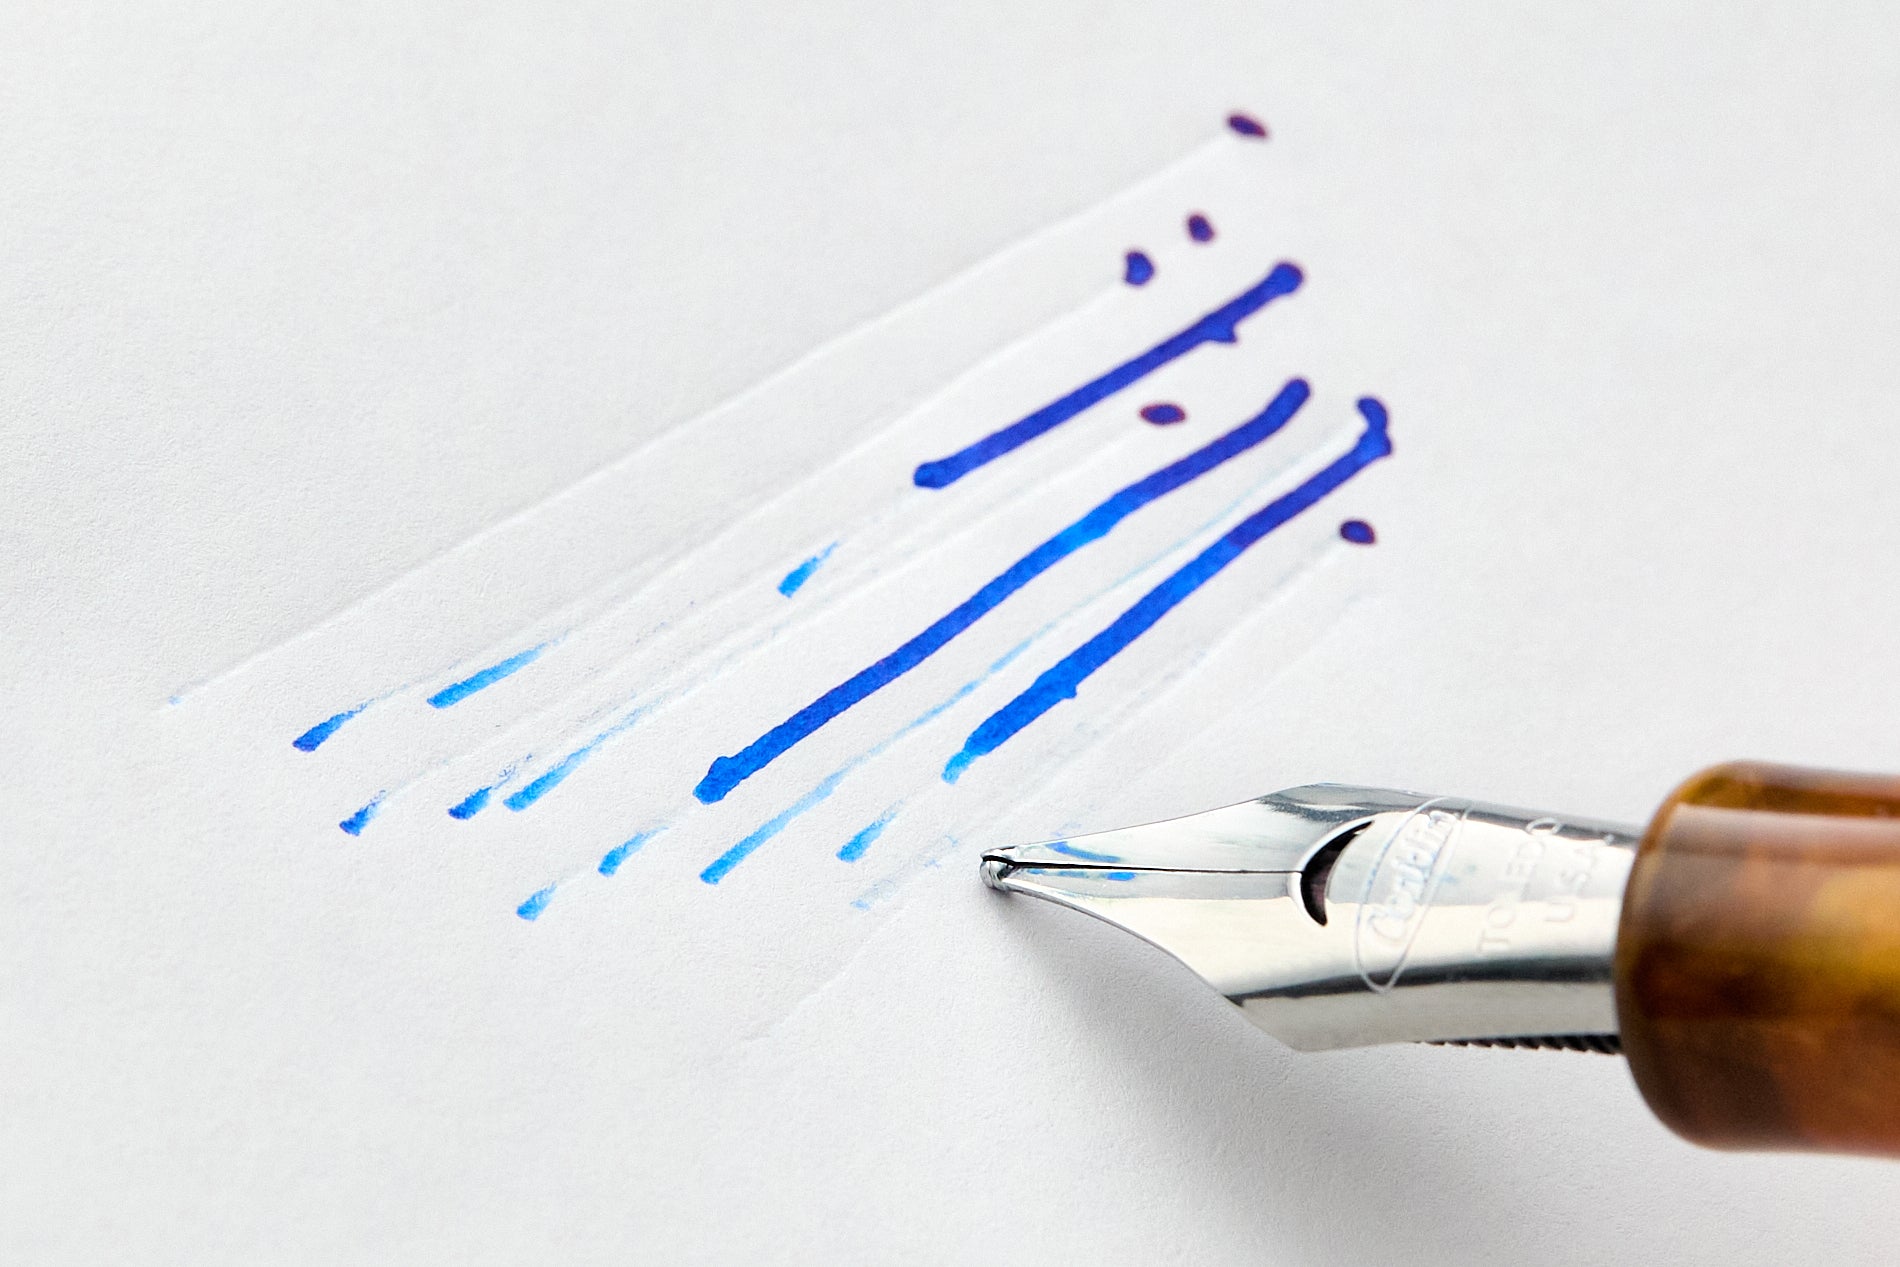
The flange creates this angle automatically, but only if the nib tip (not its side) touches paper. Quick test: Write a straight downstroke. If it’s a thin hairline instead of a shaded line, your angle is too steep. Adjust until downstrokes naturally swell from 0.5mm to 3mm with pressure.
Pressure Control for Professional Line Variation
Inconsistent strokes ruin even beautiful letterforms. Mastering pressure transforms your oblique holder from a frustrating tool into a precision instrument.
Hairline to Shade Transition Drill
Dip your nib to just above the vent hole (1/4 inch), then tap excess ink on the bottle rim. Practice single strokes: start with zero pressure for hairlines, gradually increase during downstrokes, then release for hairlines again. Re-dip rhythm: Refresh ink every 2-3 words—waiting for complete dryness creates broken strokes impossible to fix.
Paper Selection That Prevents Feathering
Use smooth, non-absorbent papers like Rhodia or Bristol board. Place a guide sheet underneath for consistent x-heights. Critical tip: Secure paper with low-tack tape. Shifting paper mid-word destroys alignment. Rotate the sheet—not your wrist—to maintain the 55-degree angle through curves.
Troubleshooting Real-Time Writing Failures
Stop ruining expensive paper with preventable mistakes. These fixes take seconds but save hours of frustration.
Instant Scratchy Nib Diagnosis
Scratchy writing means misaligned tines or dried ink. Remove the nib and inspect under bright light—the tines should form a perfect V without crossing. Do this now: Soak in cool water for 3 minutes, then gently scrub tines with an old toothbrush. Never bend tines; replace nibs instead.
Hand Fatigue Emergency Fix
Shaking hands indicate death-grip syndrome. Place your elbow on the table and let your forearm float parallel to the paper. Break protocol: Take 5-minute breaks every 30 minutes. During breaks, shake out your hand and reset your grip pressure.
Maintenance That Doubles Your Holder’s Lifespan
Most oblique holders fail from preventable neglect—not wear. Daily care prevents rust, flange loosening, and nib damage.
Post-Session Nib Care Routine
Rinse nibs under cool running water until water runs clear. Dry immediately with a soft cloth—never air-dry. Storage rule: Remove nibs before storing the holder. Leaving them in causes rust and flange warping. Store horizontally in a pen rest to prevent rolling.
Monthly Flange Tune-Up
Check set screw tightness with a micro-screwdriver. Tighten just until snug—over-tightening strips threads permanently. Then, apply a pinhead-sized drop of machine oil to the flange hinge. Warning: Skip this, and dried ink will seize your flange within months.
Advanced Flourishing Without Angle Breakdowns
Flourishes separate competent calligraphers from masters. The oblique holder’s fixed angle is your secret weapon—if you move correctly.
Whole-Arm Flourishing Technique
Practice figure-eights on scrap paper using shoulder movement (not fingers). Keep the 55-degree angle consistent through loops by rotating your paper. Speed progression: Start painfully slow for control, then gradually increase speed while monitoring line consistency. If shades thin out, you’re losing angle.
Nib Swapping for Dramatic Effects
The same holder creates wildly different results with nib swaps:
– Hunt 22: Ultra-fine strokes for delicate envelope addresses
– Nikko G: Bold, consistent shading for business headings
– Brause 66EF: Maximum flexibility for artistic swashes
Pro insight: Clean and dry holders between nib changes to prevent cross-contamination.
Safety Steps That Prevent Costly Damage
Oblique holders contain hidden hazards that destroy tools if ignored.
Always handle nibs like scalpels—they’re surprisingly sharp during installation. Store holders in protective cases away from children (loose set screws are choking hazards). Travel rule: Remove nibs entirely before transporting. A bent flange in transit costs $30+ to replace.
30-Day Practice Roadmap to Confidence
Week 1: Drill straight lines and ovals for 15 minutes daily, focusing on pressure control. Week 2: Connect strokes into minuscule (lowercase) letters with consistent spacing. Week 3: Tackle majuscules (capitals) while maintaining angles through ascenders. Month 2: Write full sentences with even word spacing. Month 3: Add flourishes to signatures. Critical insight: Muscle memory develops fastest when you practice the same stroke 50 times consecutively—not jumping between letters.
Mastering your oblique pen holder turns calligraphy from a frustrating chore into a joyful flow state. Implement these precise techniques—especially the 1/8-inch tip extension and web-space grip—and you’ll produce gallery-worthy Copperplate within weeks. Your next project won’t just look professional; it will feel effortless.


