
That flickering porch light isn’t just annoying—it’s screaming about a failing bulb holder. Before you waste $200 on an electrician for what should be a 30-minute fix, know this: replacing a worn lamp socket is one of the most accessible electrical repairs you can tackle. How to change a bulb holder safely takes less than an hour with basic tools, costs under $15 in parts, and prevents the fire hazard hidden behind that discolored socket. Most homeowners panic at the thought of touching electrical components, but with the right precautions, this project is simpler than unclogging a drain.
You’ll discover exactly which tools actually matter (spoiler: skip the $200 electrician’s toolkit), how to identify wire connections without guessing, and the three critical warning signs that mean “call a pro immediately.” This guide cuts through confusing tutorials to deliver field-tested steps from licensed electricians. By the end, you’ll confidently handle standard E26 sockets, candelabra bases, and even tricky bayonet mounts—saving money while ensuring your home’s safety. Let’s transform that intimidating task into your next DIY victory.
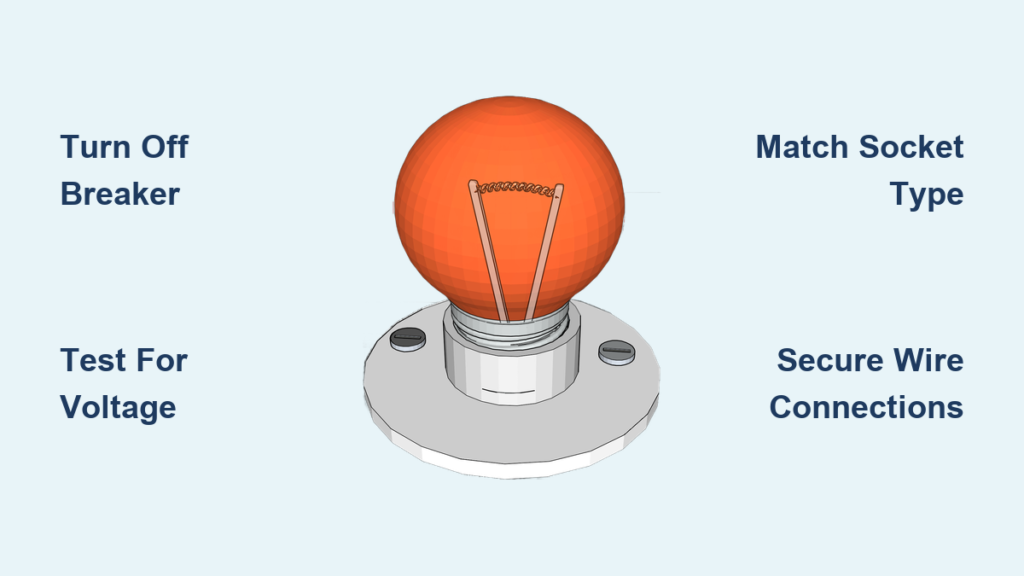
Stop Power at the Source—Not the Switch
Relying solely on a wall switch is how DIYers get shocked. Wall switches only interrupt the hot wire, leaving the neutral live if wiring is reversed. Head straight to your electrical panel and flip the breaker controlling the fixture. If unsure which breaker to cut, flip the main disconnect—this kills power to the entire house but guarantees safety. Tape the breaker in the OFF position with painter’s tape and hang a “DO NOT TURN ON” sign to prevent accidental re-energizing.
Verify Zero Voltage with a Tester
Never skip this step—even if you’re certain power is off. Grab a non-contact voltage tester ($10 at hardware stores), test it on a working outlet first to confirm functionality, then check both wires in the fixture. Hold the tester near the black (hot) and white (neutral) wires while they’re still connected. No beep or flashing light? Good. Now test again after disconnecting wires to ensure no stray current exists. If the tester activates at any point, return to the panel and recheck your breaker.
Secure Your Work Area Before Proceeding
Place a non-slip ladder on dry flooring beneath the fixture—never stand on chairs or countertops. Put on safety glasses to shield against falling debris from ceiling boxes, and wear rubber-soled shoes. Lay out all tools within arm’s reach on a dry surface below. If working on a ceiling fixture, position a soft towel on the floor to catch dropped screws. This 60-second setup prevents accidents that turn simple repairs into emergencies.
Grab These 5 Essential Tools (Skip the Fluff)

Most tutorials overcomplicate the toolkit. You need only five items for 95% of bulb holder replacements: a non-contact voltage tester, Phillips screwdriver, needle-nose pliers, wire strippers, and electrical tape. Skip expensive multimeters and specialty crimpers—this isn’t rocket science. For tight spaces, add a headlamp to keep hands free. Always use tools with insulated handles rated for 1,000V (marked on the handle).
Match Your Replacement Holder Exactly
Bring the old holder to the hardware store—even if it’s broken. Compare base types: E26 for standard bulbs (1-inch diameter), E12 for chandeliers (candelabra), or B22 for bayonet mounts (common in older homes). Check voltage (120V in North America) and wattage rating on the holder’s label—never exceed this. If the old holder has scorch marks, upgrade to a ceramic version ($8 vs. $3 plastic) for better heat resistance. Pro tip: Snap a photo of the old holder’s wiring diagram if labels are faded.
Remove the Old Fixture Without Wire Damage
Lower the Fixture Safely in 3 Steps
- Unscrew and remove the light bulb first—glass shards complicate repairs
- Locate mounting screws (usually 2-3 at the fixture base) and loosen them gradually while supporting the fixture’s weight with your other hand
- Never let the fixture hang by its wires—rest it on a ladder shelf or have a helper hold it
If wires feel taut when lowering, stop immediately. You’ve likely missed a mounting screw—recheck the fixture’s perimeter. For heavy fixtures like chandeliers, use a bungee cord to suspend weight from the ceiling hook.
Photograph Every Wire Connection
Before disconnecting anything, take a clear photo showing how wires connect. Most fixtures have three wires: black (hot), white (neutral), and bare copper or green (ground). Note whether wires connect directly to the holder or via wire nuts to pigtails. If multiple wires enter the box, the photo becomes your wiring map—this prevents dangerous misconnections later. Shine your headlamp directly on connections for the clearest reference image.
Disconnect and Remove the Faulty Holder
Break Wire Connections Safely
Grasp wire nuts firmly and twist counterclockwise—never yank wires. If stuck, grip the nut (not wires) with needle-nose pliers for leverage. Once disconnected, straighten wire ends with pliers to prevent fraying. For direct-terminal connections, loosen the brass, silver, and green screws on the holder. Critical warning: If wires show blackening, melting, or brittle insulation, stop and call an electrician—this indicates dangerous arcing.
Extract the Socket Without Damage
Remove the 1-3 mounting screws securing the holder to the fixture base. Note any washers or spacers—they ensure proper bulb alignment. For twist-lock holders (GU10), rotate counterclockwise while pulling gently. If the holder is fused to the fixture (common with heat damage), carefully cut mounting tabs with diagonal cutters. Never force plastic components—they’ll crack, creating new hazards.
Install Your New Holder Correctly
Prepare Wires for Secure Connections
Strip 3/8 inch of insulation from wire ends if frayed or damaged—expose too much and you risk short circuits. Twist copper strands tightly clockwise with pliers to prevent stray wires. Wrap connections with electrical tape before attaching to terminals: 2 wraps around the wire, but never covering the bare end. This prevents accidental contact with other terminals.
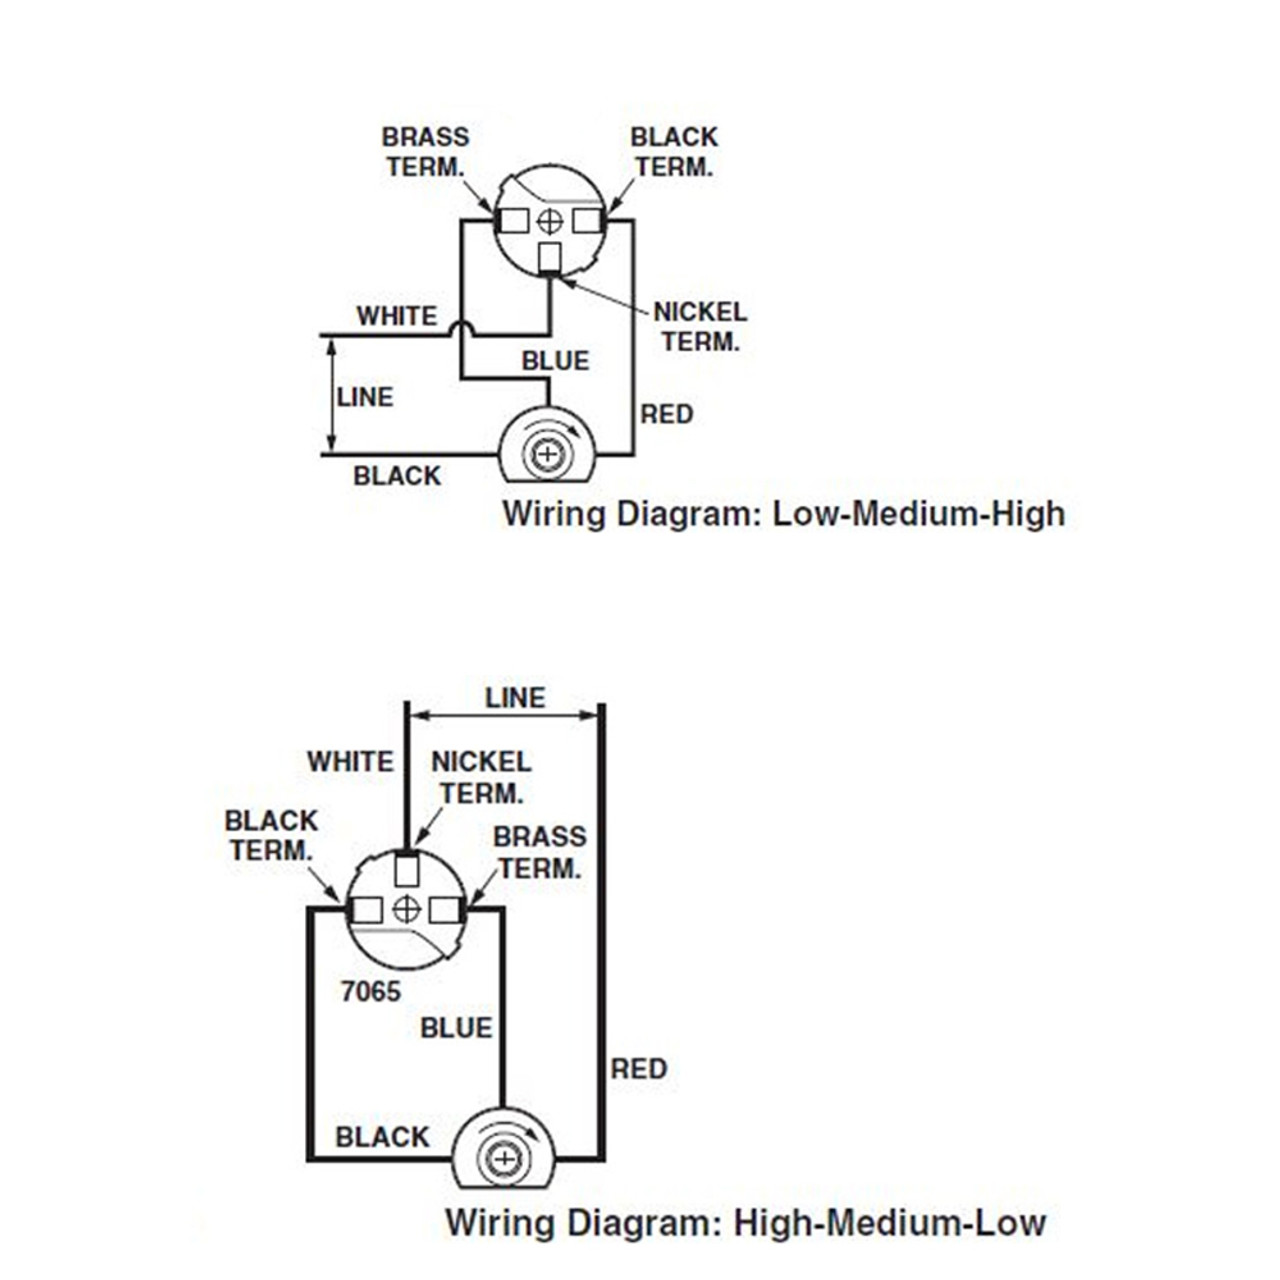
Connect Wires in the Right Order
Follow this sequence to avoid dangerous mistakes:
1. Ground wire (bare/green) to green terminal first—safety comes first
2. Neutral wire (white) to silver terminal—completes the circuit safely
3. Hot wire (black) to brass terminal—last connection minimizes shock risk
Tighten screws firmly until wires don’t slip when tugged—loose connections cause 80% of flickering issues. Fold wires neatly into the fixture box, ensuring no bare copper touches metal parts. Mount the new holder using original screws, but stop tightening when resistance increases—overtightening strips plastic threads.
Test Before Final Assembly
Power Up with Safety Checks
Turn the breaker on, install a bulb matching the holder’s wattage rating (never exceed it), and test the switch. Immediate illumination without buzzing means success. Now turn power OFF again—never work on live fixtures—and perform these critical checks:
– Wires aren’t pinched by mounting screws
– No bare copper visible at terminals
– Holder sits flush with the fixture
Fix Common Post-Installation Issues
Light won’t turn on? Check wire nuts for tightness—reseat them with a quarter-turn clockwise. Test the bulb in another fixture to rule out bulb failure. Flickering persists? Verify the hot wire connects to the brass terminal (not silver). Holder feels warm? Switch to LED bulbs—they run 90% cooler and double holder lifespan. If problems continue, revisit your wire connection photo—95% of issues trace back to miswired neutrals or hots.
Recognize Danger Signs Requiring Professional Help
Stop immediately and call an electrician if you see:
– Aluminum wiring (dull silver color instead of copper)
– Fabric-covered knob-and-tube wiring
– Multiple circuit wires in one box
– Melted insulation or scorch marks on wires
These conditions require specialized connectors and techniques. DIY attempts with aluminum wiring, for example, cause fires when oxidation builds at connections. A $150 service call beats a $50,000 house fire—knowing when not to proceed is the mark of a smart DIYer.
Extend Your New Holder’s Lifespan
Preventative Maintenance Routine
Monthly: Check for discoloration around the socket rim—yellowing means overheating. Feel the fixture 10 minutes after turning on; excessive heat requires immediate bulb wattage verification. Annually: Power off, remove the bulb, and spray electrical contact cleaner into the socket to prevent corrosion. Tighten terminal screws if accessible—vibration loosens connections over time.
Pro tip: Always use LED bulbs in new holders. Their minimal heat output prevents the thermal stress that cracks plastic sockets. For enclosed fixtures, choose “Enclosed Rated” LEDs—they won’t overheat like standard bulbs. Pair this with your new ceramic holder, and you’ve created a maintenance-free setup lasting 15+ years.
You’ve just conquered a repair that trips up most homeowners—saving $150+ while making your home safer. Remember the golden rule: If your voltage tester beeps at any point, back out and call a pro. But for standard bulb holder replacements, you now have the exact steps to succeed. Next time that flickering light appears, you won’t panic—you’ll grab your voltage tester and fix it before dinner. Just one final reminder: Never skip the breaker test. That $10 tool isn’t optional—it’s your lifeline.


