
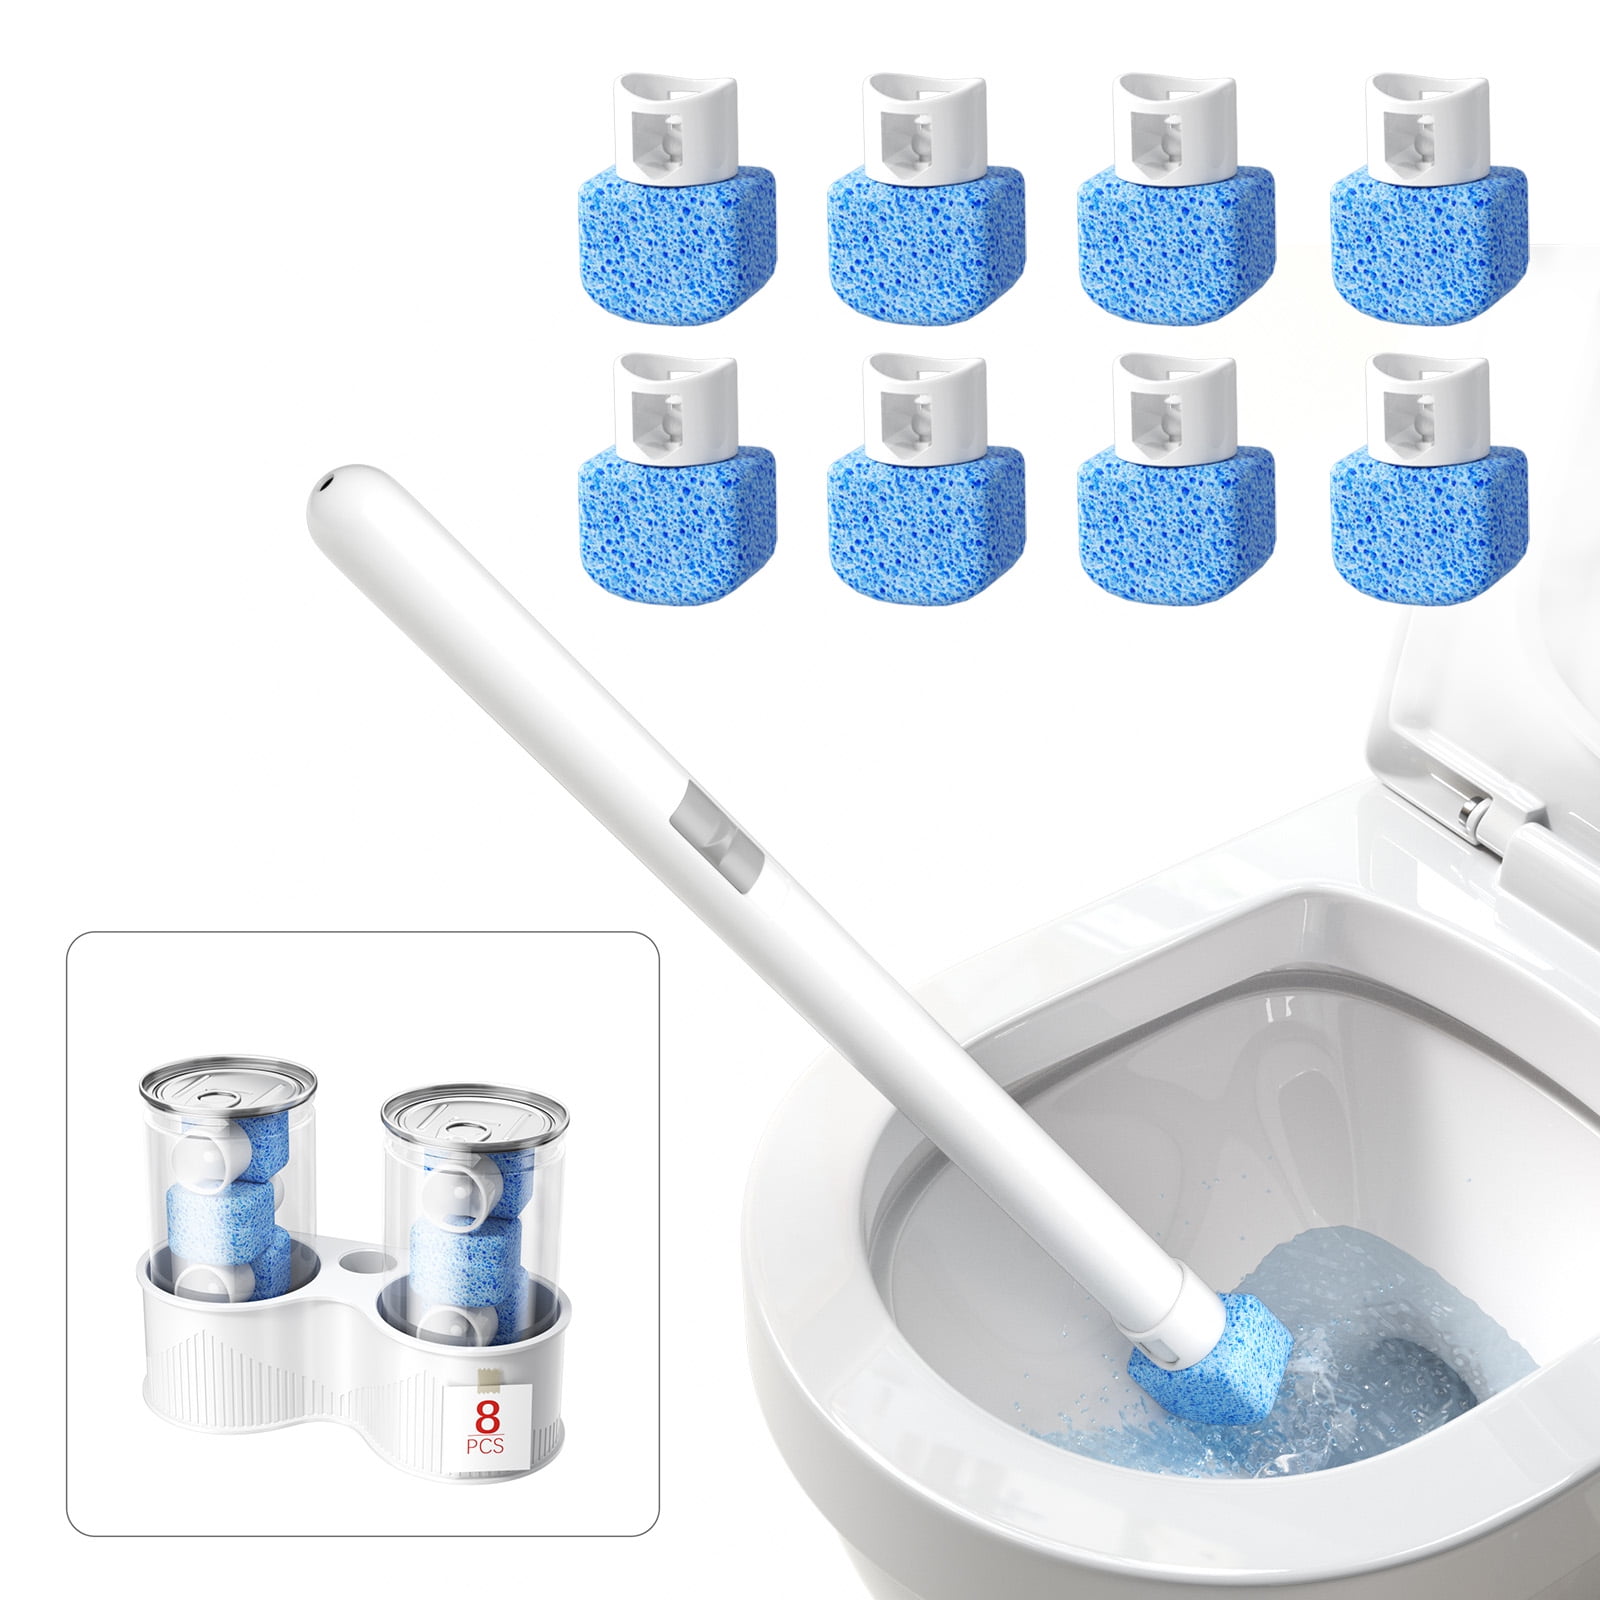
That persistent bathroom odor isn’t always from the toilet—it’s likely your neglected brush holder quietly cultivating a bacteria soup at its base. While you scrub the bowl weekly, this critical tool collects mineral deposits, mold spores, and dried debris, transforming into a hidden health hazard. Most homeowners overlook this simple task, but cleaning your toilet bowl brush holder takes just 30 minutes monthly and eliminates 99% of pathogens lurking where you least expect them. In this guide, you’ll master four foolproof cleaning methods, troubleshoot stubborn stains, and implement a maintenance schedule that keeps your entire toilet area truly sanitary.
Ignoring your holder’s hygiene creates a vicious cycle: damp brushes transfer bacteria into the container, where stagnant water breeds E. coli and mold. Within weeks, you’ll notice brown rings, foul smells, or visible slime—signs it’s time for immediate action. The good news? With the right techniques, you’ll banish odors permanently and prevent cross-contamination to other bathroom surfaces. Let’s transform this dreaded chore into a quick, systematic process that guarantees a genuinely clean bathroom.
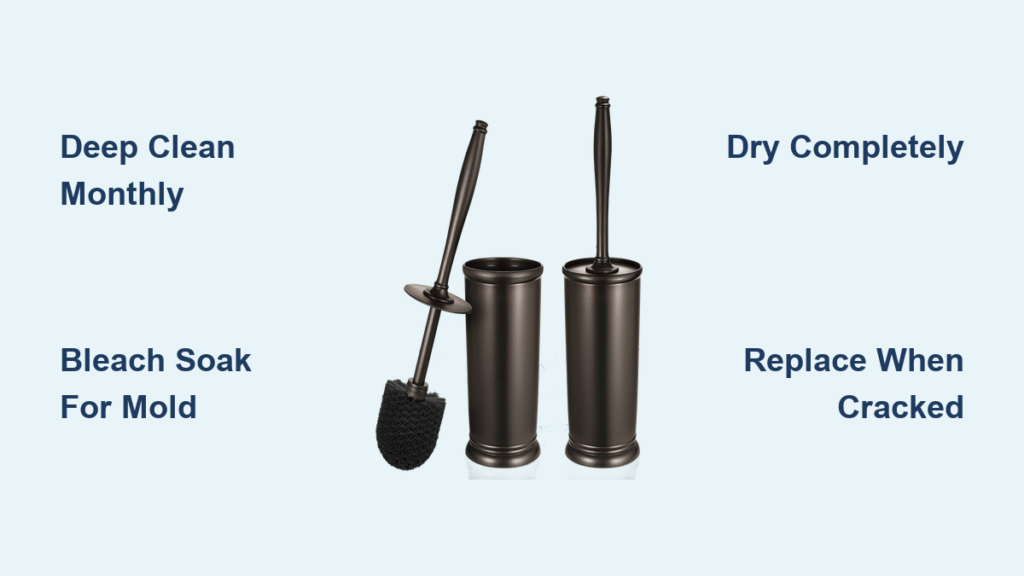
Monthly Deep Clean Process
Prepare Your Cleaning Station
Gather supplies near a large sink or bathtub before starting to avoid spreading contaminants. You’ll need a plastic bucket (large enough to submerge your holder), rubber gloves, eye protection, microfiber cloths, and an old toothbrush for crevices. Critical warning: Never skip gloves or eye protection when handling bleach—chemical splashes cause serious injuries. Place old towels on countertops to catch spills, and open windows for ventilation. This setup prevents accidental contact with surfaces and contains messes during soaking.
Choose Your Cleaning Method
Select the right approach based on your holder’s condition:
– Natural cleaning: Use undiluted white vinegar for weekly maintenance on lightly soiled holders
– Maximum disinfection: Opt for chlorine bleach when tackling mold or post-illness cleaning
– Quick rescue: Reach for disinfectant spray between deep cleans for 10-minute touch-ups
– Hard water solution: Combine baking soda paste with vinegar to dissolve mineral crusts
Always match the method to your holder’s material—avoid bleach on natural stone surrounds or cracked plastic that could leach chemicals.
Natural Vinegar Cleaning Method
Step-by-Step Vinegar Treatment
Remove your brush and place the holder in an empty sink. Generously spray undiluted white vinegar inside and out, ensuring coverage in drainage holes and the base crevice. Let it sit for 10 minutes—the fizzing action breaks down biofilm and mineral deposits. Wipe thoroughly with a microfiber cloth, using an old toothbrush to scrub textured areas where grime hides. Rinse under hot water for 30 seconds minimum, rotating the holder to flush vinegar residue. Dry completely with a clean cloth before reassembly; never store while damp.
Pro tip: For hard water stains, wrap vinegar-soaked paper towels around the holder’s interior and let sit 30 minutes before scrubbing. This extended contact dissolves stubborn orange rings without harsh chemicals.
Hydrogen Peroxide Alternative
Swap vinegar for 6% hydrogen peroxide when mold is visible—its deeper penetration kills spores bleach can’t reach. Spray the solution and wait 15 minutes for full disinfection. For plastic holders prone to bleach discoloration, this method provides hospital-grade sanitation without material damage. Always rinse peroxide-treated holders twice with hot water to prevent surface oxidation that causes yellowing.
Bleach Deep Disinfection Guide
Create Bleach Solution Safely
Boil one gallon of water, then pour it into a plastic bucket. Never reverse this step—adding water to concentrated bleach creates toxic fumes. While wearing gloves and eye protection, slowly add exactly one cup of standard chlorine bleach to the hot water. Stir gently to maintain a safe 1:16 dilution ratio. This concentration kills norovirus and hepatitis A without degrading most holder materials. Work in a ventilated area—never mix bleach with vinegar or ammonia, as this produces lethal chloramine gas.
Complete Soaking Process
Submerge your holder slowly to prevent splashes, and soak for 60 minutes minimum. For holders with black mold or heavy buildup, extend to two hours using a stronger 1:10 bleach ratio. After soaking, remove with fresh gloves and rinse under hot running water for 30 seconds—any residue left can corrode surfaces. Dry in direct sunlight if possible; UV rays eliminate lingering odors. Warning: Never soak silicone brushes in bleach—they’ll degrade within 30 minutes.
Alternative Bleach Applications
For quick disinfection between deep cleans, add ¼ cup bleach to a clean toilet bowl and submerge the holder for one hour. The swirling water action reaches hidden crevices better than static soaking. Alternatively, fill your bathroom sink with hot water and ½ cup bleach—ideal for compact holders that won’t fit in buckets. Both methods save water while ensuring 99.9% pathogen elimination.
Quick Disinfectant Spray Method
Fast Maintenance Clean
Empty standing water immediately after each toilet cleaning session—this 30-second habit prevents bacterial growth. Spray the entire holder inside and out with commercial disinfectant, ensuring surfaces stay wet for the full 10 minutes required by EPA standards. Use disinfectant wipes to scrub drainage holes (where 80% of odor-causing bacteria hide), then rinse with hot water. Dry with a microfiber cloth within five minutes to avoid recontamination. This method takes just 15 minutes total and stops minor buildup before it escalates.
When to Use Quick Method
- After household illnesses to prevent virus transmission
- For guest bathroom holders used less than weekly
- When brown rings first appear (before deep cleaning)
- If you spot moisture after 24 hours of non-use
Skip this for severely stained or moldy holders—bleach soaking is essential when visible buildup exists.
Common Holder Problems Solved
Remove Brown/Orange Staining
Hard water minerals create stubborn rings inside holders. Soak for two hours in a 1:10 bleach solution, then vigorously scrub with a baking soda paste using an old toothbrush. For plastic holders with permanent discoloration, replace immediately—stains indicate material breakdown that traps bacteria. Never use steel wool; it scratches surfaces and creates new hiding spots for pathogens.
Eliminate Mold Growth
Black spots signal dangerous mold colonies. First, spray with hydrogen peroxide and wait 15 minutes. Next, apply a paste of 2 tbsp baking soda and vinegar, letting it foam for five minutes to lift spores. Scrub crevices with a dedicated brush, then follow with a full bleach soak. If mold returns within two weeks, replace the holder—its pores are permanently compromised.
Banish Persistent Odors
Lingering smells mean bacteria survived cleaning. Disassemble removable bases and soak all parts separately for 90 minutes in bleach solution. After rinsing, place components in direct sunlight for four hours—UV radiation neutralizes odor molecules better than chemicals. If smells persist, the holder’s material is degraded; replacement is your only solution.
Drying and Storage Protocol
Critical Drying Steps
Never return a damp brush to the holder—it restarts the contamination cycle. Place the holder upside down on a clean towel in a ventilated area (near an open window or under a ceiling fan). Allow 3–4 hours minimum drying time; humidity may require overnight air-drying. Check the base interior with a dry cloth—any moisture left breeds bacteria within hours. Avoid closed cabinets; trapped steam creates ideal mold conditions.
Optimal Storage Location
Position holders 2–3 feet from the toilet bowl to avoid splash contamination. Wall-mounted styles outperform floor models—elevated bases prevent floor moisture absorption. Ensure the holder sits perfectly level; even a 5-degree tilt traps water in low spots. For high-humidity bathrooms, add silica gel packs nearby to absorb ambient moisture.
Maintenance Schedule That Works
Weekly Quick Tasks (5 minutes)
- Empty standing water immediately after toilet cleaning
- Spray interior with vinegar if the brush wasn’t fully dried
- Check drainage holes for clogs using a toothpick
Monthly Deep Clean (30-45 minutes)
- Perform full bleach or vinegar soak based on soil level
- Inspect for cracks—replace if you see hairline fractures
- Test drainage speed by pouring ¼ cup water into the base
Quarterly Assessment (15 minutes)
- Disinfect with bleach regardless of visible condition
- Replace holders showing brittleness or discoloration
- Adjust storage location if condensation forms overnight
Safety Guidelines and Best Practices
Chemical Safety Protocol
Always wear nitrile gloves (latex degrades with bleach) and splash-proof goggles. Work near open windows with exhaust fans running—chemical vapors cause dizziness in enclosed spaces. Critical rule: Store bleach in original containers away from heat sources; degraded bleach produces chlorine gas. Keep children and pets out of the bathroom during cleaning.
Surface Protection Tips
Lay plastic sheeting under work areas to protect grout and countertops. If bleach contacts stone surfaces, rinse immediately with vinegar to neutralize etching. Avoid soaking wooden-base holders—they’ll warp within 20 minutes. For wall-mounted units, wipe surrounding tiles with soapy water after rinsing to remove chemical residue.
When to Replace Your Holder

Replacement Indicators
- Cracks or chips (bacteria thrive in microscopic fissures)
- Permanent staining (indicates material breakdown)
- Persistent odors after three deep cleans
- Slow drainage (mineral-clogged holes can’t be cleared)
- Brittle texture (plastic that bends without snapping)
Timing Recommendations
Replace holders every 8–12 months—coincide with brush changes. Silicone brushes last longer (12–18 months), but holders degrade faster due to constant moisture exposure. In high-humidity climates, replace holders every 6 months regardless of appearance. Never reuse old holders; pathogens embed in porous materials permanently.
Final Maintenance Tips
After each toilet cleaning, spend 30 seconds emptying your holder and giving it a hot water rinse. Keep a microfiber cloth dedicated solely to holder maintenance in your bathroom cabinet—it prevents cross-contamination with sink or shower cleaners. For effortless upkeep, choose holders with removable bases and wide drainage holes; they dry 70% faster than sealed designs. Remember, a truly clean bathroom starts with this overlooked component. By following these systematic steps, you’ll eliminate hidden health risks and enjoy a fresher, safer space—proving that cleaning your toilet bowl brush holder is the simplest upgrade to your home’s hygiene.


