Your license plate isn’t just for show—it’s your legal ID on the road. When plastic tabs snap on your RV’s tail-light bracket or rusted bolts shear off mid-drive, you’re risking fines and safety hazards. I’ve seen too many campers pull over with plates dangling by zip-ties after one pothole too many. This guide cuts through the guesswork with battle-tested fixes that work on RVs, trucks, and sedans. You’ll diagnose the exact failure, choose the right repair for your situation, and secure that plate with corrosion-proof methods—all using tools you likely own.
Spot Your License Plate Holder’s Failure Type
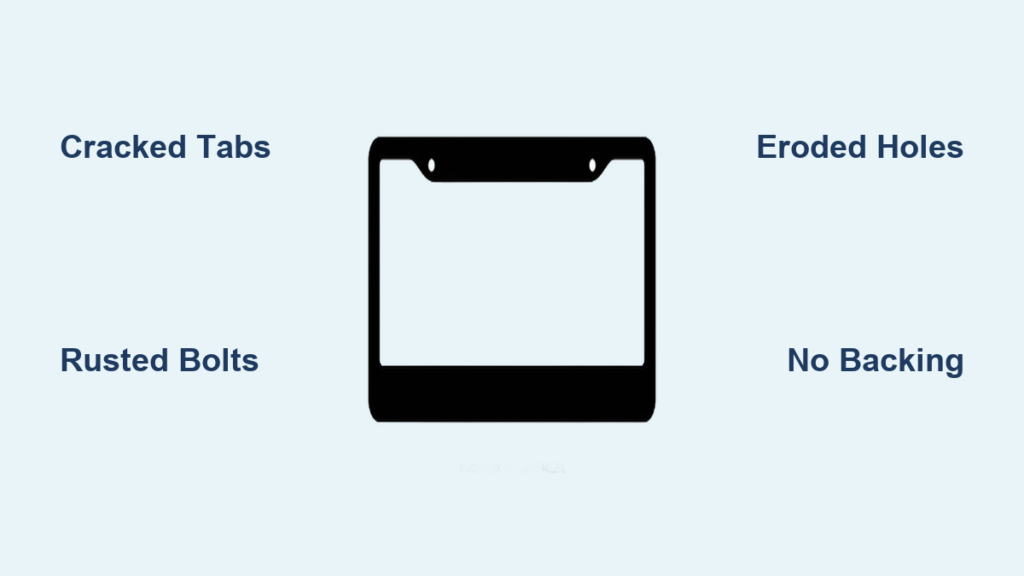
Cracked Plastic Mounting Tabs
Check your RV tail-light assembly for brittle plastic arms snapped at the base. Factory brackets often fail after repeated vibration from rough roads, leaving one or two tabs completely broken. If you see white stress fractures radiating from screw holes, replacement is urgent—those remaining tabs won’t last another season.
Rusted or Twisted-Off Bolts
Grab a flashlight and inspect bolt heads near the plate. Rounded edges or bolts spinning freely indicate severe corrosion, especially common on steel hardware exposed to road salt. If the stud remains embedded but won’t budge, that’s a sheared bolt—don’t force it further or you’ll destroy the mounting surface.
Collapsed Mounting Holes
Peel back the license plate to examine the backing material. Crumbling plastic or metal around threaded holes means the structure can’t grip screws anymore. This often happens when water seeps in, causing internal rust that eats away the hole walls from the inside out.
Grab These Critical Repair Tools Immediately
| Repair Type | Essential Tools & Materials |
|---|---|
| Drilling/Threading | 5.3 mm drill bit (for M6×1.0), tap set, cutting oil, rust penetrant |
| Thread Repair | Helical inserts, stainless bolts (M6×30 mm), jack nuts, Blue Loctite |
| Adhesives | JB Weld PlasticWeld (for plastic mounts), RTV silicone, dielectric grease |
| Reinforcement | 16-gauge aluminum strips, fiberglass mat, industrial double-sided tape |
| Safety Must-Haves | Safety glasses, gloves, shop vacuum for metal shavings |
Pro Tip: Always use stainless-steel hardware—never reinstall factory steel bolts. One winter of road salt turns them into time bombs.
Match Your Repair to the Damage Level
One Broken Plastic Tab on RV Tail-Light
Fast Fix: Fabricate an aluminum reinforcement tab (see detailed steps below). Permanent Fix: Replace the entire light assembly ($15 on Amazon). Avoid glue-only fixes—they fail within weeks when exposed to UV rays.
Sheared-Off Bolt Head
Fast Fix: Drill out the broken stud, retap M6×1.0 threads, and install a stainless bolt with Blue Loctite. Professional Fix: Drill oversize (5⁄16-18), tap new threads, and install a helical insert for bulletproof strength.
Eroded Mounting Hole
Fast Fix: Pack JB Weld into the void, let cure 24 hours, then drill and tap. Professional Fix: Laminate fiberglass mat with resin over the damaged area before redrilling—this rebuilds structural integrity.
No Backing Material Left
Only Reliable Fix: Drill through to the interior cavity, then secure with a carriage bolt, fender washer, and nylock nut inside your trunk or tailgate. Never attempt adhesive-only repairs here—they’ll fail under wind resistance.
Replace Your Entire RV Tail-Light Assembly
This $15 fix takes 20 minutes and solves 90% of plastic bracket failures. First, order the exact replacement (search Amazon for “JR Products 12795” for common RV models). Peel off old silicone sealant using a plastic pry tool—never metal to avoid scratching. Wipe the mounting surface clean with isopropyl alcohol. Apply a continuous bead of RTV silicone around the new light’s perimeter, then press firmly into place. Route wiring carefully away from moving parts, snug down screws (don’t overtighten!), and wipe excess sealant. Critical: Wait 24 hours before driving in rain—rushing this causes leaks that accelerate future corrosion.
Drill Out and Retap Broken Bolts Like a Pro
Skip the easy-out extractor—it’ll just break off inside. Soak the bolt in rust penetrant for 15 minutes while you prep. Use a center punch to mark the bolt’s exact center, then drill with a sharp 5.3 mm bit at low speed (high speed heats metal, causing more seizing). Apply cutting oil every 5 seconds to keep chips clear. Once the stud is drilled through, vacuum out metal shavings—skip this step and debris will ruin new threads. Now tap new M6×1.0 threads using light pressure and back-and-forth motion. Test with a stainless bolt coated in Blue Loctite. If threads feel weak, drill to 5⁄16-18 and tap for a stronger repair.
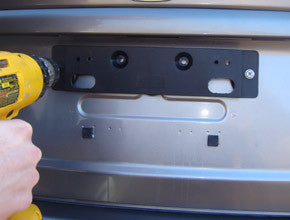
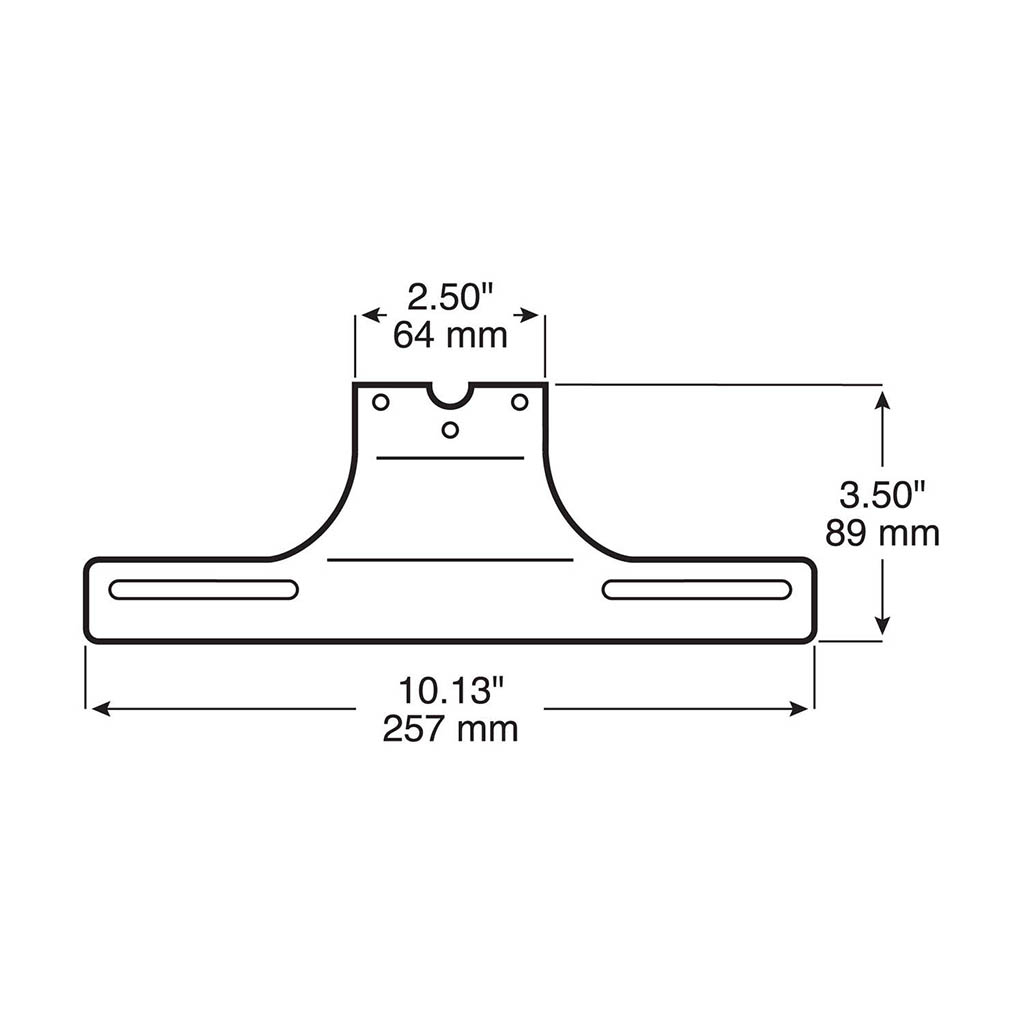
Fabricate Aluminum Tabs Using Existing Holes
This bypasses drilling new holes that compromise paint or fiberglass. Cut a 1″ x 3″ strip from 16-gauge aluminum using aviation snips. Drill two 1/4″ holes matching your tail-light’s screw pattern, then bend the strip 90° with a vise. Drill an 1/8″ hole in the vertical leg for your plate screw. Sandwich the tab between the light lens and housing using original screws—don’t skip RTV sealant on screw heads to block water intrusion. The tab must extend below the broken bracket to transfer weight properly. Done right, this creates a mount stronger than factory.
Rebuild Shattered Mounting Holes Permanently

Mask surrounding paint with tape to avoid JB Weld mess. Mix PlasticWeld epoxy (for plastic brackets) or original JB Weld (metal) and pack it deep into the void—overfill by 1/8″ since it shrinks slightly. Cure for 24 hours in temperatures above 50°F (cold slows curing). Mark the new hole center with a center punch, then drill a pilot hole before stepping up to 5.3 mm. Tap new threads slowly, vacuum debris, and install your plate bolt with dielectric grease. This repair withstands years of vibration where plastic brackets fail in months.
Through-Bolt Hidden Nut Method for Zero-Backing
Never skip this step: Remove interior trim first to avoid drilling into wiring harnesses. Drill straight through the damaged mount into the cavity behind your bumper or tailgate. Feed a stainless 1/4″ carriage bolt from outside, add a fender washer, and secure with a nylock nut inside. Ensure bolt length leaves 1/4″ clearance from interior surfaces—measure twice to avoid puncturing upholstery. Reinstall trim, then test by tugging the plate firmly. This creates an invisible, vibration-proof anchor.
Temporary Fixes That Actually Work Until Tomorrow
- Industrial double-sided tape: Clean surface with alcohol, apply 3M VHB tape, and press plate firmly for 60 seconds. Lasts 3-5 days in dry weather.
- Zip-tie lattice: Weave heavy-duty ties through plate holes and bumper grilles in a crisscross pattern. Tighten until plate stops wobbling.
- Rear-window display: Only legal for 24-48 hours in most states—immediately replace with proper mounting to avoid “improper display” tickets.
Prevent Repeat Repairs Forever
Swap every steel screw for stainless-steel or nylon hardware during your first fix. Apply dielectric grease to threads before installation—it blocks moisture without weakening grip. Seal tail-light perimeters with high-quality RTV silicone to stop water intrusion at the source. Perform a 30-second annual check: tug your plate firmly and tighten any loose screws immediately. These three steps eliminate 95% of future failures.
Avoid Costly Legal Mistakes
Your plate must receive white illumination from tail-lights at night—verify this after repairs. Never mount plates inside rear windows; 48 states (like Virginia under § 46.2-716) require external mounting, and officers will cite you. Rigid attachment is non-negotiable: Taped or zip-tied plates flex excessively, triggering “improper display” stops even if temporarily legal. Fix it right the first time to avoid $150+ fines.
Fastener Cheat Sheet for Emergency Repairs
| Target Thread | Drill Size | Where It’s Used |
|---|---|---|
| M6×1.0 | 5.3 mm | Most OEM RV/truck brackets |
| 5⁄16-18 | 0.257 in | Oversized repair for stripped holes |
| 8 mm×1.25 | 6.9 mm | European vehicle upsize |
Tape this chart inside your toolbox—you’ll thank me when a bolt snaps at 2 AM on a cross-country trip.
Your license plate holder isn’t “just hardware”—it’s your first line of defense against costly citations and safety risks. With these proven fixes, you’ll secure that plate stronger than factory in under an hour. Grab your drill, match the repair to your damage, and hit the road knowing your rig meets legal standards. Most importantly, replace every steel screw with stainless today—next winter’s potholes won’t stand a chance.