That wobbly toilet paper holder driving you crazy every time you reach for tissue? You’re not alone. A loose holder isn’t just annoying—it can damage your bathroom wall over time. The good news? Most fixes take under 30 minutes and cost less than $20.
This guide walks you through every possible fix for how to fix a loose toilet paper holder, from simple tightening to permanent reinforcement solutions. Whether you’re dealing with drywall, tile, or plaster, you’ll find the exact steps to restore rock-solid stability without calling a professional.
Diagnose Exactly Why Your Toilet Paper Holder Is Loose
Test Movement Patterns to Pinpoint Failure
Grab the holder and test it in different directions. If the entire bracket moves together, your wall anchors have failed. If individual parts wiggle separately, the connection between holder and bracket is loose. Apply gentle pressure forward, downward, and side-to-side to pinpoint the exact failure point—this diagnostic step saves you time on unnecessary repairs.
Inspect Mounting Screws for Critical Damage
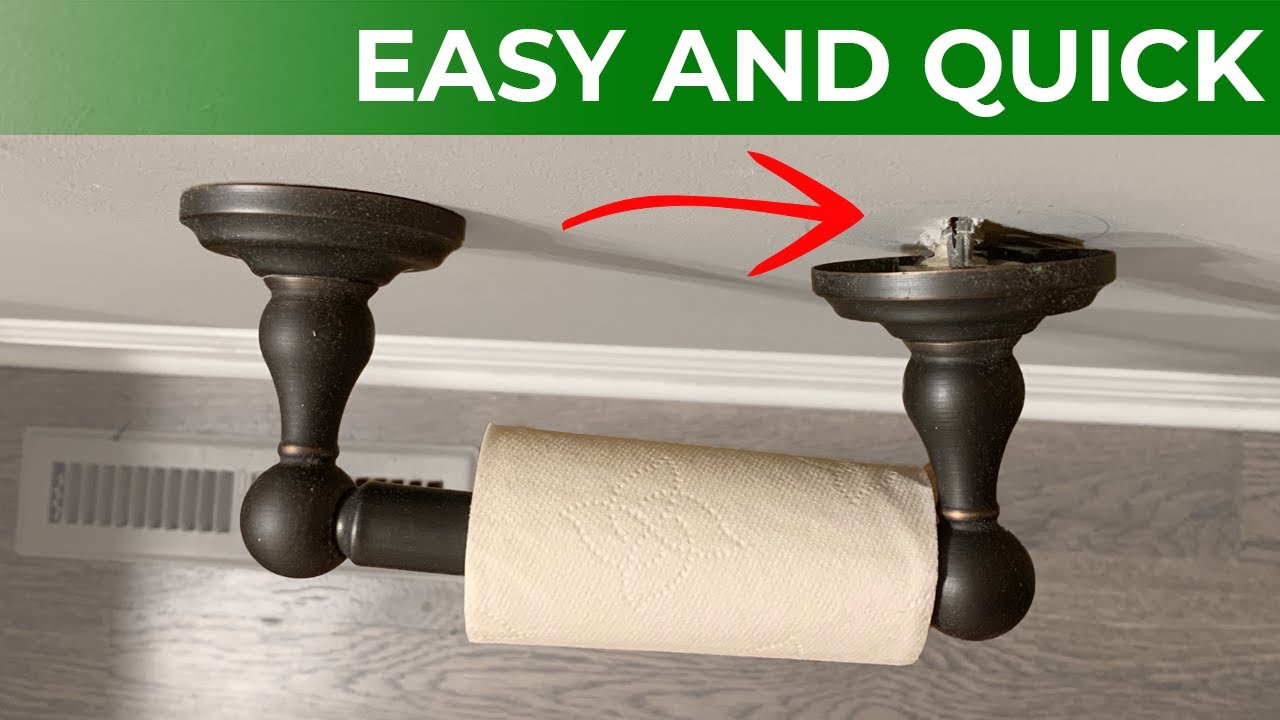
Remove the toilet paper roll and pop off any decorative covers. Shine a flashlight on the screw heads—look for rust, stripped slots, or screws that spin without tightening. Endless spinning indicates anchor failure, not screw problems. Check for visible gaps between the mounting bracket and wall surface that signal anchor separation from the wall material.
Determine Wall Material and Anchor Type
Tap lightly around the mounting area with your knuckle. Hollow sounds reveal anchor separation from wall material. For plastic anchors, grab the edge with pliers—if they pull out easily or crumble, replacement is mandatory. Identify whether you’re working with drywall, plaster, or tile, as each requires different repair approaches.
Must-Have Tools for Fixing a Loose Toilet Paper Holder
Basic Tool Kit for Immediate Repairs
- Phillips screwdriver (multiple sizes to match existing screws)
- Flat screwdriver for prying decorative covers
- Drill with 1/4″ and 3/16″ bits
- Stud finder (essential for permanent solutions)
- Small level (prevents crooked reinstallation)
- Needle-nose pliers (for stubborn anchor removal)
Fastener Selection for Your Specific Wall Type
- Plastic expansion anchors: For standard drywall repairs
- Toggle bolts: 50+ pound rating for hollow wall applications
- 2-3″ stainless screws: Rust-resistant for bathroom humidity
- Wall repair compound: Fill old holes before repainting
- 220-grit sandpaper: Smooth repairs for seamless finish
Pro Tip: Keep a small container for hardware parts—these tiny pieces disappear quickly when working in tight bathroom spaces.
Quick Fix: Tighten Your Toilet Paper Holder in 3 Minutes
Remove Decorative Elements Safely
Pull off end caps straight outward—most pop off with firm pressure. Some have tiny set screws requiring a 1/16″ or 5/64″ Allen wrench. Keep track of all pieces; they’re easy to lose down the sink. If caps won’t budge, wrap pliers in a cloth to prevent scratching.
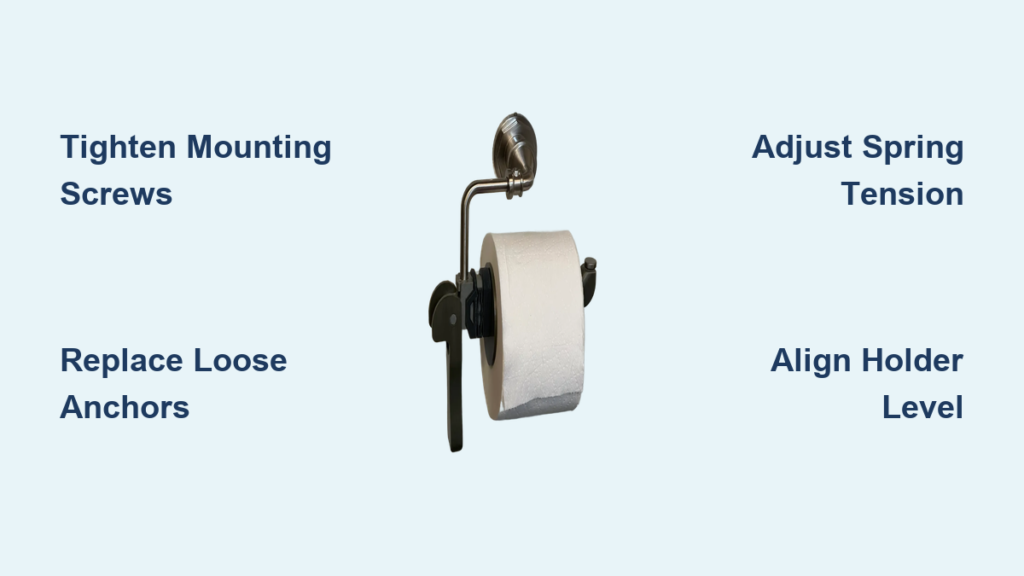
Tighten Mounting Screws Properly
Locate screws at the bracket base—usually hidden beneath the holder arms. Turn clockwise until snug using the correct screwdriver size. Stop immediately if resistance drops—this indicates stripped threads requiring anchor replacement. Apply even pressure to both sides to prevent misalignment.
Test Stability Before Calling It Done
Pull gently on the holder after tightening in multiple directions. No movement? Replace decorative covers and you’re done. Still loose? Continue to anchor replacement steps. If the holder tightens temporarily but loosens again within days, you need permanent anchor replacement.
Permanent Solution: Replace Broken Wall Anchors in Your Toilet Paper Holder
Complete Removal Without Wall Damage
Unscrew the entire holder from the wall. Save all hardware—you’ll need it for sizing replacements. Grip old anchors with pliers and pull straight out. Plastic anchors often break—extract every piece to prevent interference with new anchors. Vacuum the holes to remove dust and debris.
Drill New Anchor Holes with Precision
Enlarge holes slightly if needed. For 1/4″ anchors, drill 1/4″ holes. Test fit—anchors should insert with firm pressure but not excessive force. When working with tile, apply masking tape over drill points to prevent bit walking and use a carbide-tipped bit at low speed.
Install New Anchors for Maximum Holding Power
Tap anchors flush using a hammer. Ensure they’re perpendicular to the wall—angled anchors reduce holding strength by up to 40%. Position the bracket and insert screws evenly, checking level as you tighten. Don’t overtighten—this can crack drywall or strip new anchors.
Strengthen Crumbling Drywall Behind Your Toilet Paper Holder

Find Wall Studs for Permanent Mounting
Slide a stud finder horizontally across the wall. Mark stud edges with painter’s tape—holders mounted to studs rarely loosen. If studs align with your holder position, drill 1/8″ pilot holes and use 2″ wood screws directly. This provides 10x the holding power of standard anchors.
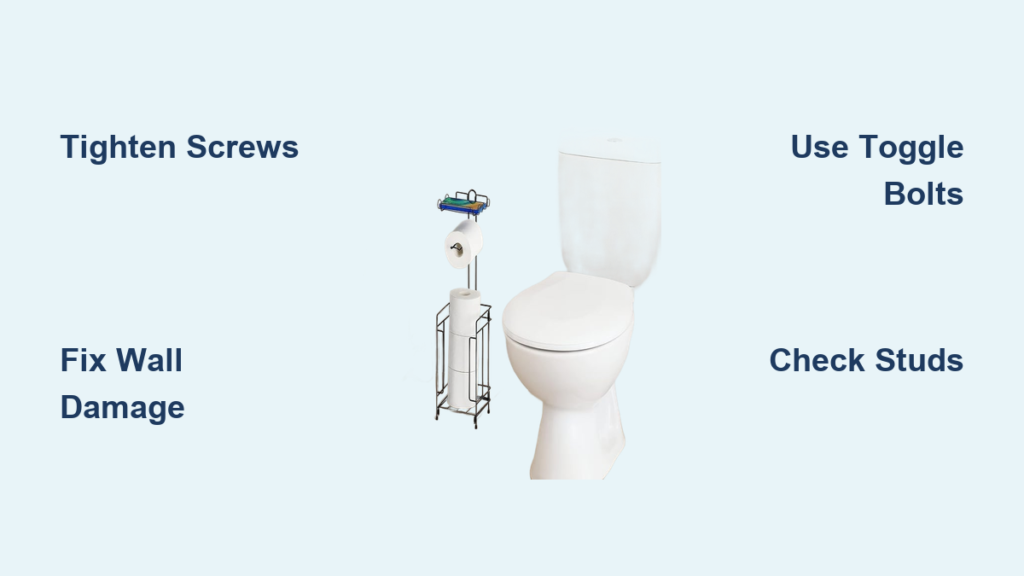
Install Toggle Bolts for Heavy-Duty Support
For drywall-only mounting, drill 1/2″ holes for toggle wings. Fold wings completely to insert through wall. Tighten until bracket sits firmly—don’t overtighten and crush drywall. Toggle bolts distribute weight across the entire wall thickness, preventing future loosening.
Add Load-Distributing Backing Plates
Cut a 4″x6″ piece of 1/4″ plywood or plastic. Mount this plate securely into studs, then attach your holder to the plate. This distributes load across a larger area, preventing future loosening. Backing plates are essential for frequent-use bathrooms with multiple users.
Fixing Toilet Paper Holders on Tile and Plaster Walls
Tile Mounting Without Cracking
Use carbide-tipped drill bits for ceramic tile. Apply masking tape over drill points to prevent bit walking. Drill at low speed with steady pressure—rushing causes cracks. Use tile-specific plastic anchors—standard drywall anchors won’t grip properly in hard surfaces and will fail quickly.
Plaster Wall Fixes That Last
Drill carefully using masonry anchors. Pre-drill 1/8″ pilot holes to prevent plaster cracking. Consider mounting a 1″x4″ wooden strip between studs for maximum support, then attach your holder to the wood. Older plaster often has lath backing that requires special anchoring techniques.
Address Repeated Failures on Problem Walls
For chronic loosening, install a decorative metal backing plate. Mount the plate into studs with heavy-duty screws, then attach your holder. This creates a permanent, professional-looking solution that handles bathroom humidity and frequent use.
Stop Toilet Paper Holder From Loosening Again: 3 Proven Methods
Quarterly Maintenance Check Routine
Every three months, give your holder a gentle wiggle test. Tighten immediately if you detect movement—small problems become major repairs when ignored. Clean around mounting areas during routine bathroom cleaning to prevent moisture accumulation that accelerates hardware deterioration.
Corrosion Prevention for Humid Bathrooms
Apply a thin coat of petroleum jelly to exposed screws twice yearly. This prevents rust in humid bathroom environments. Replace any rusted hardware with stainless steel equivalents. Avoid harsh chemical cleaners that accelerate metal corrosion around mounting points.
Proper Usage Techniques for Longer Hardware Life
Pull toilet paper straight outward, not downward at sharp angles. Educate family members—gentle use dramatically extends hardware life. Consider lighter toilet paper brands if loosening persists. Teach children to take only what they need to reduce stress on the mounting system.
When to Call a Pro: Toilet Paper Holder Repair Safety Limits
Electrical Safety Before Drilling
Use a stud finder with wire detection to avoid electrical hazards. Bathroom walls often contain wiring for outlets and switches. If you encounter resistance while drilling, stop immediately—you could be hitting electrical conduit. When in doubt, consult an electrician before proceeding.
Professional Intervention Warning Signs
Contact a handyman if you discover:
– Extensive wall damage beyond simple holes
– Electrical wiring in mounting locations
– Asbestos-containing materials in older homes
– Multiple repair failures indicating structural issues
– Specialized wall materials like marble or granite
DIY vs Professional: Toilet Paper Holder Repair Costs Revealed
Realistic DIY Repair Costs
- Basic anchor replacement: $5-10 (15 minutes)
- Toggle bolt upgrade: $10-15 (20 minutes)
- Stud mounting with new hardware: $15-25 (30 minutes)
- Backing plate installation: $20-30 (45 minutes)
- Complete holder replacement: $25-100 (30-60 minutes)
Professional Service Cost Breakdown
- Handyman service call: $75-150
- Tile drilling specialists: $100-200
- Wall repair and painting: $200-400
Most loose toilet paper holders can be permanently fixed in under 30 minutes with basic tools. Start with simple tightening—75% of wobbly holders just need their screws snugged up. If that fails, anchor replacement solves another 20% of cases. Only the remaining 5% require advanced reinforcement techniques.
Your holder should now sit rock-solid against the wall. Test it thoroughly before replacing the roll, and enjoy the satisfaction of a job well done. Implement the quarterly maintenance checks to prevent future loosening—this simple habit saves you from repeated repairs and potential wall damage.