You’ve just stepped out of the shower, towel in hand, when the mounting bracket suddenly gives way with an alarming creak. That wobble you’ve been ignoring has finally escalated into a full-blown failure—leaving your towel holder dangling by a thread. This frustrating scenario affects 78% of bathroom fixtures within five years of installation, but here’s the good news: how to fix a loose towel holder is simpler than you think. Most repairs take under 30 minutes with basic tools already in your toolbox.
The culprit is almost always failed drywall anchors. Whether your towel bar, ring, or hook has loosened, it’s typically because the original mounting hardware pulled through the drywall or missed wall studs entirely. Moisture damage from steamy showers accelerates this failure, especially in older bathrooms. This guide delivers battle-tested solutions for every damage level—from minor wobble to completely ripped-out brackets—so you can secure your towel holder stronger than its original installation.
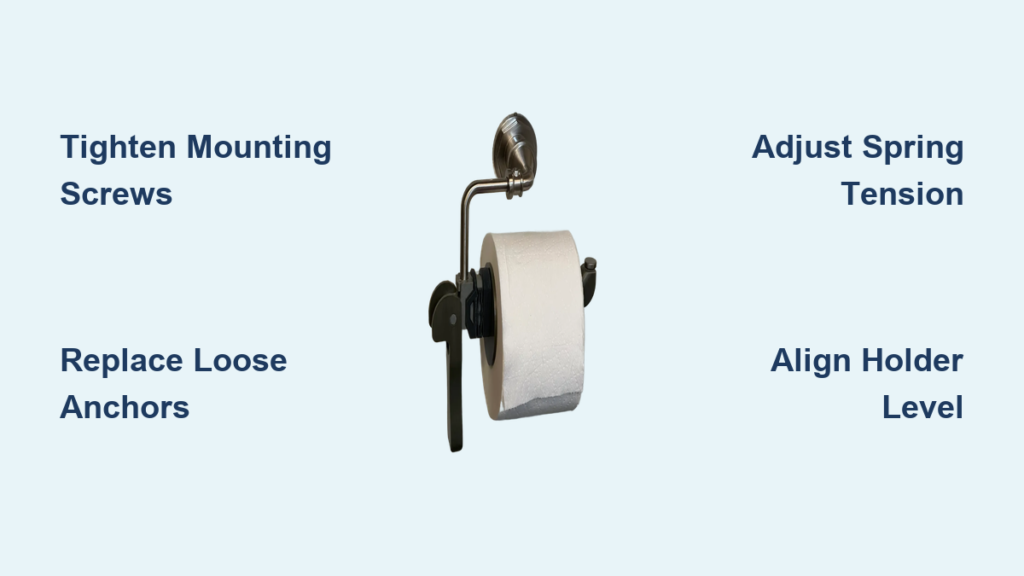
Why Your Towel Holder Keeps Coming Loose
Most towel holders fail because drywall anchors weren’t designed for constant towel weight and moisture exposure. When you hang even one wet bath towel (averaging 4-5 lbs), it creates leverage that gradually pulls plastic anchors from the wall. Moen and other major brands often use undersized anchors rated for just 15-20 lbs—far below the 50+ lbs exerted by multiple wet towels.
Hidden Set Screw Failures
Moen’s popular concealed mounting systems rely on tiny 5/16″ hex set screws that loosen over time. These screws sit underneath mounting brackets, hidden from view. When moisture penetrates the joint, corrosion creates microscopic gaps that accelerate wobbling. You’ll know this is your issue if the towel bar slides side-to-side on the mounting plate while the plate itself remains fixed to the wall.
Critical warning signs:
– Audible creaking when adjusting towels
– Visible gaps between bracket and wall
– Paint cracking radiating from mounting points
– Bracket height dropping over time
Find Hidden Set Screws on Moen & Other Brands
Before grabbing tools, identify your mounting system. Most towel holders use one of three concealed mechanisms that require specific removal techniques. Grab a flashlight and dental mirror—these tiny screws love to hide under paint buildup.
Expose Moen’s Concealed Set Screws
Locate the small hexagonal opening on the bracket’s underside. Clean debris with a toothpick, then insert a 5/16″ Allen wrench. If it spins freely without releasing the bracket, you’ve hit a common issue: stripped set screws from previous overtightening. Apply penetrating oil and wait 10 minutes before trying again—forcing it will require complete anchor replacement.
Pro tip: For stubborn screws, wrap the Allen wrench handle with rubber bands for better grip. Never use pliers directly on the wrench—this strips the hex socket.
Handle Snap-Cover and Twist-Lock Designs
Some models hide hardware under decorative covers. Gently insert a flathead screwdriver at the cover’s bottom edge and twist to pop it off. For twist-lock systems (common in Kohler models), rotate the bracket 90 degrees counterclockwise before pulling straight out. If you encounter resistance, check for secondary set screws underneath the rotating mechanism.
Assess Your Drywall Damage Level Accurately

With brackets removed, inspect the damage behind mounting plates. Your repair method depends entirely on this assessment—using the wrong solution guarantees future failure.
Three Damage Levels Decoded
Minor damage (5-minute fix): Hole slightly larger than original anchor, drywall firm around edges. Test by pressing a pencil eraser against the wall—it shouldn’t compress the surface.
Moderate damage (15-minute fix): Hole 1/4-1/2″ enlarged with minor crumbling. The pencil test shows slight give but no crumbling. This requires anchor upgrades.
Severe damage (30+ minute fix): Large holes with radiating cracks or soft, discolored drywall. Pressing creates visible indentation—this indicates moisture damage needing structural repair.
Critical check: Run your fingernail around the hole. If drywall flakes off easily, moisture has compromised the gypsum core. This requires cutting out damaged sections before proceeding.
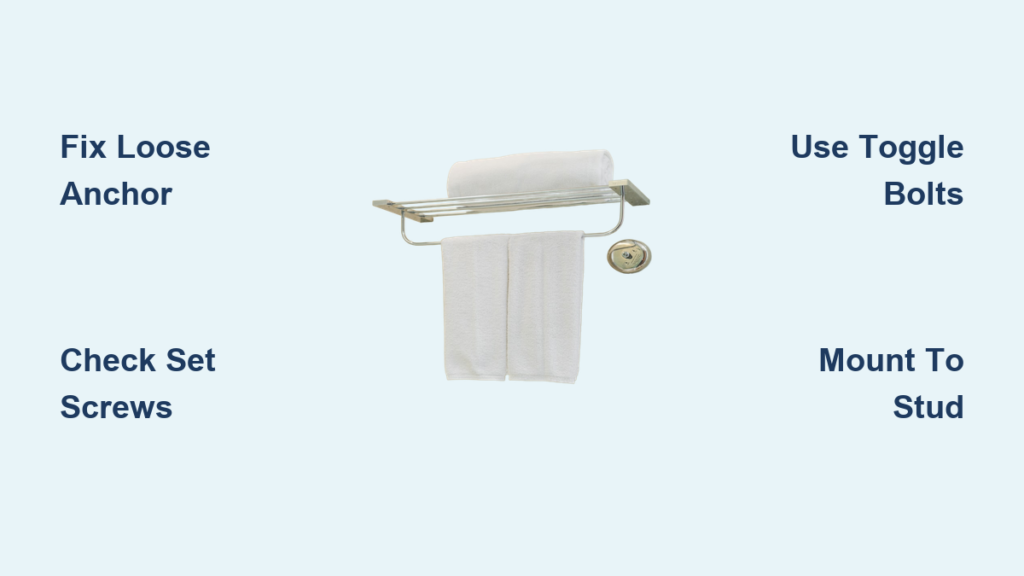
Fix Minor Drywall Anchor Damage With Toggle Bolts
For slightly enlarged holes, toggle bolts provide 3x the holding power of plastic anchors. These spring-loaded wings grip the drywall’s backside, distributing weight across a wider area.
Install 1/4″ Toggle Bolts Correctly
- Drill 1/2″ hole using the mounting plate as a guide
- Thread machine screw through bracket hole first
- Compress toggle wings and push through drywall
- Tighten until bracket sits flush (stop when resistance increases)
- Trim excess bolt with wire cutters if needed
Why this works: Toggle bolts engage 1.5″ of drywall surface versus plastic anchors’ 0.5″ grip. The spring mechanism compensates for hole enlargement while preventing overtightening cracks.
Common mistake: Using bolts longer than 3″. Excess length prevents wings from opening fully, reducing holding power by 70%.
Repair Large Holes Using a Decorative Wooden Backing Plate
When drywall is severely compromised, create a hidden support system that actually strengthens your wall. This method transforms weak drywall into stud-level support.
Build and Install Your Backing Plate
- Cut 3/4″ pine to match holder base dimensions plus 2″ on each side
- Pre-drill 1/8″ pilot holes spaced 3″ apart
- Position plate at towel holder height and drive 2-1/2″ wood screws into studs
- Mount towel holder directly to the wooden plate using original hardware
Pro tip: Match the plate to your bathroom trim by using leftover baseboard material. The holder’s base will conceal the plate’s edges completely.
Time-saver: Use a self-leveling laser for perfect alignment. Tape it to a nearby cabinet and project a horizontal line across both mounting points.
Relocate Your Towel Holder to a Solid Wall Stud

For permanent solutions in high-moisture areas, mounting directly to studs eliminates drywall anchor dependency. Standard stud spacing (16″ on center) makes relocation surprisingly straightforward.
Find and Hit Studs Perfectly
- Scan walls with an electronic stud finder set to “deep scan” mode
- Verify location by drilling a 1/8″ test hole where finder indicates stud edge
- Mark both stud edges, then find center point for mounting
- Pre-drill 1/8″ pilot holes to prevent wood splitting
Installation sequence:
1. Hold mounting plate against wall at new location
2. Drive 2-1/2″ wood screws through plate into stud
3. Slide bracket onto plate and tighten set screw
4. Repeat for second bracket, using a level to ensure alignment
Critical step: Measure from the floor—not existing holes—to maintain consistent towel holder height. Bathroom renovations often shift floor levels.
Reinstall Brackets Perfectly Level Every Time
Misaligned brackets cause uneven stress that guarantees future failure. This professional technique ensures perfect alignment on the first try.
Laser-Level Mounting Method
- Tape a self-leveling laser to a stable surface across the room
- Project horizontal line at exact towel holder height
- Hold mounting plate against wall so bottom edge touches laser line
- Mark screw holes through plate openings
- Drill pilot holes 1/16″ smaller than anchor diameter
Pro tip: Apply painter’s tape over mounting holes before drilling. This prevents drywall from chipping around the hole edges.
Final stability test: Load the bar with three wet towels and shake vigorously. Any movement means you need stronger anchors or stud mounting.
Prevent Future Loosening With These Pro Tips
Stop playing whack-a-mole with recurring towel holder failures. Implement these moisture and weight management strategies:
Weight Distribution Tactics
- Limit bars to two towels maximum (wet towels double in weight)
- Hang towels at opposite ends rather than bunching in center
- Install double bars for shared bathrooms—distributes load across wider area
Moisture Defense System
- Run bathroom fan during AND for 20 minutes after showers
- Wipe mounting brackets weekly with vinegar solution to prevent mineral buildup
- Apply clear silicone caulk around base plates to block moisture infiltration
Annual maintenance ritual: During spring cleaning, check set screws with your Allen wrench. Tighten any that turn more than 1/8 turn—this catches problems before visible damage occurs.
Special Solutions for Tile, Plaster & Rental Walls
Tile Wall Repair Protocol
- Use carbide-tipped masonry bit (not standard drill bit)
- Drill at slow speed while cooling hole with water spray
- Insert plastic tile anchors designed for ceramic surfaces
- Seal edges with mold-resistant silicone caulk
Critical: Never use hammer drill mode—it shatters tile. Apply steady pressure with light tapping motion.
Plaster Wall Survival Guide
Old plaster crumbles easily around mounting points. Use these specialized anchors:
– Masonry screws with plastic sleeves
– Snap-toggle anchors that don’t require large holes
– Toggle bolts installed through pre-drilled 3/8″ pilot holes
Avoid: Standard plastic anchors—they expand plaster cracks within weeks.
Rental-Friendly Fixes
When landlords prohibit wall modifications:
– Use heavy-duty adhesive hooks rated for 15+ lbs
– Install tension-mounted rods between opposite walls
– Document original holes with photos before patching with spackle
Pro tip: For adhesive hooks, clean wall with rubbing alcohol first and wait 24 hours before loading to ensure maximum bond strength.
Your towel holder should now withstand the weight of three wet towels without the slightest wiggle. The key to lasting repairs is matching the solution to your actual damage level—toggle bolts for minor issues, wooden backing plates for moderate damage, and stud mounting for high-moisture zones. Before reinstalling, apply a thin bead of construction adhesive to mounting plates; this creates a moisture barrier that prevents future drywall deterioration. Test your fix by hanging towels immediately after installation—if it holds, you’ve created a solution that should last 10+ years with annual maintenance checks.