That familiar wobble when you grab your hand towel? Or worse—the loud crash as your towel holder plummets to the bathroom floor, leaving jagged holes and a damp towel puddled on the counter? You’re not alone. Over 60% of homeowners face towel holder failures within 5 years of installation, usually because drywall alone can’t handle the twisting force of daily use. The good news? How to fix towel holder issues ranges from a 30-second set-screw tweak to a permanent structural repair—all under $40. This guide delivers battle-tested solutions for every failure mode, so you’ll never wrestle a loose fixture again.
Most towel holder disasters stem from one critical flaw: anchors rated for picture frames trying to support 50+ pounds of wet cotton. When kids swing on the bar or you yank a towel, standard plastic anchors slowly tear through drywall. But with the right approach, you can achieve rock-solid mounting that outlasts your plumbing. We’ll diagnose your specific failure, match it to the fastest repair, and prevent future disasters—even if you’ve already patched holes twice.
Why Your Towel Holder Failed: Diagnose in 60 Seconds
Spot These Critical Warning Signs
Ignoring subtle clues guarantees a catastrophic failure. Check for:
– Escutcheon gaps – Visible spaces between the decorative plate and wall signal anchor slippage
– Asymmetrical drooping – One end lower than the other means uneven load distribution
– Crumbly drywall – Gray powder around screw holes indicates anchor blowout
If your towel ring spins freely or the bar wobbles when hanging one standard bath towel (4–5 lbs), you’ve got 2–3 weeks before total failure. Act now before moisture from damp towels softens the drywall further.
Match Failure Mode to Repair Strategy
| Failure Type | Root Cause | Required Fix |
|---|---|---|
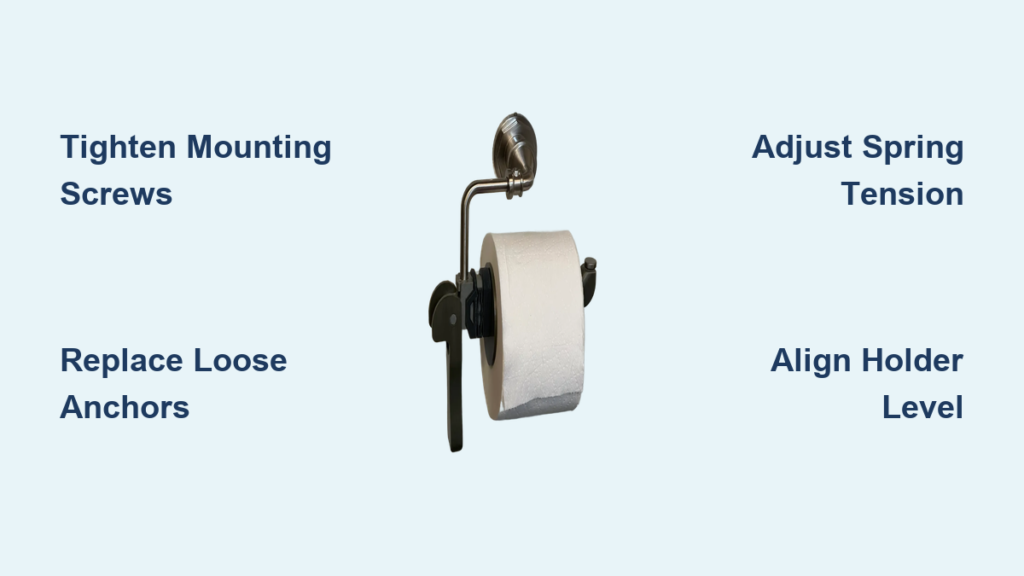
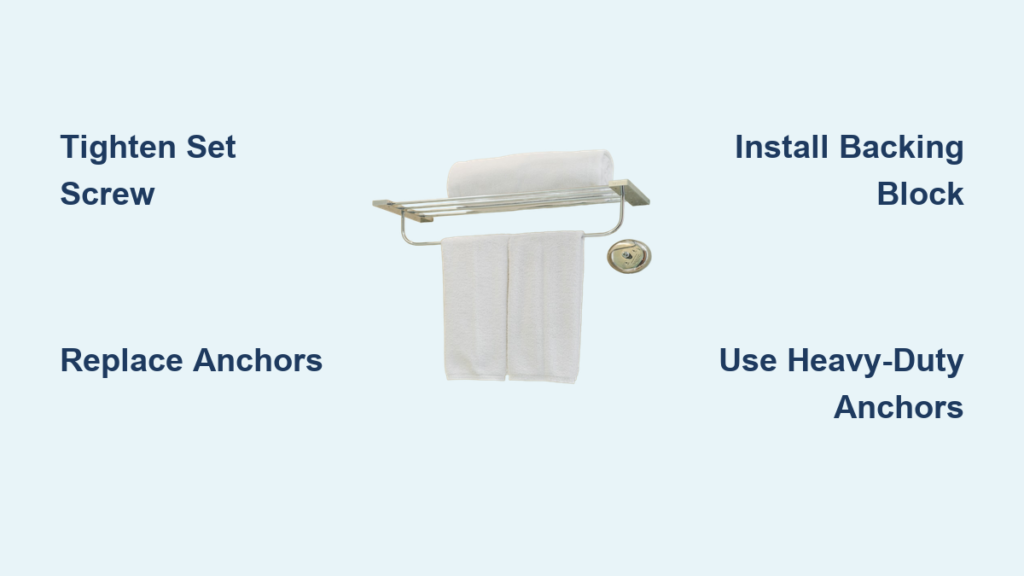
| Mild wobble | Loose set screw or anchor screws | Tighten set screw or replace anchors |
| Pulled out with drywall crumbs | Anchor too weak for load | Heavy-duty toggles or structural backing |
| Repeated failures | No solid backing for cantilever force | Install blocking between studs |
Essential Tools You Can’t Skip (No Specialty Gear Needed)

Hardware Store Must-Haves
- Snaptoggle anchors ($4/pair) – For ¼” holes, reusable, 80-lb capacity each
- GeeFix anchors ($15/kit) – Single ½” hole supports both bracket screws (120-lb total)
- 1×4 hardwood board – For decorative backing plates (hides old holes)
Skip cheap plastic anchors—they fail 3x faster in humid bathrooms. Always buy bathroom-rated anchors with corrosion-resistant coatings.
Your Existing Toolkit
- Stud finder (even $5 models work)
- Drill with ⅛” pilot bit and ¼” toggle bit
- 3mm Allen key (90% of set screws use this size)
- Lightweight spackle + sandpaper for cosmetic patches
Tighten a Wobbly Holder Without New Holes
Fix Set Screw in Under 1 Minute
- Locate the hidden hex screw under the escutcheon’s bottom edge
- Insert Allen key and turn clockwise until resistance increases (stop before stripping)
- Test immediately – Still loose? Proceed to bracket screws
Pro Tip: Apply a drop of threadlocker to the set screw after tightening—it prevents vibration loosening without permanent binding.
Replace Weak Anchors Without Drywall Damage
- Remove towel bar and escutcheon
- Pull out spinning plastic anchors with needle-nose pliers
- Drill new ¼” holes ½” deeper than original (removes crushed drywall)
- Insert Snaptoggles until wings snap behind drywall
- Mount bracket and tighten until flush—no gaps!
- Reattach bar and secure set screw
Critical: If toggle bolts are already installed but wings opened properly, simply replace machine screws with fresh stainless steel versions. No new holes needed.
Repair Crushed Holes Like a Pro
Permanent Fix for Pulled-Out Holders
When drywall crumbles around anchor holes, stuffing paper towels inside only delays disaster. Instead:
1. Cut a clean drywall rectangle 6″ tall × 8″ wide around damage using a utility knife
2. Screw 2×4 blocking horizontally between studs (flush with drywall back)
3. Patch with new drywall and apply 3 thin compound coats (sand between)
4. Mount towel bar directly into blocking with 2½” wood screws
Result? 250+ lb capacity—strong enough to use as an emergency grab bar. This repair takes 2.5 hours but eliminates future failures.
Decorative Shortcut for Renters
No drywall skills? Attach a stained 1×4 board to studs, then mount brackets through it:
– Measure bar end spacing + 2″
– Pre-drill board and screw into studs
– Hide old holes by positioning brackets over existing damage
– Caulk top edge with silicone to block moisture
Anchor Upgrades That Actually Hold

Snaptoggle vs. GeeFix: Real-World Comparison
| Anchor Type | Installation Time | Max Load (½” drywall) | Best For |
|---|---|---|---|
| Snaptoggle | 8 minutes | 80 lbs per anchor | Quick re-anchors |
| GeeFix | 12 minutes | 120 lbs per pair | Heavy bars with kids |
| Metal wing toggle | 15 minutes | 50 lbs per anchor | Budget fixes |
Never use plastic anchors in bathrooms. Humidity causes drywall to swell and shrink, loosening plastic sleeves within months. For towel bars over 24″, always use two heavy-duty anchors per bracket—even if hitting a stud.
Install at Perfect Height Every Time

Avoid These Common Mistakes
- Too low: Bars under 46″ get bumped by elbows at vanities
- Too high: Rings over 54″ force awkward reaches for children
- Door swing interference: Measure clearance to shower doors before drilling
Exact Measurements:
– Towel bar top rail: 48″ from floor (±2″ for user height)
– Towel ring bottom: 50–52″ from floor
– Clearance above counter: Minimum 16″ to avoid towels dragging in sinks
Prevent Future Failures in 2 Minutes a Year
The Annual Towel Holder Tune-Up
- Tug test: Apply 10 lbs of downward force—any movement means re-tighten
- Moisture shield: Run a bead of clear silicone caulk around the escutcheon edge
- User education: Post a reminder: “Towel holders ≠ grab bars”
Pro Tip: Install an ADA grab bar ($40) beside the toilet instead of a towel holder. It supports 500 lbs when anchored to studs and doubles as a towel rack.
When to Call a Pro
Hire a handyman ($150–200) if:
– You see mold behind damaged drywall
– Studs are spaced irregularly (common in older homes)
– Previous repairs used epoxy that hardened anchors
Cost & Time Comparison
| Repair Type | Cost | Time | Lasts |
|---|---|---|---|
| Tighten set screw | $0 | 2 minutes | 6–12 months |
| Snaptoggle re-anchor | $6 | 15 minutes | 3–5 years |
| Backing block repair | $30 | 2.5 hours | Lifetime |
| Professional drywall fix | $200 | Same day | Lifetime |
A wobbly towel holder won’t magically tighten itself—it only gets worse. Spend 15 minutes today installing proper anchors, and you’ll never chase a damp towel across the bathroom floor again. For chronic failures, the structural backing block method transforms your fixture into a permanent solution that handles even the rowdiest household. Remember: the right anchor for your wall type beats the strongest towel bar every time.
Final Tip: Keep spare Snaptoggles in your toolbox. When the next holder fails (and it will), you’ll fix it before your morning shower.