
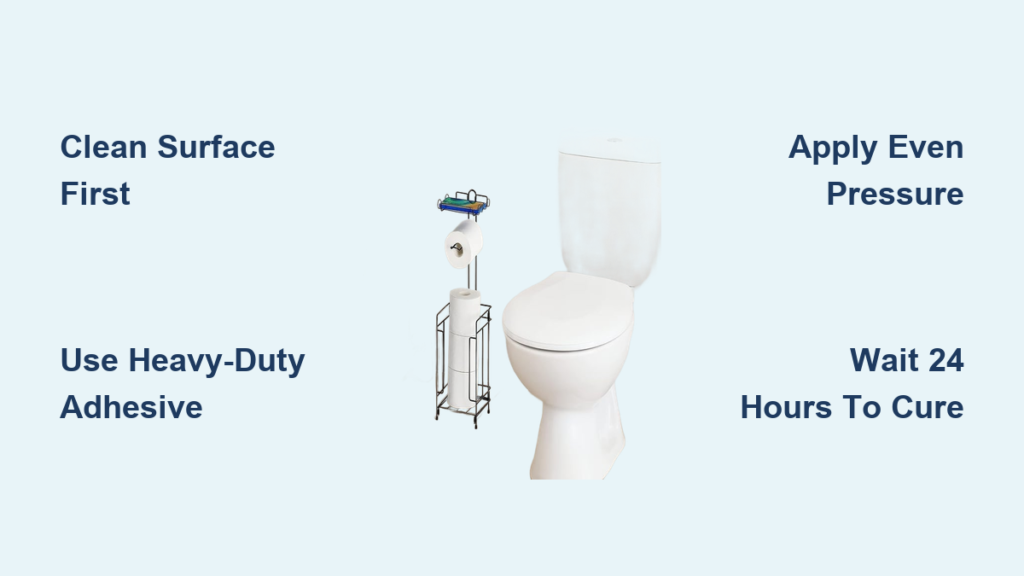
Tired of damaging walls every time you need to install a toilet paper holder? Whether you’re a renter facing strict no-drill policies or dealing with delicate tile that cracks easily, adhesive installation offers a smart solution that preserves your walls while providing reliable function. The frustration of finding the perfect spot only to discover you can’t drill is all too common—but with the right approach, you can securely glue your toilet paper holder to virtually any surface in under 30 minutes.
Most homeowners don’t realize that properly installed adhesive holders can support 15-30 pounds—more than enough for even the bulkiest toilet paper rolls. When done correctly, these installations last for years without damage to your walls. You’ll learn which adhesives work best for bathroom conditions, how to prepare any surface for maximum adhesion, and the precise technique that prevents frustrating failures after installation.
Select the Right Adhesive-Compatible Holder
Surface-mounted holders with flat backing plates provide the foundation for successful no-drill installation. Look for models with backing plates measuring 4-6 inches long and 2-3 inches wide—these dimensions create optimal bonding surface area. Avoid holders with curved or textured backing as these prevent proper adhesive contact with your wall.
Material compatibility affects both appearance and strength. Stainless steel holders feature treated backing surfaces that grip adhesives exceptionally well while resisting bathroom humidity. High-grade ABS plastic options weigh less while maintaining strong adhesive compatibility, making them ideal for rental situations. Chrome-plated zinc alloy combines durability with reliable bonding characteristics for long-term installations.
What to Avoid in Adhesive Installations
Curved backing plates create weak bonds as adhesives can’t form continuous contact points across uneven surfaces. Spring-loaded rollers work well with adhesive mounting, but avoid complex mechanisms with moving parts that create stress points. Pivoting arm styles can work if properly secured, but fixed-position holders generally provide more reliable long-term performance with adhesive installation.
Choose the Strongest Construction Adhesive
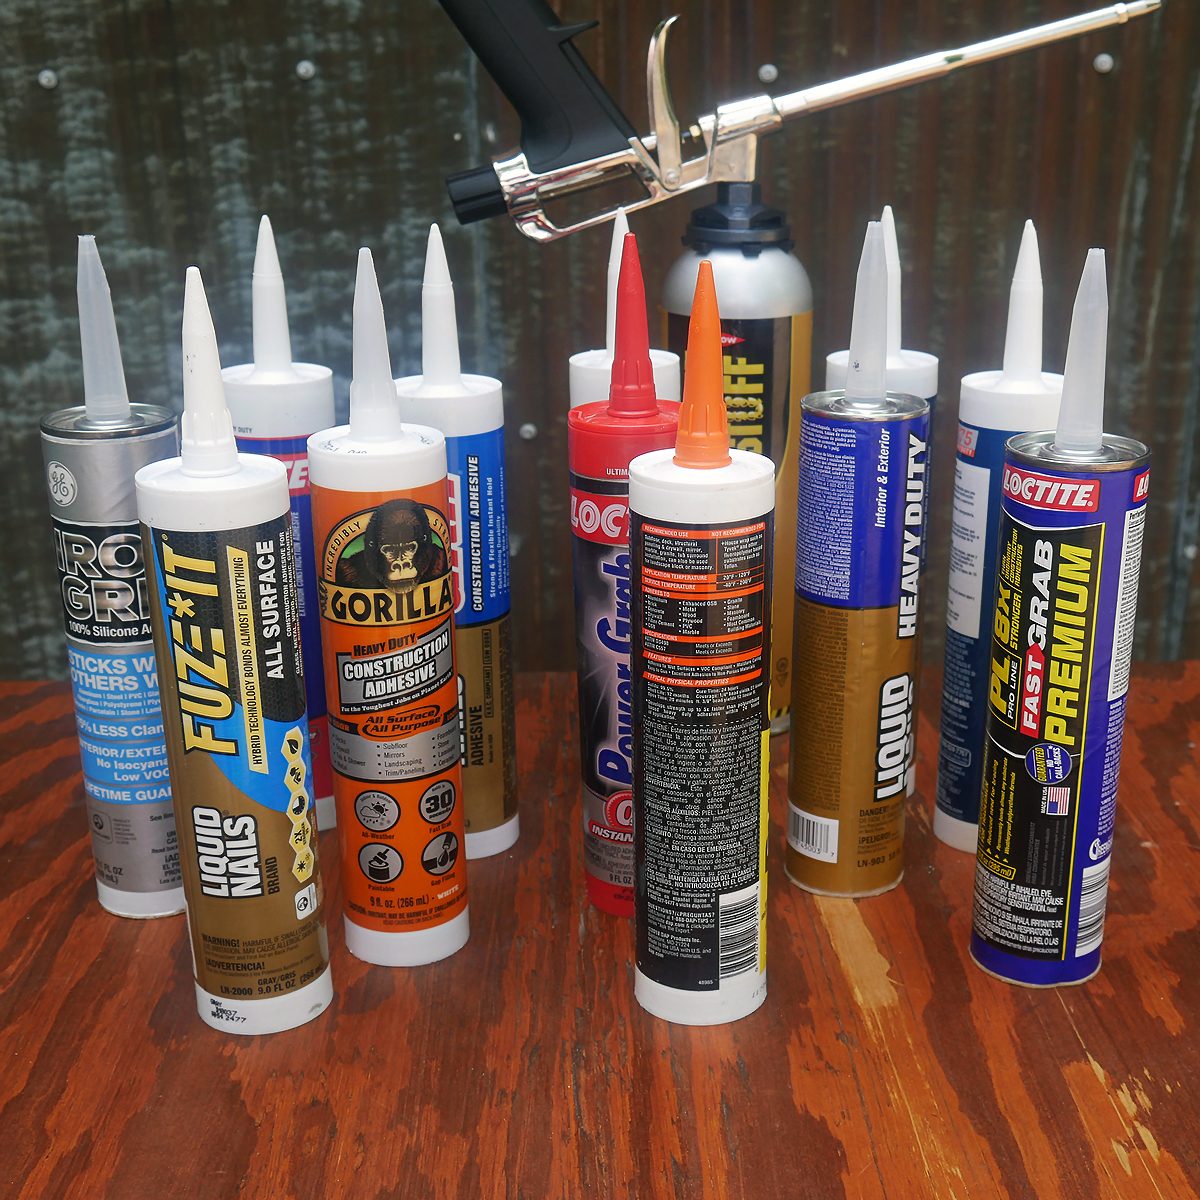
Heavy-duty construction adhesives deliver everyday reliability for standard installations. Products like Loctite Power Grab Express or Gorilla Construction Adhesive support 15-30 pounds—far exceeding typical toilet paper loads. These waterproof formulations cure through moisture evaporation, reaching full strength within 24-48 hours while resisting bathroom humidity and temperature fluctuations.
Two-part epoxy systems provide permanent security for high-traffic bathrooms. Marine-grade options like JB Weld WaterWeld create bonds stronger than the wall material itself. Mix components 1:1 for 2 minutes until uniform color appears, work quickly within the 5-30 minute window, and allow 24 hours for complete cure. These epoxies withstand continuous water exposure without degradation.
High-Bond Tapes for Quick Installations
3M VHB tape offers immediate adhesion without waiting for curing time. This industrial-strength bonding solution works best for lightweight plastic holders under 3 pounds total weight. The foam-core design conforms to minor wall irregularities while maintaining flexibility through temperature changes. For best results, apply firm pressure for 30 seconds after placement and avoid loading for at least 2 hours.
Prepare Your Wall Surface for Maximum Adhesion
Thorough cleaning determines 90% of installation success. Start with 90%+ isopropyl alcohol on lint-free cloths to remove all grease, soap residue, and oils. Painted surfaces must cure for at least 30 days—fresh paint creates weak boundary layers that cause eventual failure. Wipe the surface twice, allowing it to dry completely between applications.
Create mechanical tooth for better grip by lightly sanding glossy paint or tile glaze using 120-150 grit sandpaper. This creates microscopic scratches that dramatically improve adhesion. After sanding, wipe away all dust particles with a clean, dry cloth—any remaining dust creates weak spots in your bond.
Optimal Environmental Conditions
Install at 65-80°F with humidity below 60% for best results. Cold bathrooms slow curing, while steamy conditions weaken bonds. Run exhaust fans during installation and throughout the 24-48 hour cure period to maintain proper airflow. Avoid installing immediately after showering when humidity levels remain high.
Position Your Holder at Perfect Height and Location
Standard placement puts the roller center at 26 inches from the floor, positioned 8-12 inches forward from the toilet centerline. This height works for most users while keeping the paper within comfortable reach. Use a tape measure to mark both height and horizontal positioning before applying any adhesive.
Create reference lines with painter’s tape to mark exact placement without wall damage. Apply a level reference line using a torpedo level—crooked installation becomes immediately obvious and impossible to correct after adhesive sets. Double-check measurements from multiple reference points before proceeding.
Mark Adhesive Application Zones
Outline adhesive areas 1/2 inch inside the mounting plate perimeter to prevent unsightly squeeze-out. These marks ensure complete coverage while keeping adhesive contained within the mounting plate boundaries. For larger holders, mark crisscross patterns inside the perimeter to guide adhesive placement for maximum coverage.
Apply Adhesive with Professional Technique
Construction adhesive requires precise application—create a continuous 1/4-inch bead around the mounting plate perimeter. Add crisscross patterns inside for maximum coverage—this prevents air pockets that weaken bonds. Apply just enough adhesive to fill the space when compressed; too much creates messy squeeze-out.
Epoxy mixing demands exact precision. Combine components thoroughly for 2 minutes until uniform color appears. Apply using a plastic spreader to achieve consistent 1/8-inch thickness across the entire backing surface. Work quickly within the 5-30 minute window before the epoxy begins to set.
Common Adhesive Application Mistakes
Applying adhesive too close to edges causes squeeze-out that’s impossible to clean without damaging the wall finish. Using too little adhesive creates weak spots that fail under stress. Touching the adhesive surface after application introduces oils from your skin that prevent proper bonding. Always wear gloves during the application process.
Position and Secure for Permanent Bonding

Apply firm, even pressure for 30-60 seconds after placement, using your full palm—not fingertips—to distribute force evenly across the entire surface. This critical step ensures maximum contact between adhesive and wall. Check level positioning immediately—adjustments become impossible after 5-10 minutes as adhesive begins to set.
Temporary support prevents sliding during initial set. Use painter’s tape diagonally across the holder or prop books underneath for 2-4 hours while initial tack develops. Avoid any stress during this critical period including loading toilet paper or bumping the holder.
Critical First-Hour Timeline
First 5 minutes: Make any necessary positioning adjustments
5-30 minutes: Maintain pressure with temporary supports
30-120 minutes: Remove supports carefully
2-4 hours: Avoid all contact while initial bond develops
Cure Completely Before Full Use
Initial set allows gentle support removal after 30-120 minutes, but resist testing the installation—premature stress causes permanent weakening. Construction adhesives achieve 200-300 PSI strength after 24-48 hours. Epoxy systems reach maximum bond in 16-24 hours. Complete a gentle pressure test before full loading.
Test method after full cure: Apply 10 pounds downward pressure at the roller location. Successful installations show zero movement or adhesive separation. Any flexing indicates inadequate bonding requiring complete redo. Wait the full recommended cure time—rushing this step causes most adhesive installation failures.
Troubleshoot Common Adhesive Failures
Adhesive failure symptoms include visible separation at mounting edges, holder rotation, or complete detachment. These usually result from insufficient surface prep, wrong adhesive choice, or environmental factors during curing. Cohesive failure appears as adhesive stretching or tearing, while adhesive failure shows clean separation at the interface.
Remove failed installations safely using heat guns (120-150°F) to soften adhesive. Protect wall surfaces with masking tape during removal. Clean all residue before attempting reinstallation—the old adhesive prevents new bonds from forming properly.
Weight Limit Considerations
Standard adhesive installations support 10-15 pounds maximum. Mega toilet paper rolls approach these limits—use regular rolls or upgrade to reinforced adhesive systems for heavy-duty use. Calculate total loads including holder weight (1-3 pounds), maximum paper roll weight (2-3 pounds), plus dynamic loads from paper removal (5-8 pounds).
Maintain Adhesive Holders for Long-Term Performance
Monthly inspections catch problems early. Check for hairline cracks in paint around mounting plates indicating movement. Any detected separation requires immediate attention to prevent complete failure. Early intervention often allows simple reinforcement rather than complete removal.
Clean carefully around installations. Avoid harsh chemicals directly on adhesive joints—use damp cloths instead. Harsh bathroom cleaners degrade adhesive bonds over time, leading to premature failure. Ensure complete drying after cleaning to prevent moisture infiltration into adhesive layers.
When replacement is necessary, use heat to soften adhesive, support the wall surface during removal, then completely clean and re-prep before installing new holders. Enhanced surface preparation prevents repeat failures—consider light sanding or adhesion promoters for problem surfaces.
Key takeaway: Surface preparation determines 90% of installation success. Clean thoroughly, choose appropriate adhesive for your holder weight, and allow full cure time. When done correctly, adhesive-mounted holders provide years of reliable service without wall damage. For renters, this method offers peace of mind with damage-free removal using heat guns when it’s time to move. The small investment in proper technique pays off with a secure, functional toilet paper holder that stays put through daily use.


