
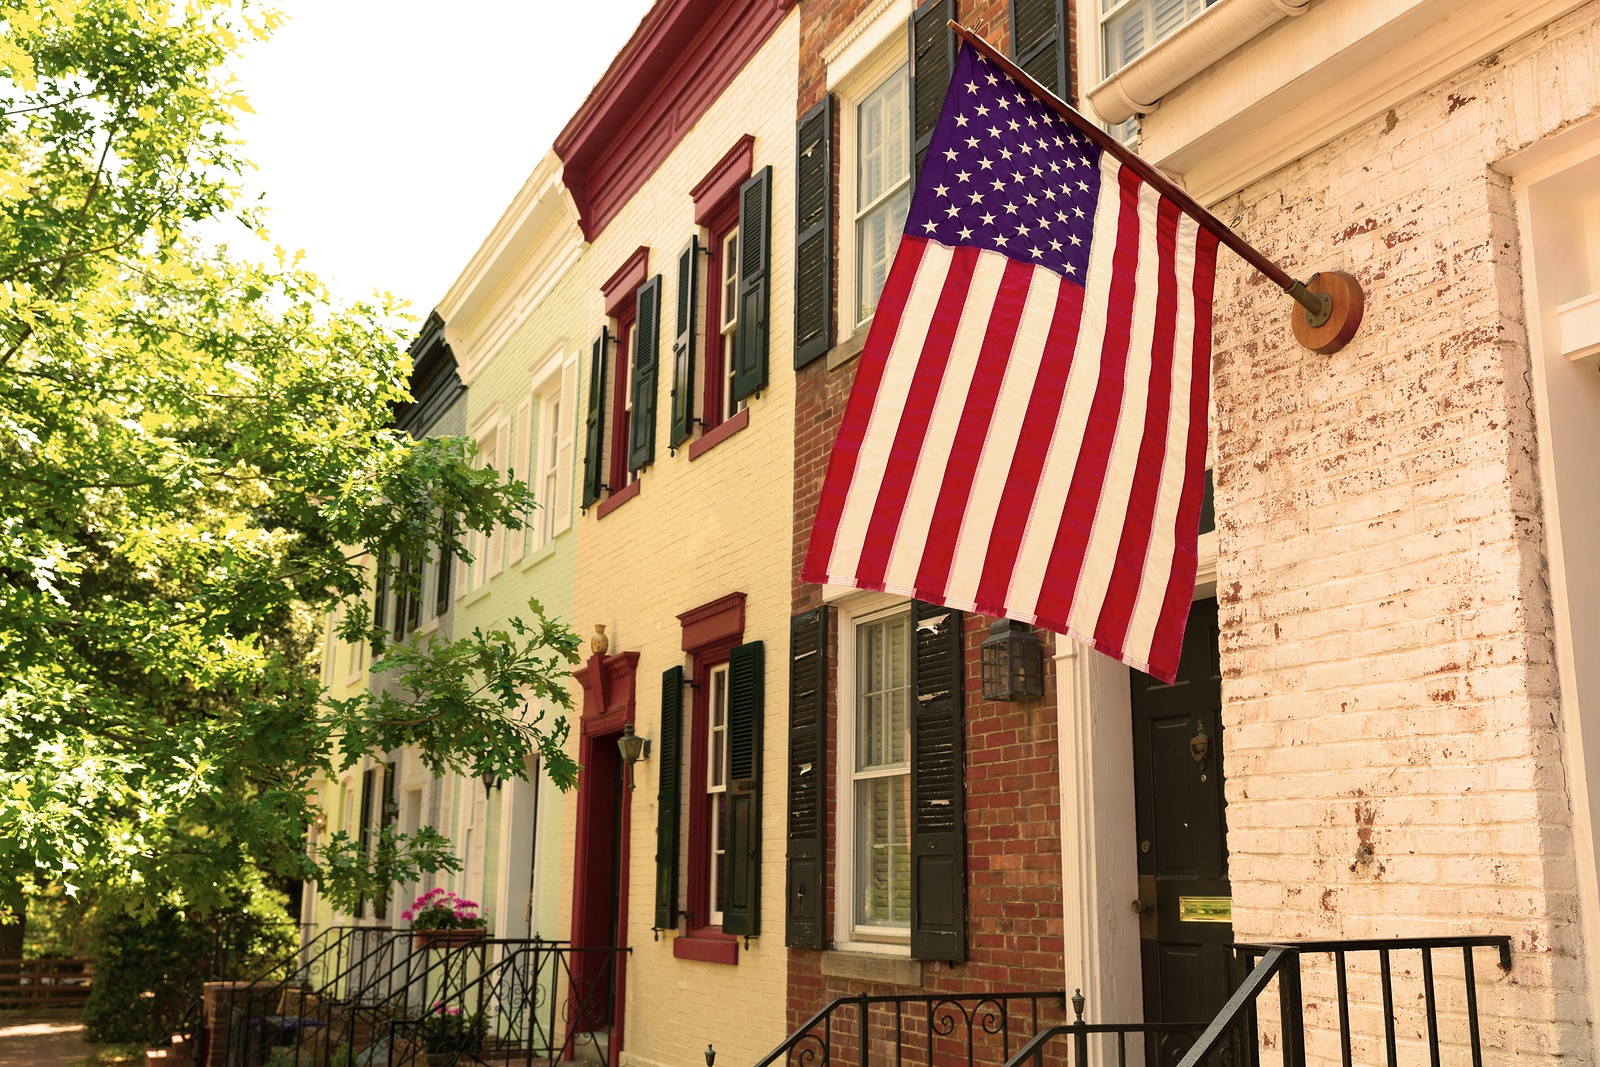
Flying your flag proudly from a brick home creates instant curb appeal, but drilling into masonry demands precision to avoid cracked bricks or a wobbling bracket. Unlike wood siding that accepts screws easily, brick requires specialized tools and techniques to ensure your flag stays secure through high winds and harsh weather. This guide delivers the exact process for installing a flag holder in brick—no guesswork, no damage, just a professional-grade mount that lasts years. You’ll learn how to select the right hardware, drill flawlessly, and avoid the top mistakes that cause anchors to pull out.
Required Tools & Materials
Essential Hardware Checklist
Skip standard screws—they’ll fail instantly in brick. Instead, gather these non-negotiable items: a hammer drill (not a regular drill!) with 1/4″ to 5/16″ masonry bits, a torpedo level for perfect alignment, and 1/4″ masonry screws (1.5-2″ long). Pair these with lead or plastic masonry anchors sized for your bracket’s holes. Safety gear is critical: safety glasses (brick chips fly unpredictably), work gloves, and a dust mask to avoid inhaling silica.
Choosing the Right Flag Holder
Not all brackets work for brick. Opt for cast aluminum models rated for 5-15 lbs—they resist rust without adding weight. Verify the mounting plate has pre-drilled holes matching your anchor size, and confirm it accommodates standard 1″ diameter flag poles. Avoid flimsy plastic brackets; they’ll warp under wind stress. Pro tip: If you live near the coast, upgrade to stainless steel hardware upfront to combat salt corrosion.
Perfect Location Selection
Avoiding Structural Disasters
Mount your bracket 5-7 feet above ground—high enough for visibility, low enough for safe maintenance. Never place it within 12 inches of doors, windows, or light fixtures; flags swing violently in wind and could shatter glass. Tap potential spots with your knuckle: a solid “thunk” means strong brick, while a hollow “thud” signals weak spots or voids behind the surface.
Critical Brick Assessment
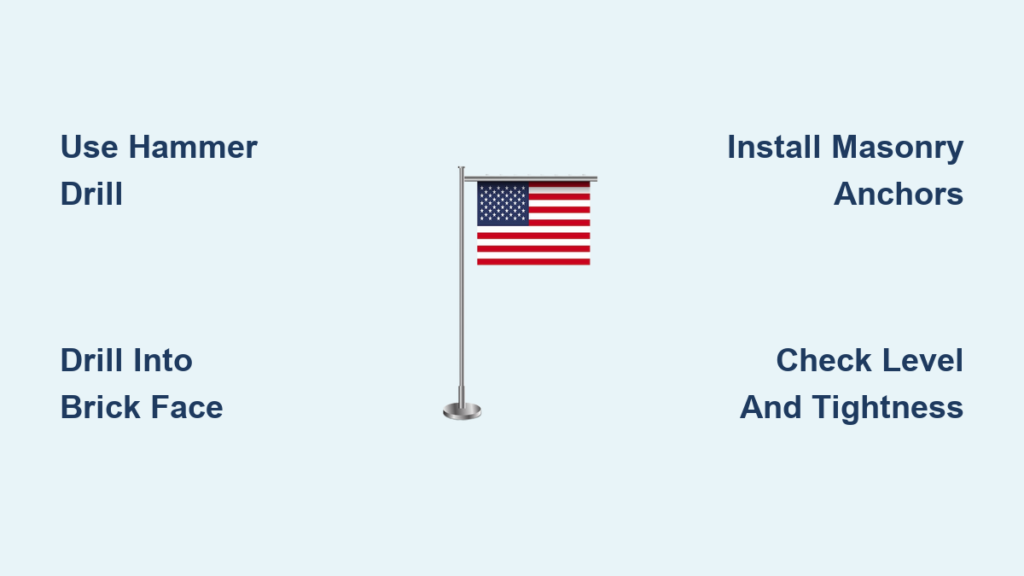
Always drill into the brick face—not mortar joints. Mortar crumbles under pressure, while brick provides 3x the holding power. Scan for hairline cracks or crumbling edges; even small flaws can spread when drilled. If your brick sounds hollow or shows damage, move 4-6 inches left/right to a solid section. Skipping this step risks anchor failure within weeks.
Marking & Drilling Process
Precision Layout Technique
Hold your bracket against the brick, then press a torpedo level against its top edge. When perfectly horizontal, mark drill points through the bracket holes with a sharp pencil. Double-check measurements: brick mistakes are permanent. If installing multiple brackets (like for a double flag), use a tape measure to space holes identically—uneven mounts cause pole twisting.
Drilling Without Cracks
Set your hammer drill to hammer mode only—rotary mode pulverizes brick. Start with light, steady pressure at a perfect 90-degree angle; tilting creates weak anchor seats. Drill 1-1.5 inches deeper than your anchor length to catch debris. For dense brick, use short bursts to prevent bit overheating. If you see dust stop flowing, pause and clear the hole—packed debris weakens the hold by 50%.
Anchor Installation & Mounting
Hole Prep That Makes or Breaks Success
Blow out drilled holes with compressed air or a stiff brush. Any leftover dust creates a “cushion” that prevents anchors from gripping. Never skip this step—it’s the #1 cause of loose brackets. For deep holes, use a shop vac nozzle to suck out debris. Verify holes are clean by shining a flashlight inside; if you see residue, re-clean.
Mounting Without Damage
Tap anchors into holes until flush with the brick surface—no protruding edges. Position your bracket, insert screws, and tighten on the lowest torque setting. Stop when the bracket feels snug; overtightening cracks brick instantly. Final test: wiggle the bracket firmly. If it moves, back out screws slightly, adjust with the level, and retighten gently.
Troubleshooting Common Problems

Fixing Cracked Brick Mid-Installation
If you hear cracking while drilling, stop immediately. Switch to chemical epoxy anchors for instant adhesion—they bond with brick dust. For existing cracks wider than 1/8″, inject masonry repair epoxy before re-drilling 2 inches away. Never reuse a cracked hole; the brick’s integrity is compromised.
Rescue Techniques for Loose Anchors
When screws spin freely, extract them and upgrade to 5/16″ wedge anchors. These expand deeper into brick for 2x holding power. If space is tight, add stainless steel washers behind the bracket to spread pressure. For recurring failures, relocate the mount—some bricks (like older, softer types) simply won’t hold anchors.
Maintenance & Long-Term Care
Preventing Seasonal Failures
Check bracket tightness monthly by tugging the pole. In freeze-thaw climates, inspect mortar joints for crumbling each spring—water seeps into cracks, then expands when frozen. Apply rust inhibitor spray to screws annually; coastal residents need this quarterly. During storms over 25 mph winds, take the flag down—wind loads can exceed 10 lbs, stressing anchors.
Quick Fixes for Rust and Wobble
Spot rust? Remove the flag, unscrew the bracket, and replace hardware with stainless steel screws. If the bracket wobbles, tighten screws while supporting the bracket with a second hand—applying pressure unevenly cracks brick. For persistent wobble, add construction adhesive around anchor points after cleaning holes.
Safety Protocol & Considerations
Avoiding Costly Injuries
Always wear safety glasses—brick fragments can cause eye damage. Use a dust mask rated N95 or higher for silica protection. When working above 4 feet, have a spotter hold your ladder; brick dust makes rungs slippery. Before drilling, scan for overhead wires—brick homes often hide exterior electrical lines.
Weight Limits You Can’t Ignore
Residential brackets max out at 10 lbs; a wet 3×5 ft nylon flag weighs 3 lbs alone. Exceeding weight limits causes catastrophic failure. For larger flags or commercial use, hire a pro—they’ll install steel backing plates to distribute load. Historic brick? Get a structural assessment first; soft antique brick may require epoxy-only mounting.
Alternative Installation Methods
When Drilling Isn’t Possible
Renters or HOA-restricted homes can use outdoor construction adhesive (like Loctite PL Premium). Clean the brick with acetone, apply adhesive to the bracket’s back, and clamp it for 48 hours. This works only for flags under 2 lbs in low-wind zones—expect to reapply yearly. Never use temporary solutions like suction cups; they fail in rain or wind.
Professional Help Worth Paying For
For second-story mounts or historic brick, pros charge $150-$400 but prevent $1,000+ facade repairs. They bring epoxy injection systems that bond anchors to crumbling brick and know local code quirks (like height restrictions). Get a written warranty—reputable services cover labor for 90 days.
Key Takeaway: Installing a flag holder in brick succeeds only with precise drilling, quality anchors, and respect for brick’s fragility. Rushing leads to cracked walls or a fallen flag—take 20 minutes to assess brick integrity and use a hammer drill. With stainless steel hardware and annual maintenance, your mount will fly flags securely for 15+ years. Start with one bracket this weekend, and you’ll never wrestle with a flimsy pole again.


