
Tired of wobbly toilet paper holders that ruin your bathroom’s sleek aesthetic? Installing a Franklin Brass toilet paper holder transforms both functionality and style in just 20 minutes. Unlike cheap alternatives that pull away from walls, these premium fixtures stay rock-solid when mounted correctly—saving you from daily frustrations and costly repairs. You’ll discover exactly how to achieve a professional installation whether you’re working with tile, drywall, or stone surfaces. This guide covers every critical detail for both wall-mounted and freestanding models, including the precise mounting height that prevents awkward reaching and the moisture-proofing tricks most DIYers miss.
Identify Your Franklin Brass Holder Type Before Starting
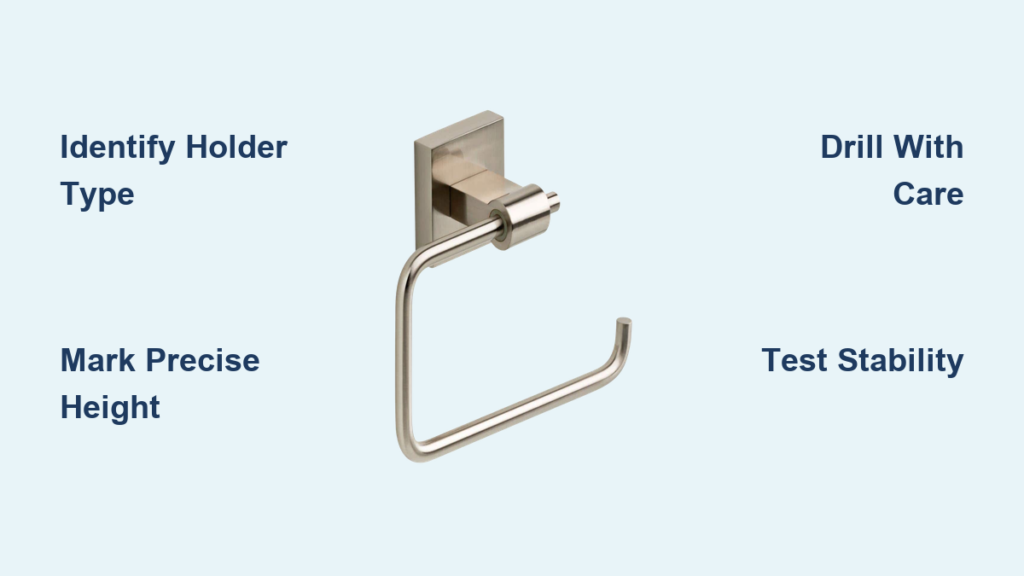
Choosing the right approach based on your specific model prevents wasted effort and wall damage. Franklin Brass manufactures three distinct holder styles requiring different installation methods: the Chatham double-post wall mount, Elite single-post concealed bracket system, and Canterbury freestanding series. Check your packaging or instruction sheet for the model number—typically printed near the mounting hardware—to avoid critical mistakes like using drywall anchors on tile.
Wall-Mounted Holder Installation Differences
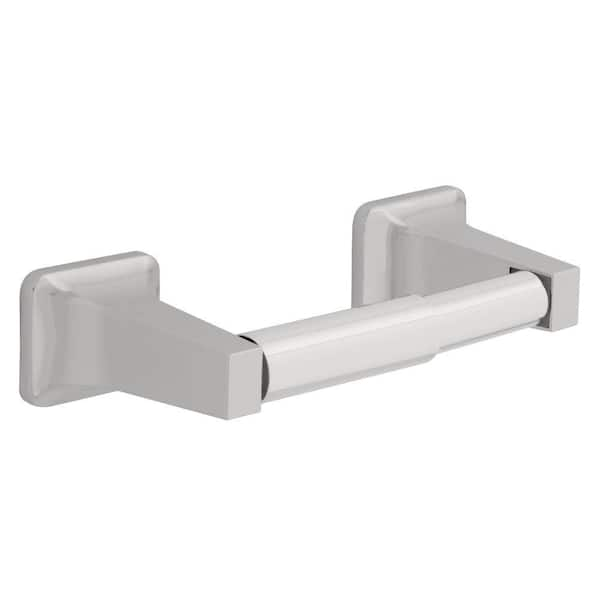
Concealed bracket systems (like the Elite series) create that seamless, high-end look but demand millimeter-perfect drilling alignment. The mounting plate screws directly into wall studs, then the decorative holder snaps over it—hiding all hardware. Exposed bracket models (such as the Chatham line) use visible screws through the bracket base, making them ideal for DIYers since minor height adjustments are possible after initial mounting. Always verify which system you have by checking if the holder slides onto a hidden plate or screws directly through visible holes.
Freestanding vs. Wall-Mounted Decision Points
Freestanding Canterbury models eliminate drilling entirely but require perfectly level flooring to prevent wobbling. They work best in rentals or tile floors where drilling isn’t permitted. Wall-mounted versions deliver superior stability for daily use but demand careful anchor selection: drywall needs plastic anchors rated for 10+ pounds, while tile requires specialized masonry anchors. If replacing an old holder, inspect existing holes—if they’re stripped or misaligned, plan for a new location at least 2 inches away.
Gather These Exact Tools for Flawless Installation
Skip the frustration of mid-project hardware store runs by preparing these essentials first. You’ll need a power drill with 1/8″ pilot bits and 1/4″ masonry bits (for tile), Phillips #2 screwdriver, 24-inch level, measuring tape, pencil, and painter’s tape. For drywall installations, include plastic wall anchors rated for 10+ pounds; tile requires carbide-tipped bits and moisture-resistant toggle bolts. Never skip the level—this single tool prevents the crooked installations that become glaringly obvious once loaded with toilet paper.
Pro Tools for Perfect Results
A stud finder is non-negotiable for drywall installations—mounting directly into studs provides 3x more holding strength than anchors alone. If unavailable, tap the wall; a solid thud indicates a stud versus a hollow sound. Pack a utility knife to trim anchor sleeves flush with the wall surface, preventing unsightly protrusions. Most importantly, recruit a second person to hold the template steady during marking—this simple step eliminates 90% of alignment errors beginners make.
Measure and Mark Mounting Points at Precise Heights
Incorrect placement forces uncomfortable reaching or creates hazardous protrusions near your toilet. Measure 26 inches vertically from the finished floor to the center point of your holder—that’s the ADA-compliant height ensuring comfortable access for all users. Then measure 8-10 inches horizontally from the front edge of your toilet bowl to position the roll within natural arm’s reach without standing up.
Template Marking Technique That Prevents Crooked Mounts
Franklin Brass includes a paper template with most models—this isn’t optional scrap paper. Tape it securely to the wall at your measured height, using painter’s tape to avoid residue. Place your level across the top edge of the template, adjusting until bubble centers perfectly. Pencil through both mounting holes, then double-check measurements before removing the template. If no template exists, hold the bracket against the wall and trace its outline with a pencil.
Hidden Obstacle Checks You Can’t Skip
Bathrooms hide dangerous surprises behind walls. Scan your mounting area with a stud finder to avoid electrical wires (typically running vertically near outlets) and plumbing pipes (running vertically from floor fixtures). If drilling near a shower, assume pipes exist within 12 inches of any fixture. Test with a thin nail first—a metallic clink means STOP; water seepage means you’ve hit a pipe.
Drill Holes and Install Anchors for Maximum Hold
Drywall without stud backing requires precise anchor installation to prevent pull-out. Start with a 1/8″ pilot hole at your marked point, drilling straight in until you hit the back of the wall cavity. Swap to a 1/4″ bit and drill only as deep as your anchor length—typically 1.5 inches. Tap plastic anchors flush with a hammer, stopping when the flange seats against the wall. Wipe out dust with a damp cloth; drywall debris reduces anchor grip by 40%.
Tile Drilling Without Cracks
Tile demands special handling to avoid spiderweb fractures. Cover your pencil mark with blue painter’s tape, then make a small dimple at the center using a nail and hammer. Set your drill to low speed (under 500 RPM) with light, consistent pressure. Pause every 10 seconds to cool the bit with water—overheating shatters tile. Once through the tile, switch to a standard bit to drill into the wall substrate behind.
When You Hit a Stud—Do This
Stud mounting is the gold standard for durability. When your drill bit meets solid resistance after 3/4 inch, stop immediately—you’ve found wood. Skip anchors entirely and use the screws provided in your Franklin Brass kit. Drill pilot holes 1/16″ smaller than the screw diameter to prevent wood splitting. Screws should grab firmly within 3-4 full turns; if they spin loosely, back out and drill a slightly deeper pilot hole.
Mount the Holder Bracket with Zero Wobble

Misaligned brackets cause that infuriating side-to-side shake that loosens mounts over time. Position your bracket over the anchors, inserting screws only finger-tight initially. Place your level horizontally across the bracket’s top edge—adjust until the bubble centers perfectly. Only then tighten screws in a star pattern (opposite corners sequentially) to distribute pressure evenly. Test stability by gripping the bracket and twisting gently; any movement means backing off screws to re-level.
Concealed Mounting Plate Secrets
For Elite series holders, the mounting plate must be perfectly vertical. Screw it into anchors until flush with the wall, then slide the decorative holder downward until it clicks into place. The critical step most miss: tighten the hidden set screw underneath using the included Allen wrench. This 2mm screw locks the holder to the plate—skip it, and the unit will rotate freely when dispensing paper.
Exposed Bracket Fine-Tuning
Chatham-style brackets show their hardware, so alignment is visible. After initial tightening, hang a plumb line from the top screw to check vertical alignment. If the holder leans, loosen the bottom screw 1/4 turn while keeping the top screw tight, then reposition. Never over-tighten—Franklin Brass’s zinc alloy brackets crack easily under excessive torque.
Attach the Toilet Paper Arm for Smooth Operation
The roll should spin freely without wobble or resistance. For single-post models, slide the roller rod through both bracket arms until it seats fully. Locate the tension screw underneath (often hidden by a decorative cap), then tighten with an Allen wrench until snug—stop when you feel resistance to prevent stripping the threads. Test by spinning an empty roll; it should rotate 3+ full turns with one flick.
Double-Post Alignment Fixes
Chatham double-post installations fail when brackets are even slightly uneven. Measure the distance between bracket centers before mounting—most are 8 inches apart. After securing both brackets, place your level horizontally across the top of both. If the bubble isn’t centered, loosen the lower screw on the higher bracket and tap it down gently with a rubber mallet.
Freestanding Base Stabilization
Canterbury freestanding models wobble if the weighted base isn’t fully tightened. Screw the vertical post into the base counterclockwise until hand-tight, then give one final quarter-turn with pliers (wrap jaws with cloth to avoid scratches). Test by pressing down firmly on the roll arm—if the base lifts, add 1-2 lbs of sand to the hollow base compartment before final assembly.
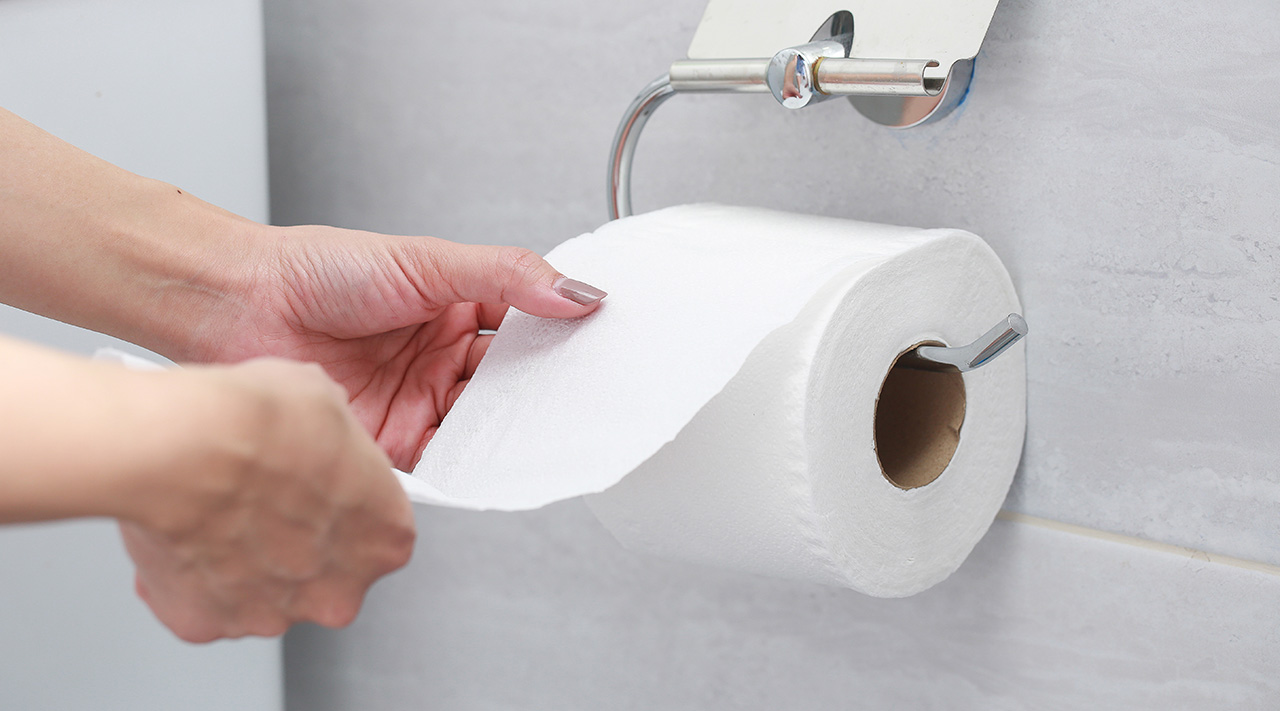
Test Stability and Fix Common Installation Flaws
Load a standard toilet paper roll and simulate daily use: pull paper at different angles while watching for bracket movement. The holder should show zero flexing toward the toilet. If wobbling occurs, remove the roll and check anchor tightness—drywall anchors often need 12-24 hours to fully set before final tightening. For persistent rotation, fill old holes with spackle, wait 1 hour, then remount 1 inch over.
Moisture-Proofing for Longevity
Bathrooms destroy installations through invisible moisture damage. Run a thin bead of mildew-resistant caulk (100% silicone) around the bracket base where it meets the wall. Smooth with a wet fingertip for a seamless finish—this blocks humidity from seeping behind anchors. Skip this step, and you’ll face loose mounts within 6 months as drywall softens.
Your Franklin Brass holder should now operate silently with buttery-smooth rotation. Admire your handiwork: that crisp 26-inch height means no more straining for paper, and the solid mount withstands even enthusiastic use. This isn’t just functional—it elevates your entire bathroom’s aesthetic with Franklin Brass’s signature durability. Now enjoy the satisfaction of a job done right, knowing you’ve eliminated a daily annoyance with professional-grade results.
Final Note: Check mounting screws quarterly with a screwdriver—bathroom humidity causes gradual loosening. For holders showing early wobble, apply thread-locking compound to screws before re-tightening. Always keep spare anchors matching your wall type in your toolkit for emergency fixes.


