
Your bathroom’s finishing touches matter more than you think—especially when it comes to hardware like toilet paper holders. A poorly installed Gatco toilet paper holder wobbles, damages walls, and frustrates users daily. But when you install your Gatco toilet paper holder correctly, it becomes a seamless blend of function and style that withstands years of use. Most DIYers complete this project in under 30 minutes with basic tools, but the difference between a professional-looking installation and a wall-patching disaster comes down to precise measurements and proper anchor selection.
The key to mastering how to install Gatco toilet paper holder successfully lies in understanding your wall type and using the right mounting technique. Whether you’re working with drywall, tile, or plaster surfaces, this guide delivers step-by-step instructions that prevent common mistakes like crooked placement or anchor failure. You’ll learn exactly where to position your holder for optimal accessibility, which drill bits prevent tile cracks, and how to secure the final set screw without damaging the finish.
Determine Perfect Placement for Your Gatco Holder
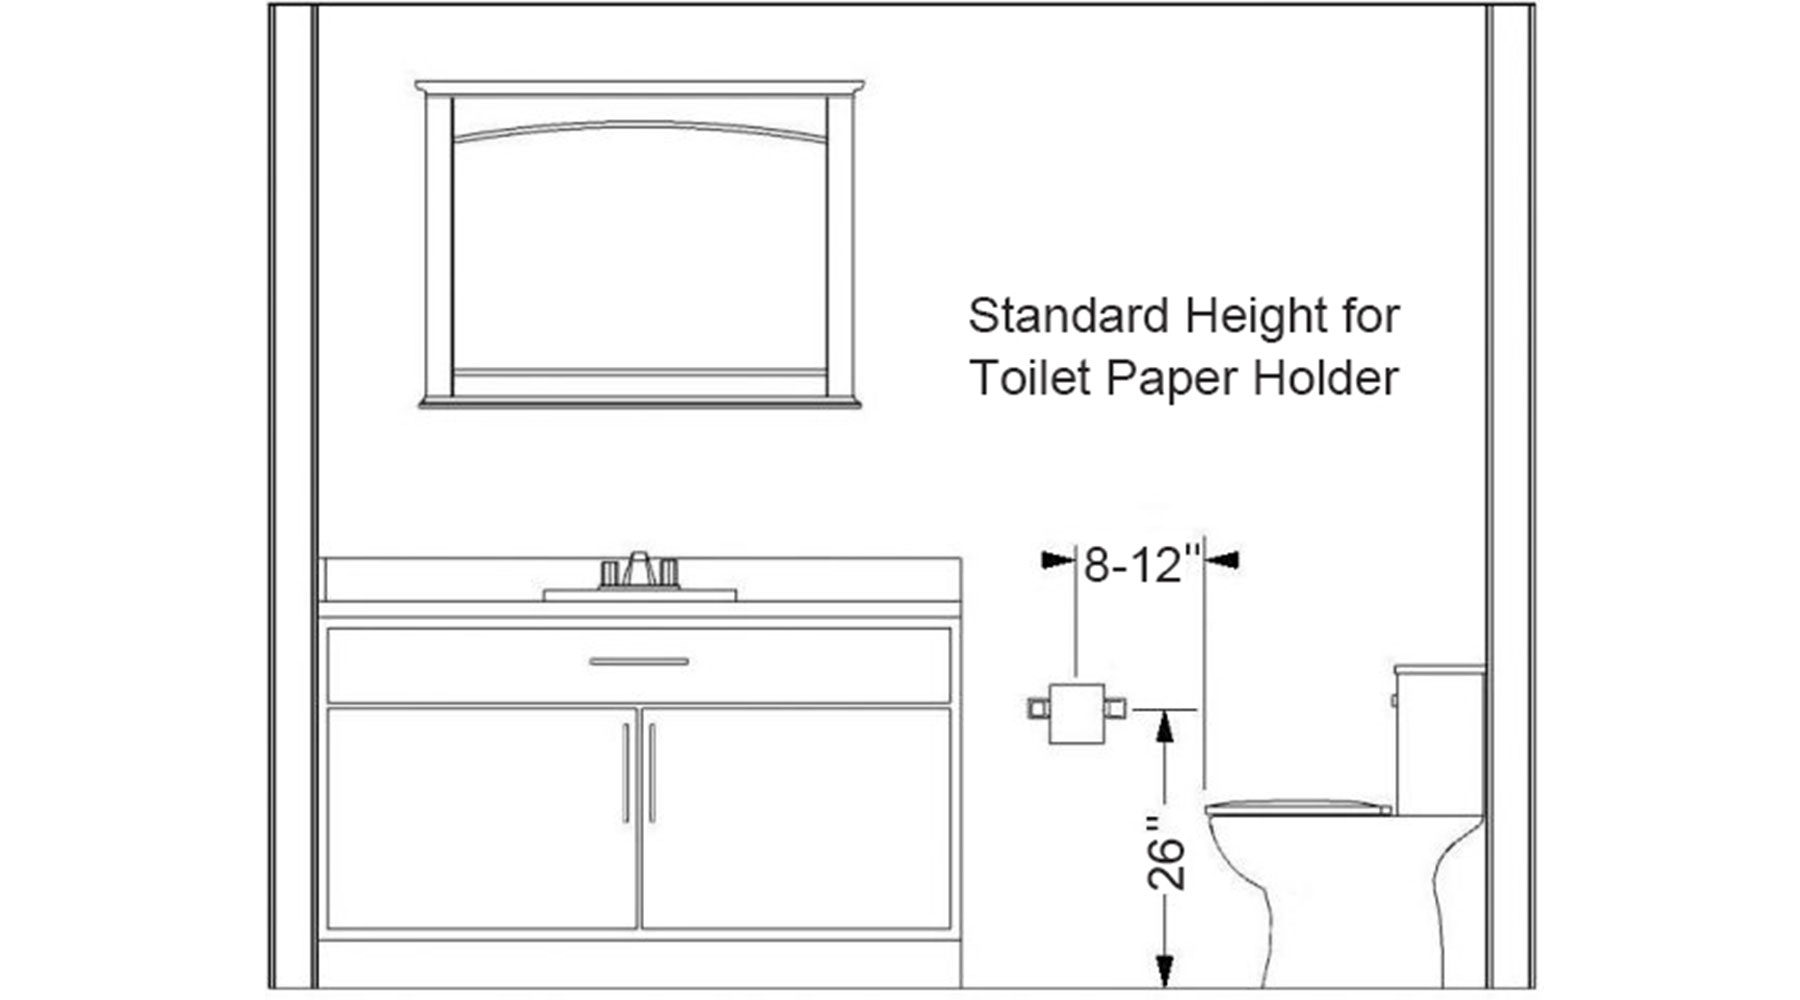
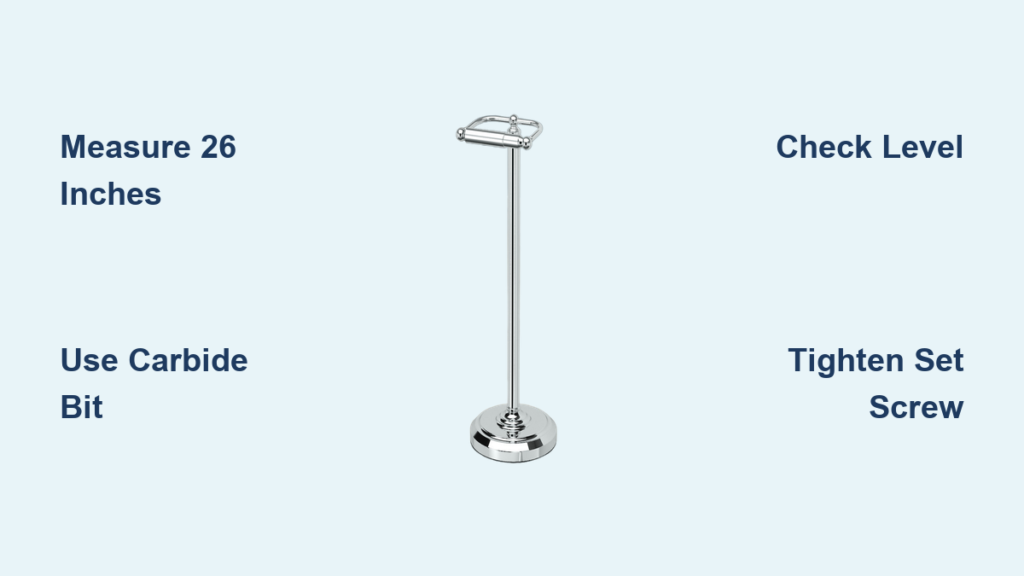
Position your Gatco toilet paper holder 26 inches from the floor to the roll’s center point for universal comfort. Measure from your finished floor surface—not the baseboard—to ensure consistent height that accommodates all household members. Place the holder 8-12 inches in front of the toilet bowl rim so seated users can reach it comfortably without stretching or leaning dangerously.
How Wall Type Affects Your Mounting Approach
Drywall installations: Standard plastic anchors work for occasional use, but upgrade to 50-pound toggle bolts in high-traffic bathrooms where children might pull aggressively on the holder. Locate wall studs first—if possible, align one mounting hole with a stud for maximum stability.
Tile surface challenges: Use a carbide-tipped drill bit specifically designed for ceramic tile to prevent cracking. Apply masking tape over your drill points and create a starter divot with a center punch to keep the bit from slipping across the glossy surface.
Plaster wall considerations: Pre-drill small pilot holes with a masonry bit to prevent plaster from chipping around your mounting points. Plaster often hides lath backing that requires careful drilling to avoid splitting the wood strips.
Mark both mounting points through the Gatco template with a pencil, then verify perfect horizontal alignment using a 2-foot level. A crooked toilet paper holder immediately looks amateurish and affects roll rotation.
Gather Essential Tools Before Starting Your Gatco Installation
Having the right tools prevents mid-project frustrations and ensures your how to install Gatco toilet paper holder process goes smoothly. Your Gatco package includes basic mounting hardware, but these additional tools make the difference between a professional installation and wall damage.
Critical Tools Checklist for Flawless Installation
- Power drill with variable speed control (1/4″ and 1/8″ bits for pilot holes)
- 2-foot level (shorter levels won’t detect subtle crookedness)
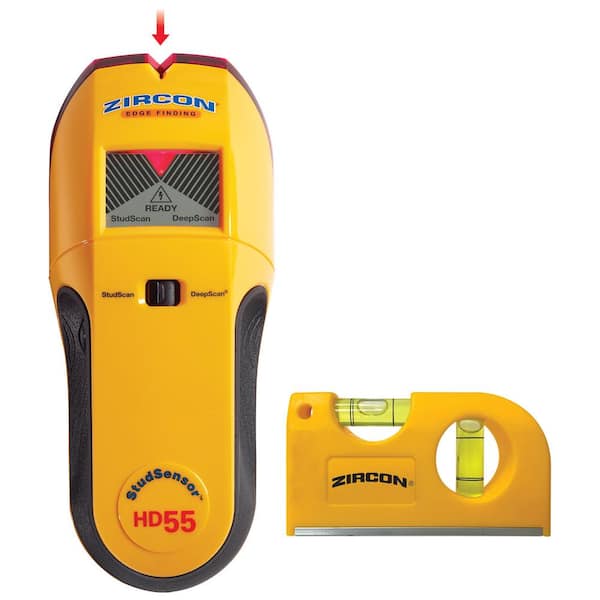
- Precision stud finder (magnetic types work best through tile)
- Center punch (essential for tile drilling success)
- Masking tape (prevents drill bit slippage on glossy surfaces)
- Allen wrench (typically included with Gatco holders for set screw)
For tile installations specifically, invest in a carbide-tipped masonry bit rated for ceramic tile—standard drill bits will skid and crack your tiles. Keep a spray bottle of water nearby to cool the drill bit during extended tile drilling sessions, preventing overheating that causes hairline fractures.
Prepare Your Wall Surface for Secure Gatco Mounting
Clean the mounting area thoroughly with isopropyl alcohol to remove soap scum, oils, and dust that prevent proper anchor seating. For glossy tile surfaces, lightly sand the mounting points with 220-grit sandpaper to create microscopic texture that helps anchors grip securely—this simple step prevents “anchor spin-out” that plagues many DIY installations.
Tile-Specific Drilling Technique That Prevents Cracks
- Apply 2-inch strips of masking tape over your marked mounting points
- Use a center punch to create a small divot at each mark
- Start drilling at a 45-degree angle, then gradually straighten to 90 degrees
- Apply steady, consistent pressure without forcing the bit
- Pause every 10 seconds to let the bit cool and clear debris
For drywall installations, locate wall studs first. If your mounting points don’t align with studs, consider adjusting the holder position slightly—having at least one screw in a stud dramatically increases stability. Wrap your drill bit with masking tape 1.5 inches from the tip as a depth guide to prevent drilling too deep and hitting plumbing or electrical lines.
Mount the Gatco Bracket with Professional Precision

Hold the mounting bracket firmly against your prepared wall surface, aligning it with your pencil marks. For drywall installations, drill 1/4-inch holes at your marks using the appropriate bit size for your anchors. Gently tap plastic anchors into place with a hammer until they sit flush with the wall surface—avoid over-driving which cracks drywall.
How to Avoid Common Bracket Mounting Mistakes
- Drywall anchor failure: If anchors feel loose, remove and replace with toggle bolts rated for 50+ pounds
- Tile cracking during installation: Stop immediately if you hear cracking sounds—reposition the holder 1 inch higher or lower
- Bracket misalignment: Leave mounting screws slightly loose until you’ve verified perfect level, then tighten fully
Drive mounting screws through the bracket into the anchors, but stop when the bracket sits 1/8 inch from the wall surface. This tiny gap allows for final leveling adjustments before fully securing. Double-check bracket alignment with your level in both horizontal and vertical planes before tightening completely—Gatco holders magnify even minor misalignments once loaded with toilet paper.
Attach and Secure the Gatco Holder Arm Properly
Slide the holder arm onto the mounting bracket following Gatco’s keyhole slot system—lift slightly, then push down firmly until you hear a distinct click. Test the connection by pulling gently forward; the arm should remain securely locked to the bracket with minimal side-to-side play.
Critical Final Security Check Before Use
- Verify proper roll clearance (standard 3 inches from wall surface)
- Load a full toilet paper roll and test rotation smoothness
- Apply moderate forward pressure (simulate user reaching for paper)
- Check for any upward movement that indicates insecure mounting
If the holder arm feels loose, remove it and inspect the bracket screws. Sometimes anchors need slight tightening, or you may need to replace standard plastic anchors with heavy-duty versions for tile or plaster walls. Gatco’s design requires precise bracket alignment—the arm won’t seat properly if the bracket isn’t perfectly positioned.
Tighten the Hidden Set Screw Without Damaging Your Holder
Locate the small set screw underneath the holder arm—this critical component prevents the arm from lifting off the bracket during daily use. Use the included Allen wrench to tighten clockwise until you feel firm resistance, typically 2-3 full turns. This step is crucial when learning how to install Gatco toilet paper holder correctly.
Set Screw Tightening Warning Every DIYer Should Know
Stop tightening immediately when resistance increases dramatically. Over-tightening the set screw can strip internal threads or crack decorative finishes, especially on chrome or brushed nickel models. The set screw only needs to be snug—not fully tightened—to secure the arm properly. Test final security by giving the loaded holder several firm tugs in different directions; it should remain completely stationary.
Fix Common Gatco Installation Problems Before They Worsen
Address wobbling immediately—this usually indicates anchor failure in drywall. Remove the bracket and install heavy-duty toggle bolts, or relocate the mounting points to align with wall studs. For crooked appearances, slightly loosen the bracket screws, reposition with your level, then retighten—small adjustments create dramatic visual improvements.
Tile-Specific Troubleshooting Solutions
If hairline cracks appear during drilling, stop work immediately and allow the area to rest for 24 hours before proceeding. Fill any micro-cracks with matching grout, wait for full curing, then remount the holder 1 inch higher or lower. Never attempt to use the same hole if cracking occurs—tile integrity is compromised and anchors won’t hold securely.
For stubborn misalignment issues, gently file the bracket mounting slots with a small metal file to create slight adjustment room. This technique works well when dealing with uneven wall surfaces or slightly off-center drill holes.
Maintain Your Gatco Holder for Long-Term Performance
Prevent water spots and soap buildup by wiping your Gatco toilet paper holder weekly with a soft cloth and mild soap solution. Avoid abrasive cleaners that scratch chrome or matte finishes—vinegar diluted 50/50 with water works well for hard water deposits without damaging finishes.
Proactive Maintenance Checklist
- Monthly: Tighten the set screw 1/8 turn if any wobble develops
- Quarterly: Check wall anchors for security behind the bracket
- Biannually: Remove and clean the entire holder to prevent buildup
- Annually: Apply car wax to chrome finishes in high-humidity environments
In coastal areas with salt air exposure, apply a thin coat of automotive wax to chrome finishes twice yearly. This creates a protective barrier against corrosion that gradually dulls finishes in high-moisture environments.
Alternative Mounting Solutions for Problem Walls
When standard wall mounting isn’t possible, consider Gatco’s adhesive mounting strips for renters or delicate surfaces. Clean the wall thoroughly with alcohol, apply the industrial-strength adhesive strips to the bracket back, press firmly for 30 seconds, and wait 24 hours before adding toilet paper. Note that adhesive mounting won’t work on textured surfaces or in high-moisture shower areas.
For vanity-mounted installations, attach directly to solid wood cabinet sides using shorter screws. Verify your cabinet uses solid wood or plywood construction—not particle board which won’t hold mounting screws securely over time. Pedestal sink bathrooms work well with Gatco’s freestanding floor models that require zero drilling and can be easily moved during bathroom updates.
Your Gatco toilet paper holder now provides reliable, wobble-free service while elevating your bathroom’s aesthetic appeal. The professional installation you’ve completed ensures years of trouble-free use with minimal maintenance. Take a moment to appreciate how this small hardware upgrade transforms your daily bathroom experience—proof that mastering how to install Gatco toilet paper holder correctly makes a noticeable difference in both function and style.


