
Tired of frantically searching for keys every morning? A properly installed wall key holder transforms daily chaos into organized calm. Whether you’re mounting a simple hook or a decorative multi-key rack, this guide walks you through every step—from choosing the perfect spot to troubleshooting common installation headaches.
You’ll learn the exact techniques for drywall, concrete, plaster, and wood paneling, plus pro tips that prevent costly mistakes. By the end, you’ll have a rock-solid key holder that looks professional and lasts for years.
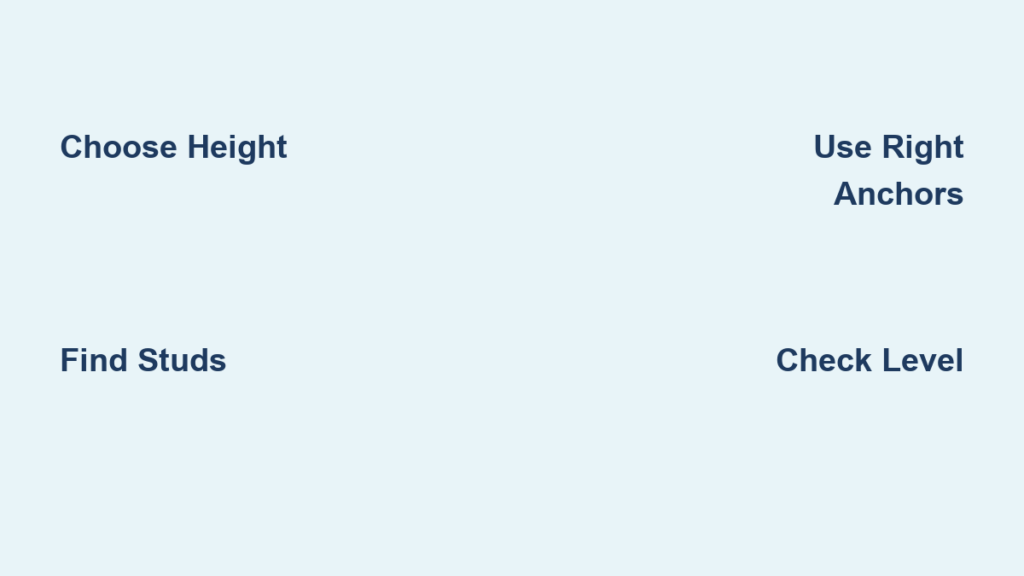
Choose Optimal Wall Location
Height and Accessibility Standards
Mount your key holder 48-54 inches from the floor—perfect for quick access without bending. Place it within arm’s reach of your main entry door, ideally where you naturally pause when entering or leaving. This strategic positioning ensures you’ll never forget your keys again.
Avoid Problem Areas
Skip walls near radiators, exterior doors, or bathroom moisture zones. Heat warps wood holders, while humidity rusts metal hooks. Check for air vents that could blow lightweight key holders off the wall. Look for subtle signs like discoloration that might indicate hidden plumbing or electrical lines behind the surface.
Structural Support Check
Use a stud finder to locate wall studs behind drywall. Key holders supported by studs hold 3x more weight than anchor-only installations. Mark stud locations lightly with pencil for reference. If you don’t have a stud finder, tap along the wall—stud locations sound more solid than hollow drywall areas.
Identify Your Wall Type
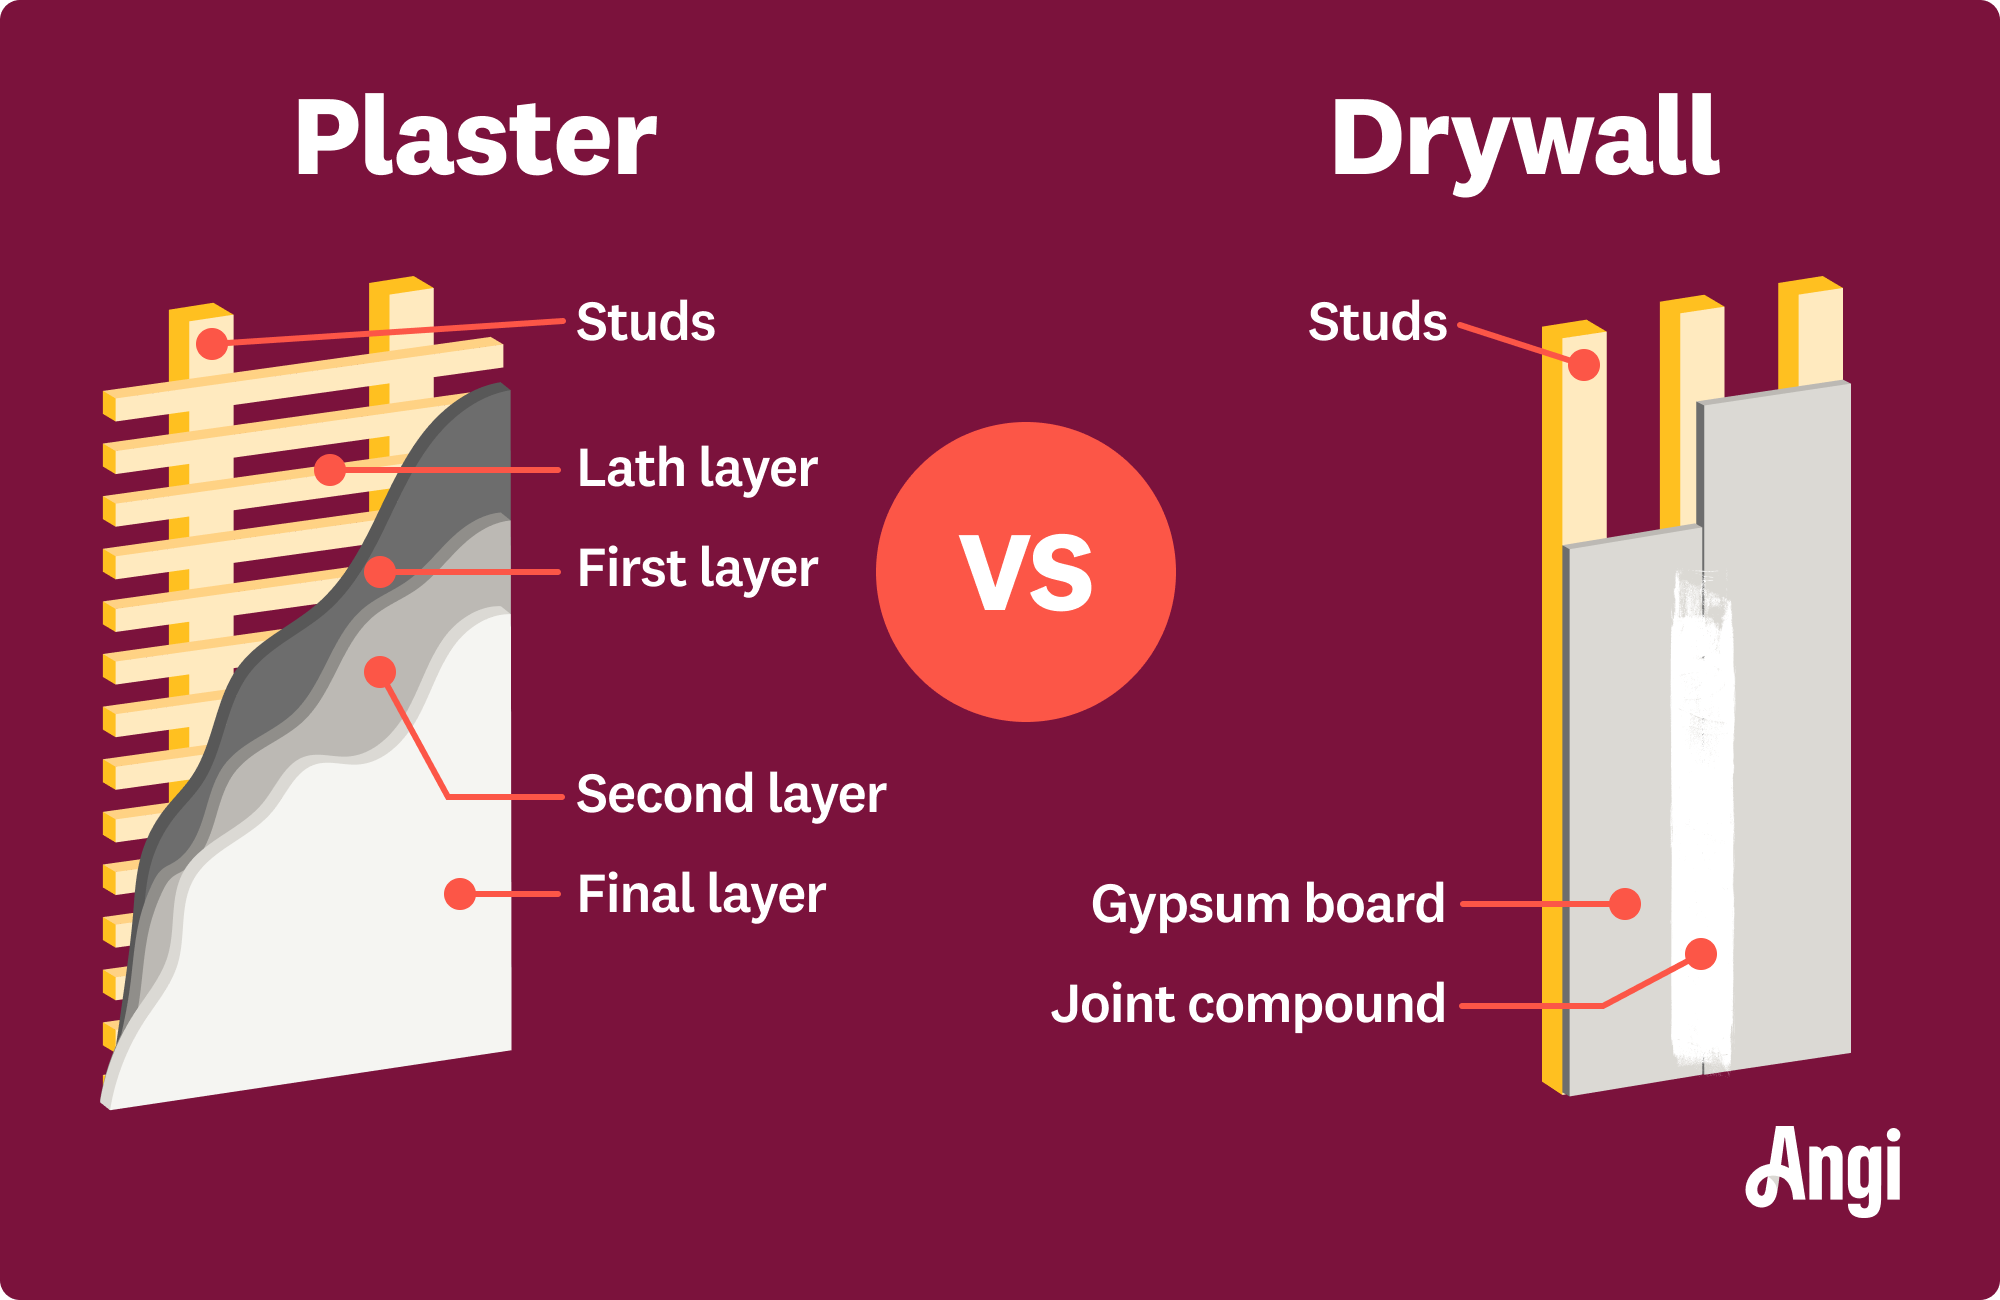
Drywall Detection
Tap the wall—hollow sounds indicate drywall covering wooden studs. Look for electrical outlets; drywall typically surrounds them with plastic boxes. Most homes built after 1960 use standard 1/2-inch drywall. When you press firmly, drywall flexes slightly under pressure—this gives way to more resistance when you hit a stud.
Plaster Wall Characteristics
Plaster feels solid when tapped and often has visible texture or cracking patterns. These walls require gentler drilling and specialized anchors. Test by pushing a thumbtack—plaster resists penetration more than drywall. Older plaster walls may have lath backing, making them prone to cracking if drilled improperly.
Masonry and Wood Paneling
Concrete or brick walls sound completely solid and feel cold to touch. Wood paneling shows visible seams and feels warmer. Each demands specific anchors and drilling techniques covered in the installation sections below. For wood paneling, check if it’s just a surface layer or solid wood construction—this affects your screw length choice.
Gather Required Tools and Materials

Essential Tool Kit
- Electric drill with variable speed control
- Drill bits: 1/8″ for pilot holes, 1/4″ for anchors, masonry bit for concrete
- Level (24-inch preferred for accuracy)
- Stud finder with wire detection capability
- Measuring tape and pencil
Hardware Selection Guide
Choose anchors based on wall type and key holder weight:
Light key holders (under 3 lbs):
– Plastic expansion anchors for drywall
– Short wood screws for paneling
Medium key holders (3-10 lbs):
– Self-drilling toggle bolts for hollow walls
– Masonry anchors for concrete/brick
Heavy key racks (10+ lbs):
– Molly bolts for plaster
– Tapcon screws for concrete
– Direct stud mounting when possible
Install on Drywall
Step 1: Locate and Mark Mounting Points
Hold your key holder against the wall at desired height. Use a level to ensure straight alignment. Mark through mounting holes with a pencil. If mounting into a stud, position one hole over the stud mark. For multi-point mounts, ensure all points align perfectly with your level.
Step 2: Drill Pilot Holes
For stud mounting: Drill 1/8″ pilot holes directly into the stud at marked points.
For anchor mounting: Drill 1/4″ holes at marked locations. Vacuum away drywall dust—this prevents anchor slippage during installation. Drill straight in; angled holes compromise anchor grip.
Step 3: Install Anchors
Tap plastic anchors flush with wall using a hammer. For toggle bolts, drill larger holes per package instructions. Insert anchors until they sit evenly with the wall surface. Press firmly to ensure they’re seated properly—loose anchors cause wobbling later.
Step 4: Mount Key Holder
Position the key holder over anchors or pilot holes. Drive screws through the mounting bracket using a screwdriver or low-torque drill setting. Tighten until snug—avoid over-tightening which cracks drywall. You should feel resistance but not hear cracking sounds.
Step 5: Test Stability
Gently pull on the installed key holder. It should feel solid with zero wobble. Add a few keys and test again. If any movement occurs, remove and upgrade to larger anchors. For heavy holders, wait 24 hours before full use to ensure anchors set properly.
Mount on Plaster Walls
Prevent Cracking Technique
Apply painter’s tape over drilling marks to prevent plaster chipping. Drill slowly with sharp bits to reduce stress on brittle plaster. Use masonry bits for exceptionally hard plaster. Start with a small pilot hole before enlarging to anchor size—this minimizes cracking risk.
Specialized Anchor Installation
Molly bolts provide the strongest hold in plaster. Drill appropriate-sized holes, then tap molly bolts flush. Tighten the screw to expand the anchor behind the plaster. Follow standard mounting steps after anchor installation. These anchors distribute weight across a wider area, preventing plaster damage.
Concrete and Brick Installation
Required Equipment
Switch to a hammer drill with masonry bit for concrete walls. Standard drills won’t penetrate masonry effectively. Wear safety goggles—concrete dust is abrasive. Use a vacuum attachment if possible to keep your workspace clean and visible.
Drilling Process
Mark spots with permanent marker. Drill holes 1/4″ diameter, 1.5-2 inches deep. Clean holes thoroughly using compressed air or vacuum. Insert concrete anchors, then mount key holder using masonry screws. For brick, aim for mortar joints rather than the brick itself—they’re easier to drill and provide better anchor grip.
Wood Paneling Method
Direct Installation
Wood paneling allows direct screw installation without anchors. Use shorter screws (3/4-1 inch) to avoid penetrating electrical wiring. Pre-drill holes to prevent splitting, especially near panel edges. Drive screws until the head is just below the surface for a clean finish.
Decorative Enhancement
Consider brass or stainless steel screws for aesthetic appeal. Countersink screws slightly, then cover with wood filler for invisible mounting. This technique works particularly well for rustic or vintage-style key holders where visible hardware complements the design.
Troubleshoot Common Problems
Fix Wobbly Installation
Symptoms: Key holder shifts when adding/removing keys
Quick Fix: Remove screws and upgrade from plastic anchors to toggle bolts. Add second anchor point if possible. For stud-mounted holders, use longer screws. If you’re dealing with a heavy key holder, always mount into studs for maximum security.
Repair Cracked Wall
Symptoms: Hairline cracks around mounting points
Solution: Remove key holder, fill cracks with spackling compound, sand smooth when dry, repaint. Relocate installation 2-3 inches away from damaged area. For plaster walls, use a flexible patching compound to accommodate natural wall movement.
Correct Crooked Mounting
Symptoms: Key holder tilts visibly
Fix: Remove mounting screws carefully. Fill old holes with spackle. Re-measure using a level—mark new holes. Reinstall ensuring perfect level positioning. Use a laser level for absolute precision, especially with larger key holders that show even slight misalignment.
Safety and Best Practices
Electrical Safety Check
Before drilling, scan walls with a wire detector. Avoid areas within 6 inches of electrical outlets. Turn off circuit breakers when drilling near electrical boxes. Remember that wires typically run vertically from outlets and horizontally above/below them—stay clear of these zones.
Ladder Safety
Use a stable step stool for installations above shoulder height. Maintain three points of contact—never overreach. Have someone steady the ladder for high installations. Keep your drill and tools in a pouch rather than balancing them on the ladder rung.
Long-term Maintenance
Every quarter, check mounting screw tightness. Tighten gently—snug, not stripped. Clean key holders monthly to prevent dust buildup that adds unnecessary weight. For outdoor installations, inspect monthly for rust or weather damage to mounting hardware.
Special Installation Scenarios
Apartment-Friendly Options
Removable Solutions: Use damage-free adhesive strips rated for your key holder’s weight. These remove cleanly without wall damage—perfect for renters. Look for strips rated for at least twice your key holder’s maximum load capacity.
Over-Door Installation: Hang key holders over existing door hardware. No drilling required, completely portable when you move. This works particularly well for lightweight key holders and temporary living situations.
Child-Accessible Heights
Install at 36-42 inches for children learning responsibility. Use rounded hooks without sharp edges. Ensure rock-solid mounting—children often pull or hang on key holders. Test the installation by applying several times the expected force before allowing children to use it.
Your perfectly positioned key holder now awaits daily use. Test it thoroughly by adding all your keys and jingling them gently—zero movement means professional-grade installation. Next time you rush out the door, your keys will be exactly where you expect them. For long-term reliability, perform quick stability checks every few months and address any looseness immediately.


