
Tossing your favorite pipe into a cluttered drawer alongside loose change and keys invites disaster—chipped stems, cracked bowls, and frustrating searches before every smoke session. A properly crafted pipe holder solves this instantly, protecting your investment while turning storage into a display-worthy ritual. Whether you’re safeguarding a single cherished briar or organizing a growing collection, this guide reveals exactly how to make a pipe holder that fits your space, style, and pipe count using basic tools you likely already own. You’ll learn foolproof construction techniques that prevent common mistakes like unstable bases or stem-damaging holes, all achievable in a single afternoon.
Choose Your Pipe Holder Design Based on Collection Size

Match Holder Type to Your Pipe Count
A single-pipe stand works perfectly if you rotate between two favorites on your nightstand, but attempting to cram eight pipes into this compact design guarantees scratches from constant contact. For collections of 3-12 pipes, a multi-rack system with 2-inch spacing between stems prevents damage while keeping pipes instantly accessible. Wall-mounted holders become essential when counter space disappears—French cleat mounting secures your entire collection vertically without drilling through multiple pipes during installation. If you frequently display pipes in a smoking room, a rotating lazy Susan base saves you from awkward reaching.
Critical capacity mistake: Building exactly for your current collection. Always add 20% extra slots—your next pipe purchase is inevitable. Measure your largest pipe’s stem diameter first; standard 3/4-inch holes won’t fit oversized artisan pipes requiring 1-inch openings.
Select Materials That Prevent Pipe Damage

Hardwoods vs. Budget-Friendly Alternatives
Walnut and cherry provide heirloom quality with natural oils that repel moisture, but oak delivers the best balance for beginners: prominent grain hides sanding imperfections while resisting dents better than pine. Avoid rosewood or ebony despite their beauty—their natural oils can react with pipe finishes over time. For workshop tool holders storing plumbing pipes, maple’s hardness withstands constant impact without splintering.
Unexpected material hack: Repurpose a 1/2-inch thick acrylic offcut from a hardware store. Its smooth surface won’t snag stems, and a handheld jigsaw cuts clean holes. Drill slowly to prevent melting, then sand edges with 400-grit paper until crystal clear. Acrylic holders wipe clean in seconds—ideal for sticky resin buildup.
Essential Hardware Checklist
- Drill bits: 3/4″ spade bit (standard pipes) or Forstner bit for cleaner holes
- Screws: #6 x 3/4″ for assembly, #8 x 1″ for wall mounting
- Base protection: Self-adhesive 1/2″ felt pads (prevents tabletop scratches)
- Finishes: Danish oil for warmth or wipe-on polyurethane for workshop durability
Warning: Never skip wood filler on drill exit points. Unfilled blowout creates sharp edges that scratch pipe stems during insertion. Fill, then sand flush with 220-grit paper before finishing.
Build a Single-Pipe Holder in 90 Minutes
Foolproof Construction Steps
-
Cut and mark: Start with a 6″ x 4″ x 2″ hardwood block. Mark hole location 1.5″ from front edge using a pencil—this prevents tipping when pipes lean forward.
-
Drill at precise angle: Set your drill to 15 degrees using a speed square as a guide. Drill 1.5″ deep with a 3/4″ bit—deeper holes weaken the block, shallower ones won’t support stems. Test depth with your actual pipe before finishing.
-
Sand strategically: Begin with 120-grit to remove drill marks, progress to 220-grit on all surfaces, then finish with 400-grit only on top edges where pipes contact wood. Skipping grits creates micro-scratches that dull pipe finishes.
-
Apply finish correctly: Flood the block with Danish oil using a lint-free cloth. Wait 15 minutes for absorption, then wipe off excess. Repeat for three coats, sanding lightly with 400-grit between coats. Cure 24 hours before use.
Pro tip: Chamfer the hole entrance with a round file—this guides stems smoothly into place without catching. Test with your pipe during drilling to ensure stems sit 1/4″ above the surface.
Construct a Multi-Pipe Rack Without Alignment Errors
Avoid Crooked Hole Nightmares
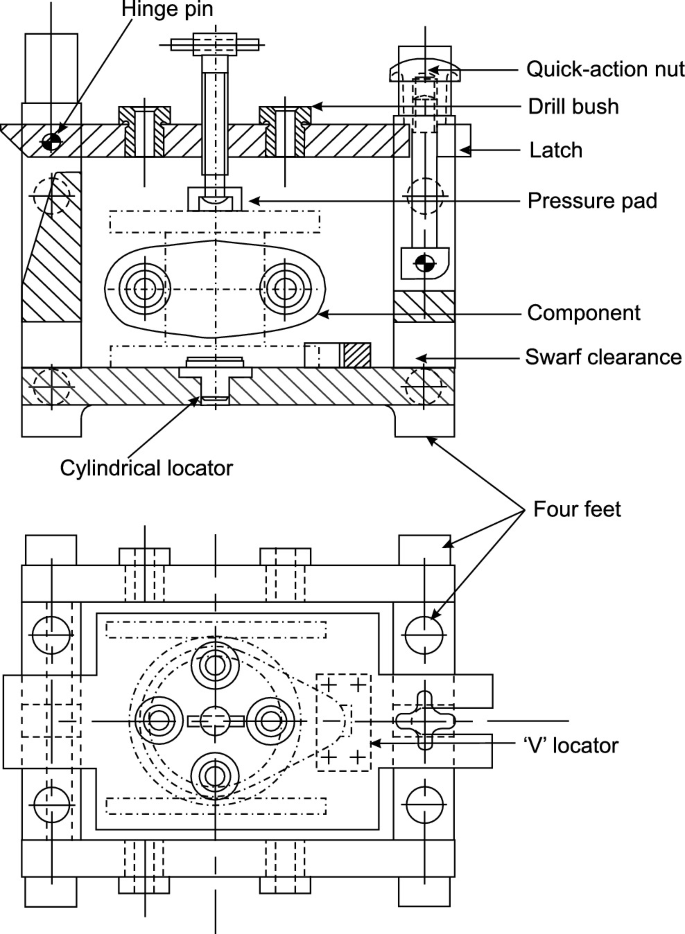
Misaligned holes cause pipes to wobble or touch, risking cracks. Create a drilling jig from 1/4″ plywood: cut a rectangle matching your base width, then drill perfectly straight pilot holes every 2 inches using a drill press. Clamp this jig atop your base board—it guarantees identical hole spacing and angles every time.
- Build the base: Cut a 12″ x 6″ base from 3/4″ wood. Sand edges smooth to prevent splinters.
- Attach angled supports: Cut two 6″ x 4″ uprights with 15-degree tops using a miter saw. Glue and screw them 1″ from each end—this angle displays pipes attractively while preventing slides.
- Insert dowels: Slide 3/8″ dowels through the uprights (cut to 3″ length). Crucial step: Apply finish to the entire rack before inserting dowels. Skipping this traps finish in holes, gluing dowels permanently.
Time-saver: Batch-sand all pieces simultaneously. While one coat cures on the base, sand uprights—this cuts total build time by 40 minutes.
Fix Common Pipe Holder Failures Immediately
Stop Tipping and Loose Holes Now
Problem: Your rack tips when pipes are inserted.
Solution: Increase base weight by attaching a 1/8″ steel plate underneath with #4 screws. For wall-mounted units, always anchor into two studs—drywall anchors alone fail under pipe weight.
Problem: Pipes wobble in oversized holes.
Fix: Cut thin hardwood shims, glue into the hole, then re-drill to exact size. Test with a pipe before final sanding—holes should grip stems firmly without forcing.
Problem: Danish oil beads up unevenly.
Prevention: Wipe the wood with 50/50 denatured alcohol and water before finishing. This opens pores for even absorption. If already applied, strip with mineral spirits and restart.
Maintain Your Holder for Decades of Use
Simple Routine That Prevents Damage
Dust weekly with a microfiber cloth—never household cleaners that strip finishes. Every six months, check felt pad adhesion; replace pads showing wear to avoid tabletop scratches. In dry climates, re-oil wooden holders annually: apply a thin coat of Danish oil, wait 10 minutes, then wipe clean. This combats wood shrinkage that creates loose holes.
Critical mistake: Placing holders near windows. UV exposure fades wood and dries out pipe stems. Store in stable humidity (35-55%)—a $10 hygrometer in your display area prevents costly damage. Rotate pipe positions monthly to avoid uneven fading from directional light.
Your custom pipe holder transforms from mere storage into a functional showcase that protects your collection’s value. Start with the single-block design to master drilling angles and finishes, then scale to multi-rack systems as your collection grows. Remember: precise hole spacing prevents pipe contact damage, angled supports stop accidental tipping, and proper finishing repels moisture that warps wood. Within five hours, you’ll have a holder that outlasts store-bought versions while reflecting your personal style. Next, explore adding LED lighting for dramatic displays or modular expansion for future pipe acquisitions—your collection deserves storage as exceptional as the pipes themselves.


