
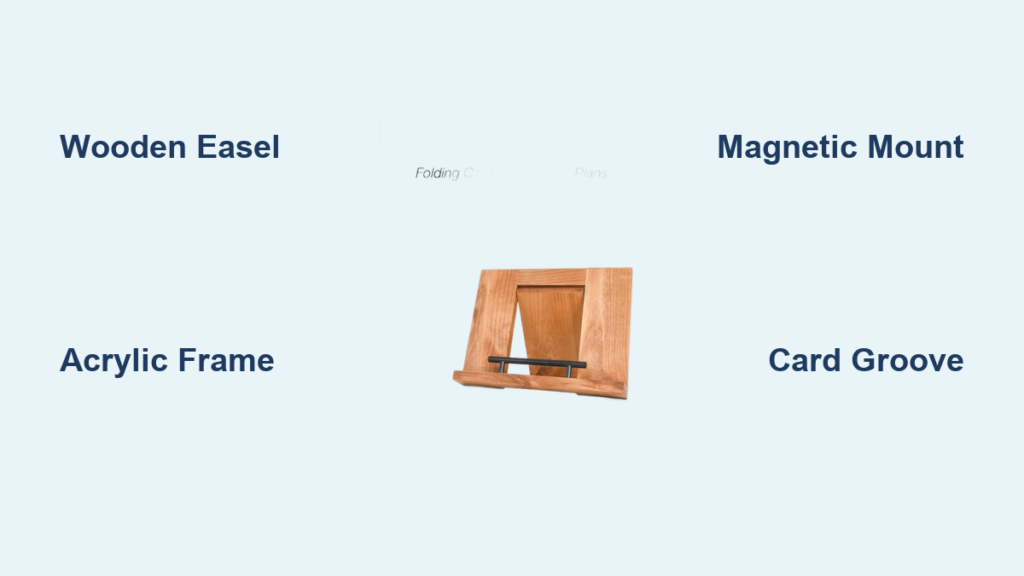
You’re mid-recipe, hands coated in flour or dripping with sauce, when your printed instructions slide off the counter for the third time. That frantic scramble to catch pages before they hit the floor is a universal kitchen nightmare. A custom how to make a recipe holder project solves this frustration permanently while adding personality to your cooking space. This guide delivers battle-tested construction methods using accessible materials—no fancy tools required. Whether you need a rustic wooden easel for your countertop, a sleek acrylic frame for messy bakers, or a fridge-mounted magnetic version for small kitchens, you’ll have a functional holder in under two hours.
Essential Materials and Tools for Your Holder Build
Wood Selection and Alternatives
Start with ¾-inch pine boards for your first project—they’re budget-friendly, easy to cut with basic tools, and accept stains beautifully. Oak or maple elevates durability for heirloom-quality holders, while plywood handles painted designs without splintering. For wipe-clean surfaces, ⅛-inch acrylic sheets withstand spills better than wood but require careful scoring. Never underestimate scrap materials: hardware store remnants or old picture frames often provide perfect-sized pieces.
Critical tool checklist:
– Hand saw or jigsaw (for wood) / utility knife with straight edge (for acrylic)
– Measuring tape, pencil, and combination square
– 120-220 grit sandpaper for smooth finishes
– Wood glue and 1-inch nails for secure joints
– Food-safe mineral oil or polyurethane sealant
Standard Dimensions and Angles for Perfect Viewing
Optimal Sizing Guide
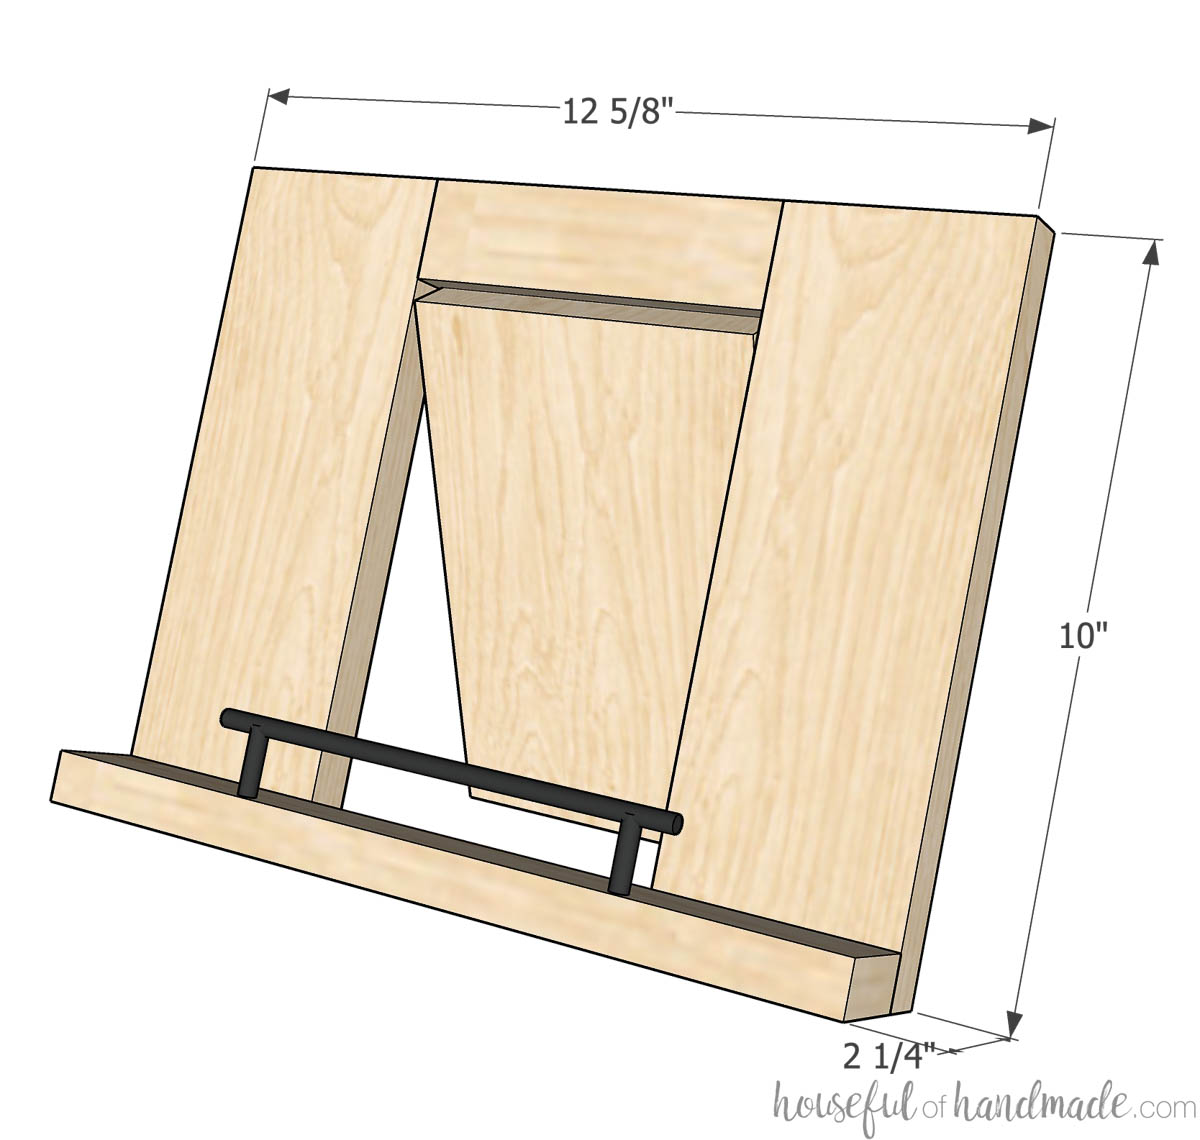
Your holder must accommodate both standard 4×6 recipe cards and occasional 8.5×11 printouts without obscuring text. A 10-inch base width prevents counter clutter while 8-inch height positions recipes at eye level when standing. Crucially, set your viewing surface at 70 degrees from horizontal—this angle eliminates glare from overhead lights and keeps recipes readable during vigorous cooking.
Card slot precision: Route a ¼-inch deep groove ½ inch from the front edge. This depth securely holds single pages without creasing corners, while spanning the full width (10 inches) accommodates various paper sizes. Test with your thickest cookbook page during construction.
Build Your Wooden Easel Holder in 4 Steps
Step 1: Cut Base and Support Leg
Measure and cut a 10″ x 8″ base from pine using a hand saw. For the support leg, cut an 8″ x 2″ piece and create a 15-degree angle on its bottom edge with a miter box. This subtle slope prevents rocking on uneven countertops—a common frustration with flimsy commercial holders.
Step 2: Create Card Groove
Using a router (or careful chisel work), cut a ¼-inch wide groove ½ inch from the base’s front edge. Sand the groove thoroughly—rough spots will tear paper during frequent use. Pro tip: Test depth with your thickest recipe card before final sanding.
Step 3: Attach Adjustable Support
Position the support leg ¾ up the base back. Pre-drill holes for small brass hinges to prevent wood splitting, then attach securely. Test the angle: recipes should stay put when you gently tap the holder. Adjust by sanding the leg’s bottom angle if pages slide.
Step 4: Finish for Food Safety
Progress through sandpaper grits (120 → 180 → 220) for silky-smooth edges that won’t snag paper. Apply 2-3 coats of food-safe polyurethane—this creates a wipe-clean surface far more durable than oil finishes. Cure fully for 24 hours before first use near steam or splatters.
Create a Sleek Acrylic Version for Messy Kitchens
Cutting and Shaping Without Power Tools
Score 9″ x 7″ acrylic sheets repeatedly with a utility knife and straight edge, then snap cleanly over a table edge. For the stand, use a heat gun on low to soften a ½-inch fold line 2 inches from the bottom—bend slowly to avoid cracking. Critical: Wear safety glasses during scoring—acrylic shards are razor-sharp.
Professional-Grade Touches
Drill ⅛-inch ventilation holes ¼ inch from side edges using a drill press (or steady hand drill). Polish all edges with 400-grit sandpaper to eliminate scratches that attract dust. Add clear silicone feet to corners—this prevents sliding during frantic page-turning. Apply anti-static spray monthly for crystal-clear viewing in flour-dusted kitchens.
Magnetic Refrigerator Mount for Space-Starved Kitchens

Secure Magnet Embedding Technique
Cut basswood to 8″ x 6″ x ¼” using a jigsaw. Drill ⅜-inch holes ¼ inch deep, spaced 2 inches apart on the back for rare earth magnets. Test magnet strength by stacking papers—they should hold 5-8 sheets securely. Epoxy magnets flush with the surface to prevent fridge scratches.
Moisture-Proof Construction
Attach a ¼” x ½” wooden lip along the front bottom edge with wood glue and 1-inch nails. This critical feature stops recipes from sliding off during door slams. Seal the entire piece with clear epoxy resin—this creates a waterproof barrier against pasta steam and sink splashes. Always test on a small fridge area first to ensure no discoloration.
Fix Common Build Problems Before They Ruin Your Holder
Stability Solutions for Wobbly Designs
Wobbling base? Add hidden weight: glue marble tiles or metal washers inside the base cavity. Forward tipping? Extend the base depth by 1-2 inches during construction—this shifts the center of gravity. For uneven counters, install ¼-20 threaded inserts with rubber-tipped feet that adjust to microscopic height differences.
Card Holding Emergencies
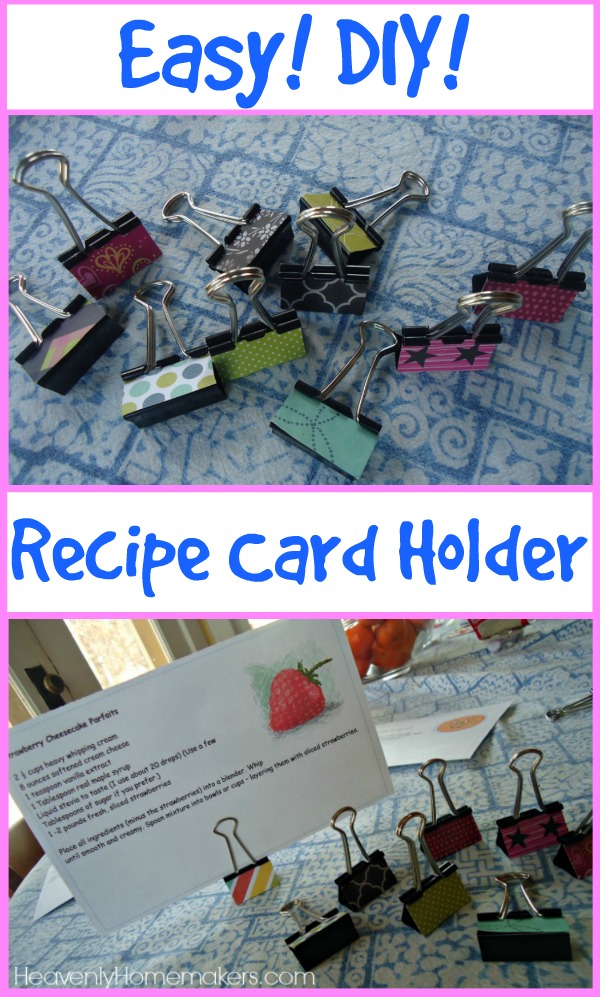
Recipes slipping during cooking? Press thin rubber grip strips into the card groove using contact cement. Wind blowing pages? Attach a hinged acrylic cover with magnetic closures—drill holes ½ inch from edges to prevent cracking. For multi-page recipes, mount mini binder clips on the sides instead of forcing pages into the groove.
Maintenance Made Simple for Long-Lasting Use
Clean wooden holders with a damp microfiber cloth only—never soak. Reapply mineral oil every six months to prevent drying cracks. For acrylic versions, use vinegar-water solution (1:1) instead of ammonia cleaners that cause clouding. Annually inspect hinges and magnets; replace standard-sized components with hardware store finds. Always store in a dry spot—never above the stove where heat warps wood.
Creative Customization Ideas for Personalized Function
Size Hacks for Special Needs
Build a 6″ x 4″ foldable travel version with magnetic closure for RV kitchens—perfect for campground cooking. For family dinners, scale up to 12″ x 9″ dimensions to display full cookbook pages or tablets. Create a keychain-attached mini holder (4″ x 3″) for grocery store reference using recycled plastic.
Smart Integration Upgrades
Rout a ½-inch deep compartment along the base back for frequently used spice measurements. Combine your holder with a 3-tier spice rack using shared support legs. For tech-savvy cooks, build adjustable side panels that expand from 6-10 inches to securely cradle tablets during video tutorials.
Safety First: Avoid These Critical Mistakes
Food-Safe Material Pitfalls
Never use solvent-based finishes near food prep areas—only FDA-approved sealants like mineral oil or walnut oil. Skip paint with lead content; opt for water-based acrylics sealed under polyurethane. Design all edges with ¼-inch rounded corners—sharp points cause cuts during rushed cooking.
Structural Danger Zones
Use screws ¾ the material thickness (e.g., ½-inch screws for ¾-inch wood) to prevent poking through surfaces. Test stability with triple your expected load—place 3 pounds of canned goods on the holder before trusting it with electronics. Always sand acrylic edges thoroughly to eliminate invisible shards that cause paper cuts.
Your custom recipe holder transforms from weekend project to indispensable kitchen partner the moment you stop chasing sliding papers. Start with the wooden easel method—it’s forgiving for beginners and showcases beautiful grain patterns. Within two hours, you’ll have a personalized tool that withstands sauce splatters and keeps generations of family recipes visible. Measure twice, cut once, and never again lose your place mid-recipe.


