
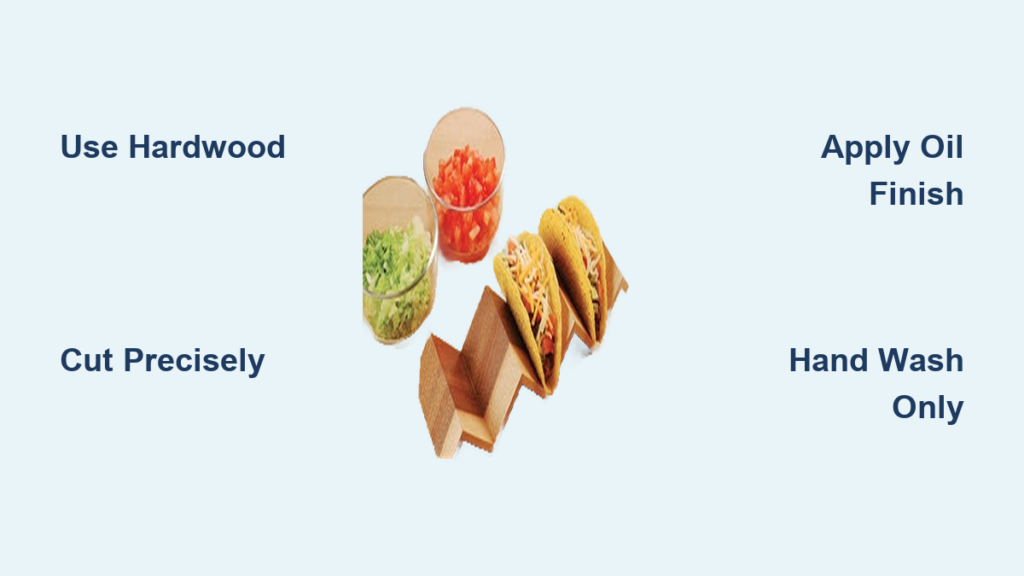
Taco night chaos ends with a simple woodworking project that keeps your shells perfectly upright and your fillings exactly where they belong. Nothing ruins the fiesta faster than watching carefully assembled tacos topple over, spilling beans and salsa across your kitchen counter. A custom wooden taco holder solves this common frustration while adding a touch of handmade charm to your table setting.
Building your own how to make a wooden taco holder project takes just a few hours with basic tools and costs a fraction of store-bought versions. Whether you’re crafting a single holder for family dinners or planning to make sets as gifts, this guide provides everything you need to create a functional, food-safe kitchen accessory that will become your new taco night essential.
Select the Perfect Wood for Taco Night Success
Hardwood Choices That Won’t Compromise Your Meal
Maple, oak, and cherry stand out as top choices for your how to make a wooden taco holder project. These dense hardwoods resist moisture absorption, won’t transfer unwanted flavors to your food, and withstand repeated cleaning. Birch offers a budget-friendly alternative with similar durability, while walnut provides stunning visual appeal at a higher price point.
Critical mistake to avoid: Never use softwoods like pine or cedar—they absorb cooking oils and spices, potentially altering your taco’s taste with unpleasant resin flavors. Always verify your wood is untreated and sourced from food-safe suppliers to protect your family’s health.
Gather Essential Tools Before Starting
Must-Have Equipment Checklist
- Table saw or circular saw with straight edge guide for precise cuts
- Miter saw for clean 90-degree angles on dividers
- Drill with 1/8″ bit for alignment holes
- 4+ bar clamps for secure assembly
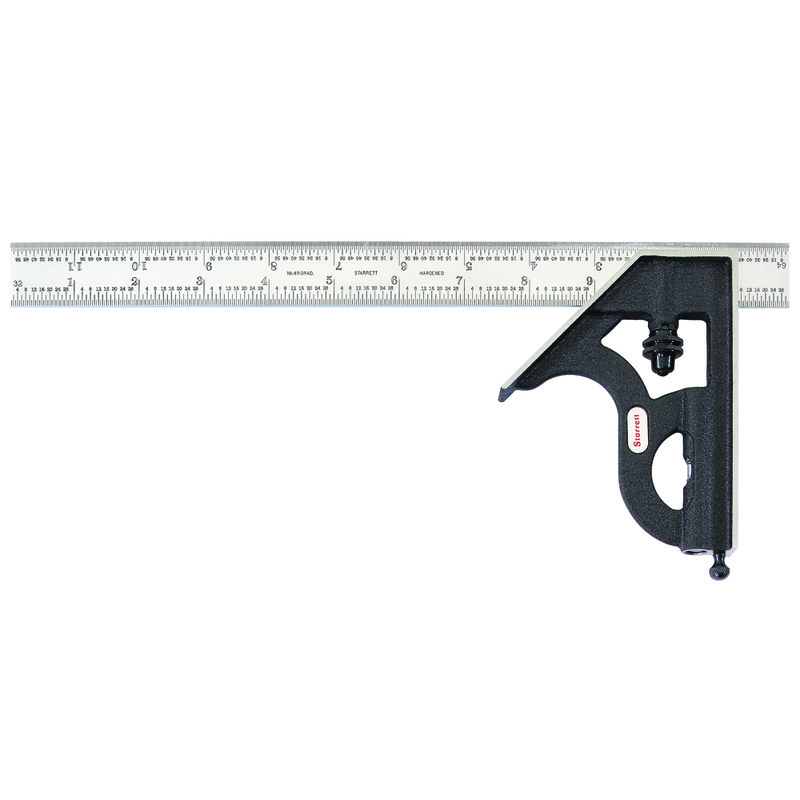
- Measuring tools: steel ruler, combination square, and sharp pencil
Safety first: Wear safety goggles and a dust mask during cutting and sanding—wood particles can cause serious eye damage or respiratory issues. Keep your workspace clean and well-lit to prevent accidents during your how to make a wooden taco holder project.
Cut Base and Dividers with Professional Precision
Perfect Measurements for Stability
Start by cutting your 3/4-inch thick base to final dimensions: 12″x5″ for a standard 3-taco holder. Verify all corners are perfectly square using your combination square—this prevents wobbling that could topple your tacos. For dividers, cut four 5″x2″ pieces from 1/2-inch stock, ensuring consistent height across all pieces.
Pro tip: Mark measurements with a sharp pencil and cut slightly outside your lines—then sand to final dimensions for perfect fit. Test each piece against actual taco shells before final assembly to guarantee proper slot width of 1.5-2 inches.
Create Taco Slots Using Two Foolproof Methods
Method 1: Dado Cut Construction (Most Professional)
Set your table saw blade height to 3/8 inch—exactly half your base thickness. Install a dado blade set or make multiple passes to create 1/2-inch wide grooves at precisely measured positions (0.5″, 2.5″, 4.5″, and 6.5″ from one end for 3-taco holders).
Troubleshooting tip: If dividers fit too tightly, run the base through the saw again with a slightly wider cut. Too loose? Add thin wood shims during assembly for a perfect fit that won’t loosen over time.
Method 2: Beginner-Friendly Layered Build
Cut spacer blocks matching your desired slot width (1.5-2 inches). Apply glue to the base, position first divider, insert spacer, add second divider, and repeat. Critical step: Remove spacers after 30 minutes of clamp time—this prevents permanent sticking while maintaining consistent slot width.
This approach works perfectly if you lack specialized dado blades, taking just 15 minutes longer than the professional method with identical results.
Assemble Your Holder for Maximum Durability
:max_bytes(150000):strip_icc()/100980633-2fcbdd48b8ff41e5bb962dcb7b77951d.jpg)
Glue and Clamp Like a Woodworking Pro
Apply a thin, even bead of wood glue to dado grooves or base contact areas. Insert dividers vertically, checking alignment with your square—any angle greater than 90 degrees will cause tacos to slide out. Clamp across the entire assembly with even pressure; over-tightening can squeeze out too much glue or crack delicate dividers.
Must-do step: Wipe away excess glue immediately with a barely-damp cloth. Dried glue creates finish problems and potential food traps that compromise your how to make a wooden taco holder project’s safety.
Apply Food-Safe Finish for Long-Lasting Use
Sand to Restaurant-Quality Smoothness
Start with 120-grit sandpaper to remove mill marks and glue residue, then progress to 220-grit for silky-smooth surfaces that won’t snag tortillas. Round over sharp edges slightly—both for comfort during handling and to prevent chipping during use.
Professional secret: Remove all dust using a tack cloth before finishing. Any remaining particles become permanent under finish coats, creating rough spots that trap food particles.
Oil Finish Application Process
Flood the surface with food-safe mineral oil, letting it penetrate for 15-20 minutes before wiping away excess. Apply 2-3 additional coats, waiting 4-6 hours between applications. For heavy use, consider food-grade polyurethane for maximum durability, though oil remains the most natural option that’s safe for immediate food contact.
Time-saving tip: Apply finish to multiple holders simultaneously if making gift sets—this creates consistent appearance across your batch.
Build Advanced Taco Holder Designs
Create Adjustable Capacity in Minutes
Drill 1/4-inch holes at 1-inch intervals along the base. Make dividers with matching dowel pegs on bottom—this allows configuration from 2-6 tacos as needed for different meal sizes. Quick organization tip: Number the holes for easy repositioning without measuring each time.
Design Multi-Level Holders for All Taco Types
Build two-tier designs with lower tier at 1.5 inches for soft tacos, upper tier at 2.5 inches for hard shells. Connect with sturdy side supports for stability—this solves the common problem of soft tacos collapsing while keeping hard shells upright.
Maintain Your Holder for Years of Taco Nights
Daily Care Routine That Prevents Damage
Hand wash only—never soak or use dishwasher. Wipe clean with damp cloth after each use. For stubborn guacamole or cheese residue, use mild soap and warm water, then dry thoroughly standing upright to prevent warping.
Monthly maintenance: Apply fresh mineral oil when wood appears dry or faded. This prevents cracking and maintains water resistance—neglecting this step is the #1 cause of premature taco holder failure.
Fix Common Problems Before They Worsen
Gaps between dividers and base: Fill with matching wood filler, re-sand, and refinish. Warping: Usually caused by uneven finishing—always seal all surfaces equally. Slots too tight: Sand slot edges carefully with folded sandpaper. Too loose: Add thin wood veneer shims during your next build.
Scale Up for Impressive Gift Sets
Batch Production Efficiency Hacks
Cut all pieces for multiple holders simultaneously using stop blocks on your saw for consistency. Stack sand several pieces together to save time—this creates identical smoothness across your set. Apply finish assembly-line style for efficiency.
Create Memorable Taco Night Packages
Package 2-4 matching holders with artisanal taco seasoning or a small cookbook. Include a care instruction card with your contact information for future orders. Personalize with engraved names or special dates for weddings, housewarmings, or holidays.
Quick 30-minute gift version: Use 1×4 pine for both base and dividers, skip dado cuts, and apply single oil coat—perfect for practice or casual gatherings while you perfect your hardwood technique.
Your homemade wooden taco holder will transform ordinary taco nights into restaurant-quality experiences while showcasing your craftsmanship. The skills you’ve developed transfer directly to other kitchen projects like utensil organizers and tablet stands, making this the perfect gateway to functional woodworking. With proper care, your how to make a wooden taco holder creation will serve countless fiestas, becoming more beautiful with each use and developing a rich patina that tells the story of your family’s favorite meals.


