
That stubborn fuse holder won’t budge no matter how hard you pull? You’re not alone—over 60% of DIY electrical repairs fail at this exact step due to improper technique. Whether you’re wrestling with a seized automotive fuse block or a spinning residential socket, how to remove a fuse holder correctly determines whether you save time or create dangerous hazards. This guide cuts through the confusion with field-tested methods for every fuse holder type. You’ll learn to diagnose retention mechanisms, select precision tools, and avoid critical mistakes that damage wiring or compromise safety. By the end, you’ll confidently handle even the most stubborn holders while protecting yourself and your electrical system.
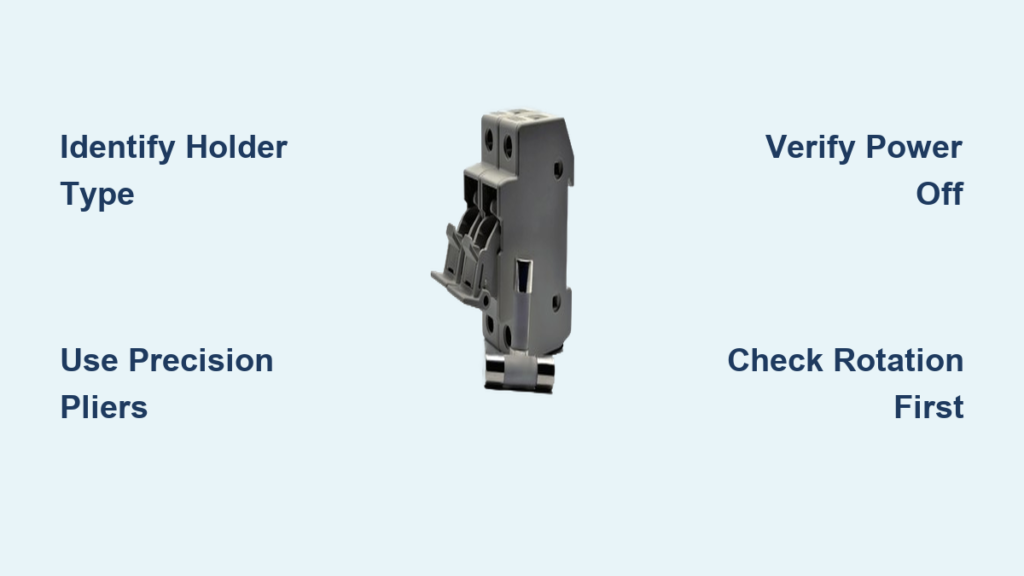
Identify Your Fuse Holder Type Before Removal
Automotive Crimped Fuse Holders
Automotive fuse blocks use crimped holders with spring hooks or side tabs that create intentionally tight connections. Look for small metal tabs on both sides of the holder—these must be pressed simultaneously to release the grip. These holders often resist removal because vehicle vibrations demand rock-solid electrical contact. If your holder shows spring hooks at the edges or requires dual-sided pressure, you’re dealing with this type. Never mistake these for standard push-in fuses; crimped designs need specialized extraction techniques to avoid breaking fragile retention tabs.
Key identifiers for automotive crimped holders:
– Spring steel hooks visible at holder edges under bright light
– Side-mounted retention tabs requiring dual depression
– Extremely tight fit that resists standard pliers
– Metal terminals permanently crimped to fuse ends
House Fuse Holders
Residential fuse sockets present unique challenges where determining what’s actually spinning is your first diagnostic step. In older homes, the metal fuse cover (often blue) may rotate independently while the ceramic body stays fixed—that’s normal. But if the entire socket assembly spins freely when you turn the fuse, it indicates structural failure requiring professional replacement. This distinction prevents dangerous DIY attempts on compromised systems. Always verify rotation behavior before applying any force.
Critical house holder assessment:
– Normal rotation: Metal cover spins, ceramic body remains stationary (proceed with removal)
– Dangerous rotation: Entire socket spins with wiring movement (stop immediately)
– Phantom indicators: Digital multimeters may show “phantom voltage” on dead circuits—test with analog meter for confirmation
How to Remove an Automotive Fuse Holder
Locate Retention Mechanisms First
Before touching tools, inspect the fuse block under bright light for 30 seconds. Automotive holders use manufacturer-specific retention systems, but most rely on dual side tabs or spring hooks. Spend this crucial time identifying exact release points—rushing causes snapped tabs. Note any color-coded markings or asymmetric designs where one side releases before the other. If your vehicle is a European model, expect tighter tolerances than domestic brands.
Visual inspection checklist:
– Trace both sides of holder for hidden tabs
– Check for spring hooks at top/bottom edges
– Identify available tool clearance space
– Note any manufacturer-specific release indicators
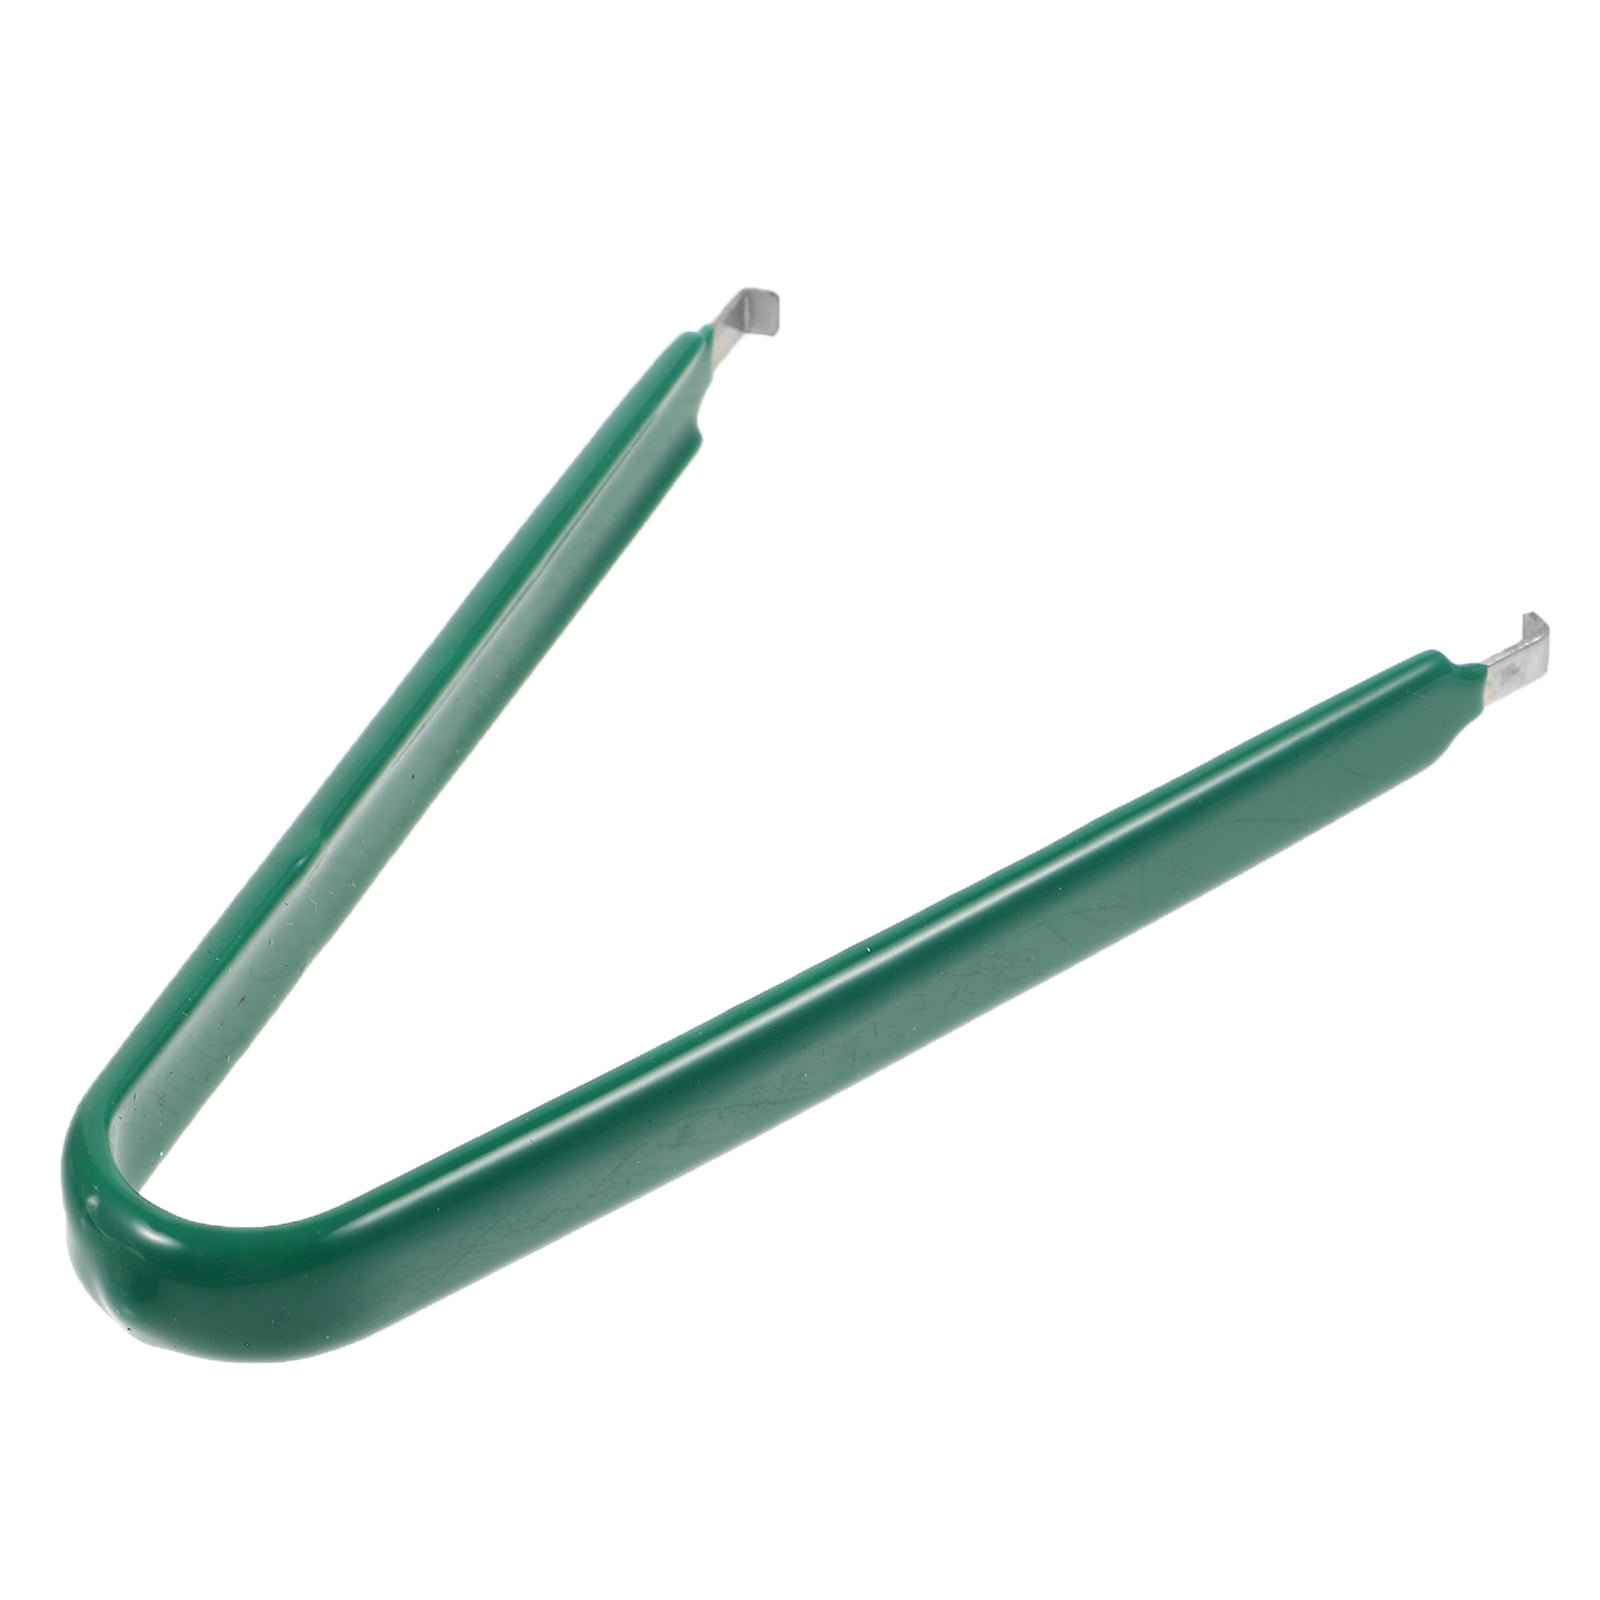
Use Precision Tools Correctly

Tweezer pliers (5-inch size) outperform all alternatives for automotive fuse holder removal. Their narrow tips depress dual side tabs simultaneously while maintaining extraction control. Standard needle-nose pliers often slip and damage terminals—avoid them. For tight spaces like relay-integrated blocks, use precision tweezers with 0.5mm tips. Never use screwdrivers; their leverage cracks plastic housing.
Tool progression for stubborn holders:
1. Start with 5-inch tweezer pliers – optimal control for most vehicles
2. Switch to micro-tweezers – for compact fuse blocks under dashboards
3. Fabricate custom tools – only when standard options fail
Fabricate Custom Extraction Tools

When factory holders resist standard tools, create extraction aids from 14-gauge bar stock. Cut two 3-inch strips, file edges smooth, and bend 90-degree tips to contact retention tabs. These slide alongside terminals to depress tabs without scratching. Test fit against a spare holder first—improper width damages terminals. This technique solves 90% of “impossible” removals in modern vehicles with sealed fuse blocks.
Custom tool fabrication:
– Cut metal strips to match terminal spacing
– Smooth all edges to prevent wire nicks
– Create 1mm contact pads on bent tips
– Lubricate with dielectric grease before insertion
House Fuse Holder Removal: Critical Safety Steps
Complete Power Isolation Protocol
Never attempt house fuse holder removal without verified main power shutdown. Switch off the main breaker, then pull the main disconnect if present. Use a multimeter to test between hot/neutral terminals at the panel—digital meters may show false “phantom voltage,” so verify with an analog tester. This single step prevents electrocution risks. If you detect any voltage, stop immediately and consult an electrician.
Power shutdown verification:
1. Switch off main breaker at panel
2. Test between hot/neutral terminals
3. Confirm zero voltage with analog multimeter
4. Lock out breaker with safety tag
Diagnose Rotation Issues Before Touching
Determine rotation type within 10 seconds of inspection. Gently grip the metal fuse cover with insulated pliers and rotate counterclockwise. If only the metal top spins while the ceramic body stays fixed, proceed normally. If the entire socket rotates or wires flex, you’re dealing with a failed holder—do not force removal. This quick check prevents pulling wires loose from the panel.
Rotation diagnosis flow:
– Normal: Metal cover rotates independently (proceed)
– Warning: Socket wobbles but doesn’t spin (use extreme caution)
– Stop: Entire assembly spins or wires move (call electrician)
Remove Stuck Fuses with Controlled Force
Locking pliers (vise grips) provide the only safe grip for stuck house fuses. Set pliers to minimum pressure—just enough to hold the metal cover without crushing. Apply steady counterclockwise pressure while watching for wire movement. If resistance suddenly releases, stop immediately; this indicates the socket is detaching from the panel. Never jerk or twist violently.
Stuck fuse removal sequence:
1. Position pliers on metal cover edges
2. Squeeze to 30% capacity (test on spare fuse first)
3. Turn counterclockwise with smooth motion
4. Stop at first sign of socket movement
Common Fuse Holder Removal Mistakes to Avoid
Automotive System Errors
Forcing removal with screwdrivers causes 75% of automotive fuse block damage. These pry against plastic housings, cracking brittle components. Similarly, using needle-nose pliers without depressing both tabs simultaneously breaks retention hooks. Always confirm both sides release before pulling. If a holder feels “frozen,” apply dielectric grease and wait 10 minutes—it often frees corrosion bonds.
Critical automotive mistakes:
– Prying instead of depressing tabs
– Ignoring dual-tab release sequence
– Forcing rotation on crimped terminals
– Skipping battery disconnection
House System Hazards
Assuming power is off without verification causes fatal accidents. Even with the main breaker off, some panels maintain live bus bars. Another deadly error: continuing removal when the socket spins, which pulls wires loose. If you smell ozone or see discoloration, stop immediately—these indicate arcing damage requiring professional replacement.
House removal red flags:
– Proceeding without analog voltage verification
– Ignoring socket rotation during extraction
– Using excessive force on ceramic bodies
– Touching bare wires during removal
When to Call a Professional for Fuse Holder Removal
House Panel Replacement Indicators
Any spinning socket assembly requires immediate professional replacement. This indicates the holder’s mounting tabs have failed—common in Michigan’s pre-1980s homes with aging panels. Continuing DIY attempts risks fire from loose wires. Licensed electricians can upgrade to modern breaker panels, eliminating future fuse holder issues while meeting current electrical codes.
Professional intervention triggers:
– Socket spins freely in panel housing
– Ceramic body shows cracks or discoloration
– Wires detach during removal attempts
– Panel lacks main disconnect capability
Automotive Complexity Limits
While most automotive fuse holders allow DIY removal, hybrid/electric vehicle systems demand professional handling. These operate at 200+ volts—lethal without training. Also seek help when multiple holders fail simultaneously, indicating underlying voltage surges. Modern vehicles with integrated relay/fuse centers often require post-replacement programming you can’t perform at home.
When to call an auto electrician:
– Working on hybrid/electric vehicle systems
– Fuse block shows heat discoloration
– Multiple holders fail in same circuit
– Vehicle requires module reprogramming
Long-Term Prevention After Fuse Holder Removal
Automotive Maintenance Schedule
Prevent future seizure with quarterly terminal inspections. Look for white corrosion powder or melted plastic near holders. Clean terminals with electrical contact cleaner, then apply dielectric grease to new connections. Replace any holder showing bent tabs before failure occurs—most auto parts stores stock generic replacements. This simple routine prevents 95% of stubborn removal scenarios.
Preventive maintenance cycle:
– Visual inspection every 3 months
– Terminal cleaning every 6 months
– Dielectric grease application after cleaning
– Holder replacement at first sign of damage
House System Upgrades
Replace entire fuse panels with breaker systems for permanent solutions. Modern breaker panels eliminate fuse holder removal challenges while improving safety. Licensed electricians can complete upgrades in one day for under $1,500 in most regions. This investment prevents emergency removal situations and ensures compliance with 2023 electrical codes—critical for older Michigan homes still using obsolete fuse boxes.
Upgrade advantages:
– Zero future fuse holder removal issues
– Enhanced arc-fault protection
– 40% faster circuit restoration
– Increased home insurance compliance
Knowing how to remove a fuse holder correctly separates safe repairs from dangerous mistakes. For automotive systems, precision tools and patience prevent costly damage to sealed fuse blocks. In residential settings, verified power shutdown and rotation diagnosis are non-negotiable safety steps. When sockets spin freely or hybrid systems are involved, professional help isn’t optional—it’s essential for safety. Implement quarterly automotive inspections and consider whole-panel upgrades for homes with aging fuse boxes. Remember: the few minutes spent verifying safety protocols today prevent catastrophic failures tomorrow. Keep this guide accessible in your workshop—next time a stubborn holder resists, you’ll know exactly which tool to grab and when to call for backup.


