
You’re ready to refresh your centerpiece with a new votive candle, but the old one refuses to budge—fused solidly to the glass holder after the last burn. That stubborn wax disk mocks your efforts as you poke and scrape, risking scratches or even shattering the delicate container. This frustrating scenario affects every candle lover, but the solution lies in understanding why wax adheres and applying the right removal method for your specific holder type. Whether you’re dealing with paraffin, soy, or notoriously stubborn beeswax, this guide delivers field-tested techniques to safely free your holders using common household items.
Skip the metal scrapers that create micro-scratches or dangerous shortcuts that risk breakage. Instead, learn why some methods fail (like boiling water on thin glass) and discover how temperature manipulation exploits wax’s natural contraction and expansion properties. You’ll master techniques that preserve even antique holders while preventing future sticking—saving you time, money, and the heartbreak of ruined decor. Let’s transform that frustrating chore into a quick, satisfying win.
Prevent Wax Adhesion Before Burning
Create a Water Barrier Before Lighting
Before inserting any votive, pour ½ inch of tap water into the holder’s base. This simple water layer acts as a physical barrier between molten wax and glass during burning. When the candle burns out, the solidified wax disk lifts out cleanly with minimal residue—often requiring just a quick rinse. This method works flawlessly for paraffin, soy, and blended waxes in standard glass holders.
Pro tip: For holders with glued wick tabs (common in beeswax votives), skip this method as the adhesive bonds to the water layer. Instead, prioritize immediate post-burn cleaning while wax remains semi-soft.
Freezer Method for Glass Holders
Chill Holders to Release Wax
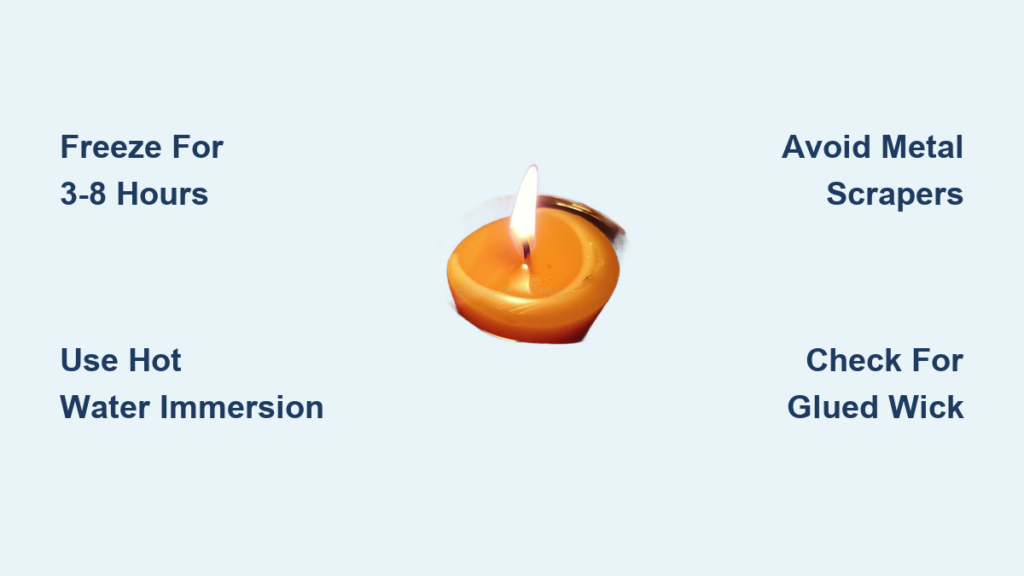
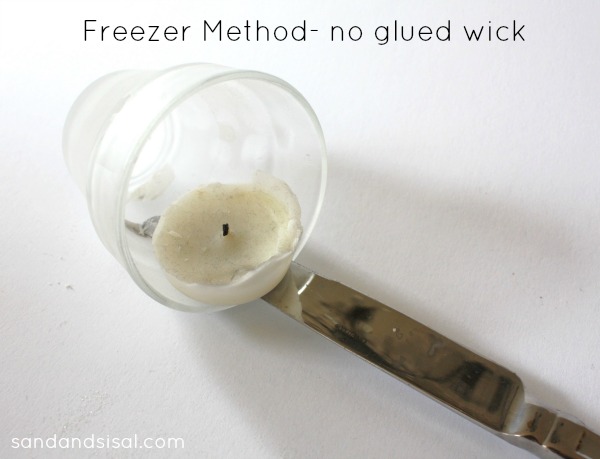
Place room-temperature votive holders in the freezer for 3-8 hours. The extreme cold causes wax to contract 3-5% faster than glass, breaking its adhesive bond. After chilling, wear oven mitts and firmly press upward from the holder’s base—most wax disks will pop out intact with a satisfying crack. For stubborn cases, tap the holder’s sides gently with a wooden spoon handle to loosen edges.
Critical check: Examine the wick base before freezing. If the metal tab is glued to the holder bottom (common in beeswax), this method will fail and create crumbly wax fragments. Skip to the oven method instead.
Remove Residual Wax Film
After extracting the main wax disk, wipe interior surfaces with a paper towel dampened in warm soapy water. For persistent residue, wrap the holder in a warm towel for 30 seconds—the slight temperature shift loosens microscopic wax particles. Never use metal tools during this step; a plastic credit card edge works perfectly for lifting stubborn patches without scratching.
Hot Water Immersion Technique
Submerge Holders Safely
Fill your sink with hot tap water (120-140°F)—never boiling, which risks thermal shock in glass. Stand holders upright and submerge for 5-15 minutes until wax softens. Scoop out softened wax using a plastic spoon or wooden chopstick, working from the edges inward. For holders with glued wicks, tilt slightly to let water seep under the wax disk.
Drain protection essential: Line your sink with paper towels before starting. This absorbent layer catches floating wax fragments, preventing expensive plumbing clogs. Always let collected wax solidify in the trash—never pour liquid wax down drains, even through filters.
Oven Method for Batch Cleaning
Melt Wax with Controlled Heat
Preheat your oven to 200°F with a foil-lined baking sheet (create raised edges to contain drips). Place holders upside-down on the foil—this allows wax to drain cleanly while warming the glass evenly. After 10-15 minutes, check for melted wax pooling on the foil. For stubborn cases, increase heat to 250°F for 5 additional minutes.
Immediate action required: Using heat-resistant gloves, remove holders the moment wax liquefies. Wipe interiors with dry paper towels while wax remains fluid—this captures 95% of residue before it re-hardens. For lingering film, follow with a vinegar-water wipe (1:1 ratio) using a lint-free cloth. Expect mild odor even from unscented wax; open windows during the process.
Beeswax-Specific Removal Strategies

Combat High Melting Points
Pure beeswax (melting point 144-147°F) resists standard methods due to its density. Start with the freezer technique—chill for 24 hours to maximize contraction. If wax remains stuck, switch to hot water immersion (140°F for 20 minutes), then use a wooden chopstick to gently break the disk into removable chunks. Never force extraction; beeswax requires patience to avoid glass damage.
Avoid Glass-Weakening Scraping
Metal tools create microscopic scratches that compromise structural integrity during future temperature changes. For beeswax residue, use a rubber spatula or plastic putty knife at a 30-degree angle to the glass. For holders with glued wick tabs, the oven method (250°F) simultaneously softens both wax and adhesive—remove while warm for clean separation.
Critical Safety Violations to Avoid
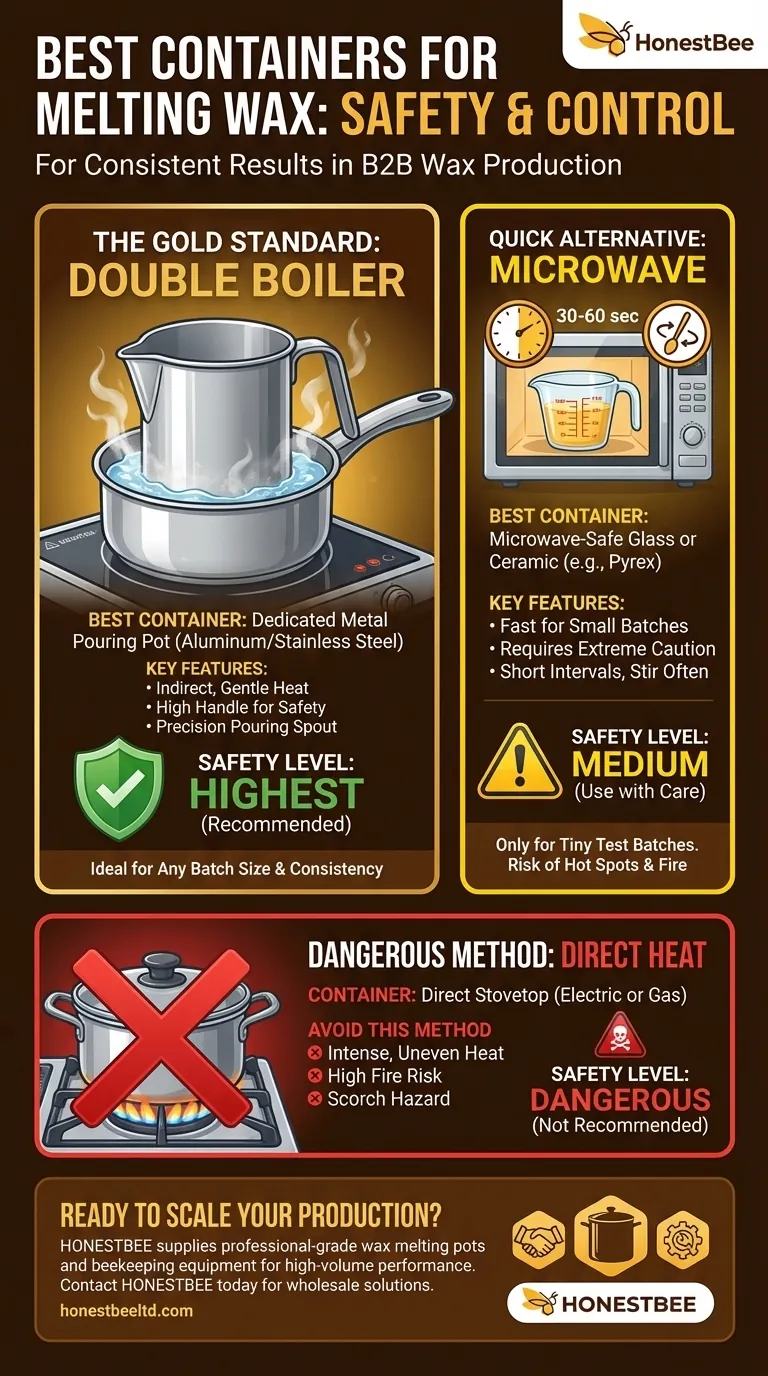
Never Microwave Votive Holders
Metal wick tabs cause dangerous arcing in microwaves—even “small” sparks can crack glass or ignite wax vapors. This method risks permanent microwave damage and potential fire hazards. If you’ve tried this already, unplug the appliance immediately and inspect for scorch marks before reuse.
Ditch Metal Scraping Tools
Screwdrivers and knives create hairline fractures that lead to spontaneous shattering during future burns. These scratches also trap wax, accelerating future sticking. Use only plastic, wood, or rubber implements—even a credit card edge works better than metal for residue removal.
Restore Shine After Cleaning
Polish Glass Holders Professionally
Mix equal parts white vinegar and warm water in a spray bottle. Mist the solution inside holders and wipe with a microfiber cloth using circular motions. This dissolves waxy films while enhancing glass clarity. For etched or cut crystal holders, use a dedicated glass polish to maintain intricate details.
Protect Metal Holder Finish
Dry metal holders immediately after cleaning to prevent rust spots. Apply a pea-sized amount of non-gel toothpaste to a soft cloth and buff the surface—it removes tarnish while leaving a protective film. Store in airtight containers with silica gel packets to minimize oxidation between uses.
Repurpose Clean Holders Creatively
Build Miniature Herb Gardens
Transform holders into self-contained planters: Add ¼ inch of pebbles for drainage, fill with cactus soil, and plant succulent cuttings. Group three holders on a sunny windowsill for instant rosemary, thyme, and mint gardens—water sparingly to avoid root rot.
Pro storage uses:
– Desk organization: Paper clips, thumbtacks, USB drives
– Bathroom essentials: Cotton swabs, hair ties, perfume samples
– Kitchen helpers: Spice portions, salt cellars, tea light backups
Emergency 5-Minute Fixes
Hair Dryer Release Technique
Hold a hair dryer 6 inches from the holder’s exterior wall for 45 seconds on high heat. The warmed glass expands slightly, breaking the wax seal. Immediately insert a plastic spoon and twist gently—the disk should release within two rotations. Best for thin-walled glass; avoid on ceramic or metal.
Targeted Boiling Water Method
For thick ceramic holders only, pour boiling water around (not directly onto) the wax disk. Let sit 90 seconds, then carefully decant the melted wax into a metal can. Never use this on delicate glass—it causes immediate thermal shock cracking. Always test with room-temperature holders first.
Eco-Friendly Wax Disposal
Create Campfire Starters
Collect removed wax chunks in a metal tin. Layer with dryer lint and shredded newspaper to make emergency fire starters—ideal for fireplaces or camping trips. One spent votive provides enough material for three starters.
Sustainability tip: Clean holders after every burn using the hot water method. This 5-minute habit prevents wax buildup, extending holder life by years. Consider switching to refillable oil candles for zero-waste ambiance.
Troubleshooting Stubborn Cases
Wax Won’t Budge After Multiple Attempts
Solution: Soak the holder overnight in warm, soapy water (add 2 tablespoons baking soda). The prolonged moisture penetration weakens wax adhesion. Next morning, freeze for 2 hours before attempting removal—the combined thermal shock usually succeeds.
Strong Fragrance Lingers After Cleaning
Solution: Fill the holder with undiluted white vinegar and microwave for 60 seconds (holder only—no metal!). Let cool completely, then scrub with a baking soda paste. Air-dry for 48 hours to eliminate residual scent before reuse.
Master these techniques and you’ll never waste money replacing holders again. Your collection will shine like new, ready for whatever ambiance you create next—whether it’s a romantic dinner, spa-like bath, or festive holiday display. Commit to post-burn cleaning, and you’ll skip the frustration entirely. For immediate needs, the freezer method works 90% of the time on standard glass holders; just remember to check for glued wicks first. Now grab that stuck votive and reclaim your decor!


