
That annoying wobble every time you grab a sheet? When your toilet paper holder drops rolls on the floor or spins freely on its mount, it’s more than just frustrating—it’s a daily bathroom nuisance. Learning how to replace toilet paper holder yourself saves $100+ on handyman fees and takes less time than most TV commercials. Whether your current unit is cracked, loose, or just embarrassingly outdated, this guide delivers foolproof replacement steps for any wall type. You’ll discover exactly which tools prevent tile cracks, how to avoid common alignment mistakes, and why proper anchor selection makes the difference between a holder that lasts decades versus days.
Stop wrestling with flimsy hardware that fails within months. In the next 15 minutes, you’ll gain the confidence to install a rock-solid replacement that handles jumbo rolls without budging. Let’s transform that bathroom eyesore into a functional, stylish upgrade you’ll appreciate every single day.
Diagnose Your Holder Type Before Starting
Spring-Loaded Bar Holders: Spot the Hidden Screws
These classic designs feature a removable roller bar that snaps into two wall brackets. Check for tiny set screws under decorative caps—often disguised as ornamental knobs. When you press the bar inward, it should release from the brackets. If the entire unit wobbles even after tightening visible screws, the plastic anchors have likely failed inside your drywall. These holders rarely secure to wall studs, making anchor replacement critical for stability.
Pivot and Flip-Up Holders: Find Concealed Mounting Points
Modern pivot holders rotate upward for roll access but hide all hardware behind seamless exteriors. Run your finger along the base plate—you’ll feel a slight seam where it meets the wall. Gently pry upward with a flathead screwdriver to expose 2-3 mounting screws. Pro tip: Photograph the mechanism before disassembly, as spring-loaded components can fly out unexpectedly during removal.
Recessed Mounting Systems: Verify Wall Cavity Space
These flush-mounted units sit inside your wall, requiring a 6×6-inch drywall opening. If your holder appears sunken behind a decorative frame, remove the faceplate to inspect internal brackets. Warning: Always check for plumbing pipes behind the wall first—use a stud finder with AC wire detection to avoid accidental drilling into supply lines.
Adhesive-Mounted Options: Identify Rental-Friendly Installations
Common in apartments, these holders stick directly to tile or painted walls with industrial adhesive. Try wiggling the unit—if it pivots but doesn’t pull away, it’s adhesive-mounted. Peel-back residue often appears as a clear, rubbery film around the base. These cause minimal damage but require heat application for clean removal.
Gather Wall-Specific Tools and Materials

Basic Tool Kit: Never Skip the Level
You’ll need a Phillips screwdriver (size #2), cordless drill, stud finder, and laser level. Skip the bubble level—bathroom walls often slope, making visual leveling inaccurate. Include painter’s tape to mark drill points without permanent pencil marks and a putty knife for adhesive removal. For pivot holders, add needle-nose pliers to retrieve escaped springs.
Wall-Specific Hardware: Match Anchors to Your Surface
Drywall: Use toggle bolts (holds 50+ lbs) instead of flimsy plastic anchors when studs aren’t aligned. Tile: Carbide-tipped 3/16″ drill bits prevent cracking—start at low speed with masking tape over holes. Plaster: Molly bolts distribute weight across fragile surfaces. Concrete: Masonry anchors require hammer-drill mode. Never use drywall anchors on tile—they’ll pull out within weeks.
Safety Equipment: Protect Against Hidden Hazards
Wear safety glasses during drilling—tile shards or drywall dust can cause eye injuries. Use a N95 mask when patching plaster (contains lime dust) and rubber gloves when handling metal anchors with sharp edges. Keep a towel under your work area to catch falling debris near the toilet.
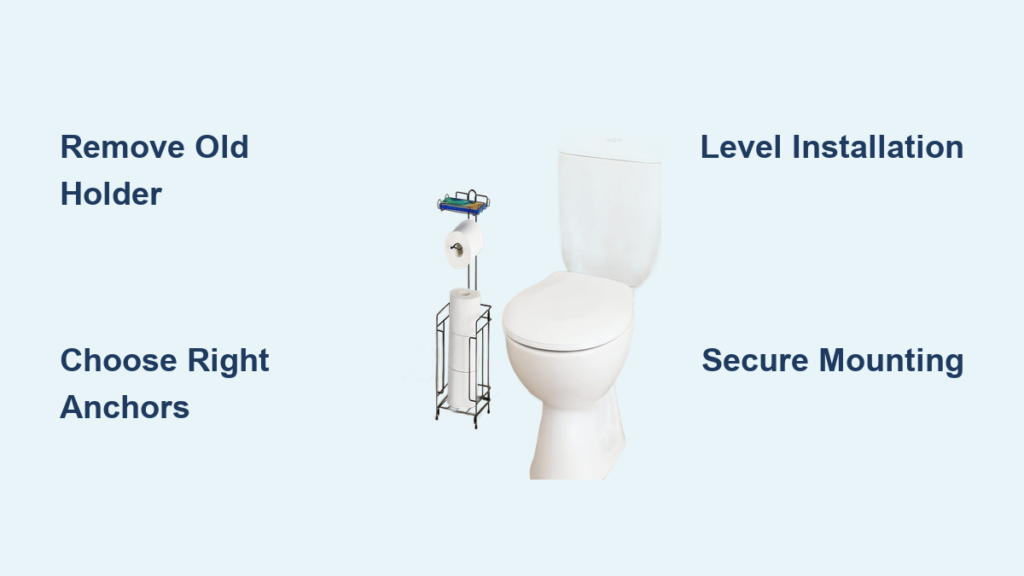
Remove Old Holder Without Wall Damage
Standard Wall-Mounted Removal: The Hidden Screw Trap
After removing the roll, locate visible bracket screws (usually two per side). Unscrew completely, then check underneath decorative caps—many holders hide set screws here. If brackets remain stuck, insert a flathead screwdriver between bracket and wall, gently twisting to break adhesive bonds. Critical: Catch wall anchors as they fall—they often drop behind the toilet tank.
Recessed Holder Extraction: Avoid Drywall Tears
Snap off the decorative cover plate with a plastic pry tool. Inside the cavity, unscrew mounting brackets using a stubby screwdriver. Wiggle the unit side-to-side while pulling—it’s often secured with drywall compound around the edges. Inspect the opening for cracks; if larger than 1 inch, patch before new installation.
Adhesive Removal Process: Heat and Patience Wins
Apply a hair dryer on medium heat for 90 seconds to soften the bond. Slide a flexible putty knife at a 15-degree angle beneath the holder, working from bottom to top. For stubborn residue, apply rubbing alcohol with a cotton swab—test on an inconspicuous area first to avoid paint damage.
Repair Wall Damage Before New Installation
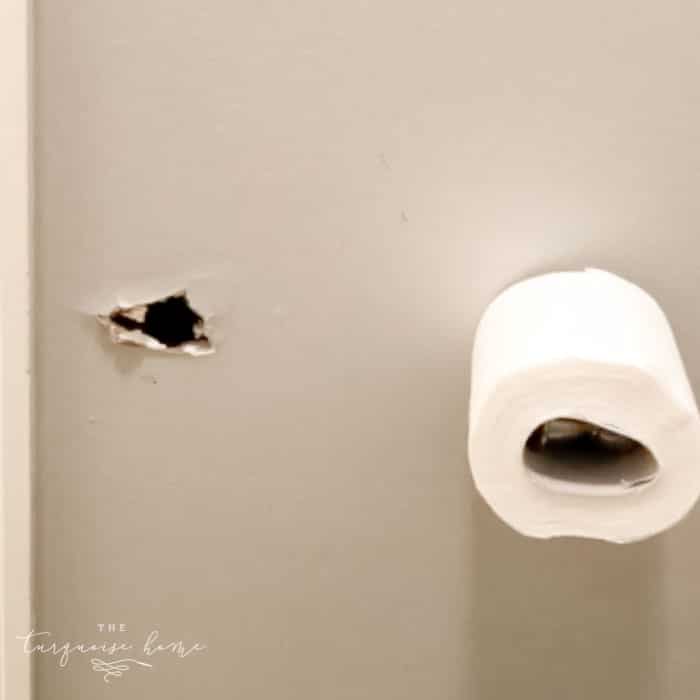
Filling Small Holes: The Spackle Sandwich Method
For screw holes under 1/2 inch, apply spackle in three thin layers: first coat with a putty knife, second after 30 minutes, third after sanding. Let cure 24 hours before painting. Pro tip: Add a dab of your wall paint to the spackle for perfect color matching—stir thoroughly before application.
Patching Large Holes: Reinforce for Heavy Holders
Holes near studs need drywall patches screwed directly into framing. For center-wall holes, insert a “butterfly” toggle anchor upside-down through the hole, then tighten against the backside before patching. Apply joint compound in feathered layers, sanding between coats with 220-grit paper.
Tile Repair Techniques: Match Grout Like a Pro
Remove cracked tiles by scoring grout lines with a rotary tool. Apply thin-set mortar to the back of replacement tile, pressing firmly into place. For grout matching, mix new grout with 10% water and your existing grout sample—test on scrap tile first. Cure for 72 hours before reinstallation.
Install New Holder for Maximum Durability
Planning Optimal Placement: ADA Standards Simplified
Measure 26 inches from the floor to the holder’s center point—this avoids back strain while seated. Position 10 inches from the toilet’s front rim for comfortable reach. Use a stud finder to locate framing; if studs don’t align, plan anchor placement at least 2 inches from previous holes to prevent drywall blowout.
Drywall Installation Steps: Toggle Bolt Technique
Mark bracket locations with painter’s tape. Drill 3/8″ holes where studs aren’t present. Insert toggle bolts through bracket holes, tightening until wings snap closed behind the wall. Key step: Pull firmly on the bracket while tightening screws to ensure wings seat flat against drywall.
Tile Wall Mounting: The Tape-and-Twist Drill Method
Cover drill points with masking tape to prevent bit slippage. Start drilling at 200 RPM with light pressure—once the bit catches, increase to 500 RPM. Use plastic anchors rated for tile; never overtighten screws. Seal anchor edges with clear silicone caulk to block moisture infiltration behind tiles.
Recessed Installation Guide: Frame First, Finish Later
Cut the drywall opening 1/8 inch smaller than the holder frame. Secure the frame to wall studs with 1.5-inch drywall screws. Apply joint compound to seams, embedding mesh tape. Let dry 48 hours before sanding and painting to prevent “ghosting” of seams.
Troubleshoot Common Installation Problems
Fixing Loose Holders: The 50-Pound Test
If your holder wobbles, remove it and insert toggle bolts rated for 75+ lbs. For tile installations, replace plastic anchors with brass sleeve anchors—they expand radially for superior grip. Urgent: Tighten immediately—loose holders create expanding wall damage with each use.
Correcting Misalignment: The Two-Hole Rule
If the holder isn’t level, fill old holes completely with spackle. Wait 24 hours before drilling new holes at least 1.5 inches away from patched spots—closer placements won’t hold securely. Use a laser level to project a straight line across the wall for perfect alignment.
Preventing Future Rust: Bathroom Humidity Defense
Replace all steel screws with stainless steel equivalents. Apply a bead of silicone caulk around mounting points to block moisture. Install an exhaust fan that runs 20 minutes after showers—this reduces humidity below 60%, preventing corrosion.
Maintain Your New Holder for Longevity
Weekly Cleaning Routine: Avoid Vinegar Traps
Wipe with a microfiber cloth dampened with water only—vinegar and bleach corrode metal finishes. For hard water spots, use a paste of baking soda and water, scrubbing gently with a soft toothbrush. Dry immediately with a lint-free towel.
Quarterly Hardware Checks: The Quarter-Turn Test
Every three months, tighten mounting screws by one full turn—over-tightening strips drywall anchors. Check roller bars for smooth rotation; replace if they catch or resist movement. Inspect wall areas for moisture stains indicating sealant failure.
Finish Protection Tips: Wax Beats Sealants
Apply automotive paste wax to chrome finishes twice yearly—it repels water better than silicone. Buff with a chamois cloth for mirror-like shine. Never use abrasive pads—they scratch protective coatings, accelerating rust.
Choose Your Next Holder Wisely
Material Selection Guide: Humidity-Proof Choices
Stainless steel 304-grade: Withstands steam showers (ideal for master baths). Solid brass: Develops patina over time but never corrodes. Chrome over brass: Avoid budget-plated versions—they flake within 2 years. Oil-rubbed bronze: Hides water spots while adding vintage charm.
Weight Capacity Considerations: Jumbo Roll Reality
Standard holders support 1.5 lbs—fine for single rolls. Double-roll units require stud mounting or toggle bolts. Jumbo commercial rolls (2+ lbs) need reinforced brackets with 4 anchor points minimum. Warning: Plastic anchors fail under 8 lbs of pull force.
Accessibility Modifications: Family-Friendly Heights
For households with mobility issues, mount at 19 inches (ADA minimum) with side-access placement. Choose holders with 1.5-inch diameter bars—they’re easier to grip for arthritic hands. Avoid spring-loaded designs that require twisting strength.
Final Check: Grab your new holder firmly and pull straight out—it should show zero movement. If it shifts even slightly, reinstall with larger anchors immediately. Properly mounted, your replacement will withstand years of daily use while elevating your bathroom’s functionality. Now that you’ve mastered how to replace toilet paper holder, tackle that wobbly towel bar next—your DIY confidence just leveled up.


