
Flossing shouldn’t be a frustrating battle with slippery strands that constantly break or get stuck between your teeth. If you’ve ever dropped floss mid-clean or struggled to reach those back molars, you’re not alone—nearly 75% of adults experience difficulty with traditional flossing methods. A floss holder solves these problems by providing superior control and access, making daily interdental cleaning more effective and less time-consuming. Learning how to use a floss holder properly takes just minutes but delivers years of healthier gums and reduced dental expenses.
Mastering this simple tool transforms your oral hygiene routine from a chore into a quick, satisfying habit that actually removes plaque where your toothbrush can’t reach. This comprehensive guide shows you exactly how to select, prepare, and use your floss holder for maximum effectiveness while avoiding common mistakes that undermine your efforts.
Select the Right Floss Holder for Your Dental Needs
Choosing the appropriate floss holder dramatically impacts your success with daily cleaning. Not all holders work equally well for every mouth, so understanding your specific requirements is crucial.
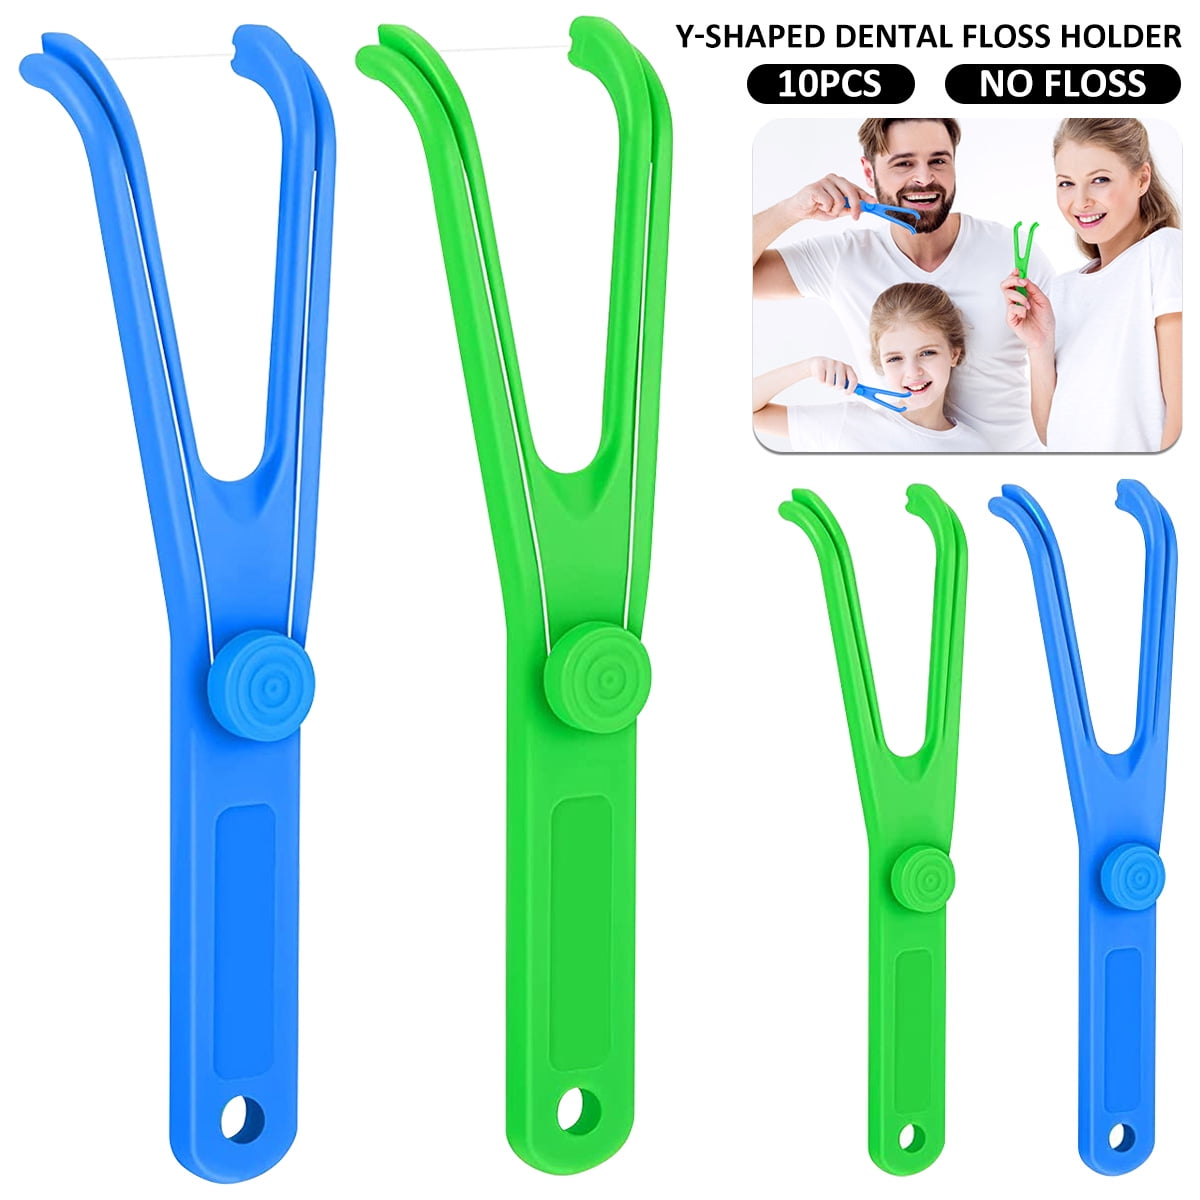
Y-Shaped Floss Picks for Quick Daily Cleaning
Y-shaped picks provide the easiest entry point for flossing beginners with their pre-threaded design. The angled head naturally positions the floss for optimal gum line access, eliminating the awkward finger positioning required with traditional floss. When selecting picks, choose ones with textured grips that won’t slip when wet and floss strong enough to handle tight contacts without shredding. People with dexterity challenges—like arthritis sufferers—find these picks particularly beneficial because they require minimal finger movement.
Reusable Floss Handles for Customizable Cleaning
Durable reusable handles give you complete control over floss type and tension, making them ideal for those with tight contacts or specific dental work. The ability to use 18 inches of floss ensures you always have a clean section for each tooth gap, preventing the redistribution of bacteria. Look for models with rotating heads that let you adjust the floss angle without repositioning your entire hand—this feature proves invaluable when navigating crowded teeth or dental implants.
When to Supplement with Interdental Brushes
While floss holders excel at cleaning between most teeth, interdental brushes become essential when you have significant gum recession or larger gaps. These tiny brushes clean the wider spaces between teeth more effectively than floss alone. For comprehensive cleaning, use your floss holder for standard tight contacts and interdental brushes for wider gaps—this combination addresses all interdental spaces in your mouth.
Prepare Your Flossing Station for Maximum Efficiency
Setting up an effective flossing environment prevents interruptions and ensures consistent technique. Professional dental hygienists emphasize that proper preparation accounts for 30% of successful daily flossing.
Essential Setup Checklist
- Keep your floss holder within easy reach of your toothbrush
- Position a bright light source to illuminate your mouth
- Place a small trash container nearby for used picks
- Have a soft towel available to wipe your mirror
- Consider keeping floss picks in multiple locations (bedroom, office, car)
Choosing the Optimal Floss Type
Waxed floss slides effortlessly between tight teeth but may not grip plaque as effectively as unwaxed varieties. Dental tape—with its flat, ribbon-like shape—provides superior coverage for wider gaps and works exceptionally well with reusable holders. For sensitive gums, consider ultra-thin floss that slides easily without causing irritation. Pro tip: Keep multiple floss types on hand to match your needs for different areas of your mouth.
Creating Your Ideal Flossing Posture
Stand with your elbows resting on the counter for maximum stability, or sit in a chair positioned directly in front of your mirror. Position your head so you’re looking slightly downward into the mirror—this angle provides the clearest view of your back teeth. Many people find that opening their mouth just enough to fit two fingers between their teeth creates the perfect amount of space for effective flossing.
Thread Your Reusable Holder for Optimal Performance
Proper threading creates the right tension for effective cleaning without damaging your gums or breaking the floss mid-process.
Step-by-Step Threading Process
- Cut 18 inches of floss with clean scissors (never tear floss with your teeth)
- Thread one end through the first prong, pulling 3-4 inches through
- Wrap this end securely around the prong once to prevent slipping
- Stretch the floss across to the second prong, threading through the hole
- Wrap the remaining floss around the second prong, leaving 1-2 inches taut
Achieving Perfect Floss Tension
Your floss should feel firm but not drum-tight when properly tensioned. Test the tension by gently plucking the floss—it should produce a soft “thrum” sound without excessive vibration. If the floss feels loose, tighten the wraps around the prongs; if it’s too tight, unwind slightly. Over-tightened floss snaps under pressure, while loose floss fails to remove plaque effectively.
Quick-Start Tips for Disposable Picks
For disposable picks, simply remove from packaging and inspect the floss for any defects before use. Never attempt to reuse disposable picks—even if the floss appears intact—as microscopic bacteria remain after cleaning. Discard picks immediately after use to maintain hygiene standards.
Execute Proper Flossing Technique for Complete Cleaning
The actual flossing motion determines whether you’re removing plaque or merely moving it around. Focus on these precise movements for maximum effectiveness.
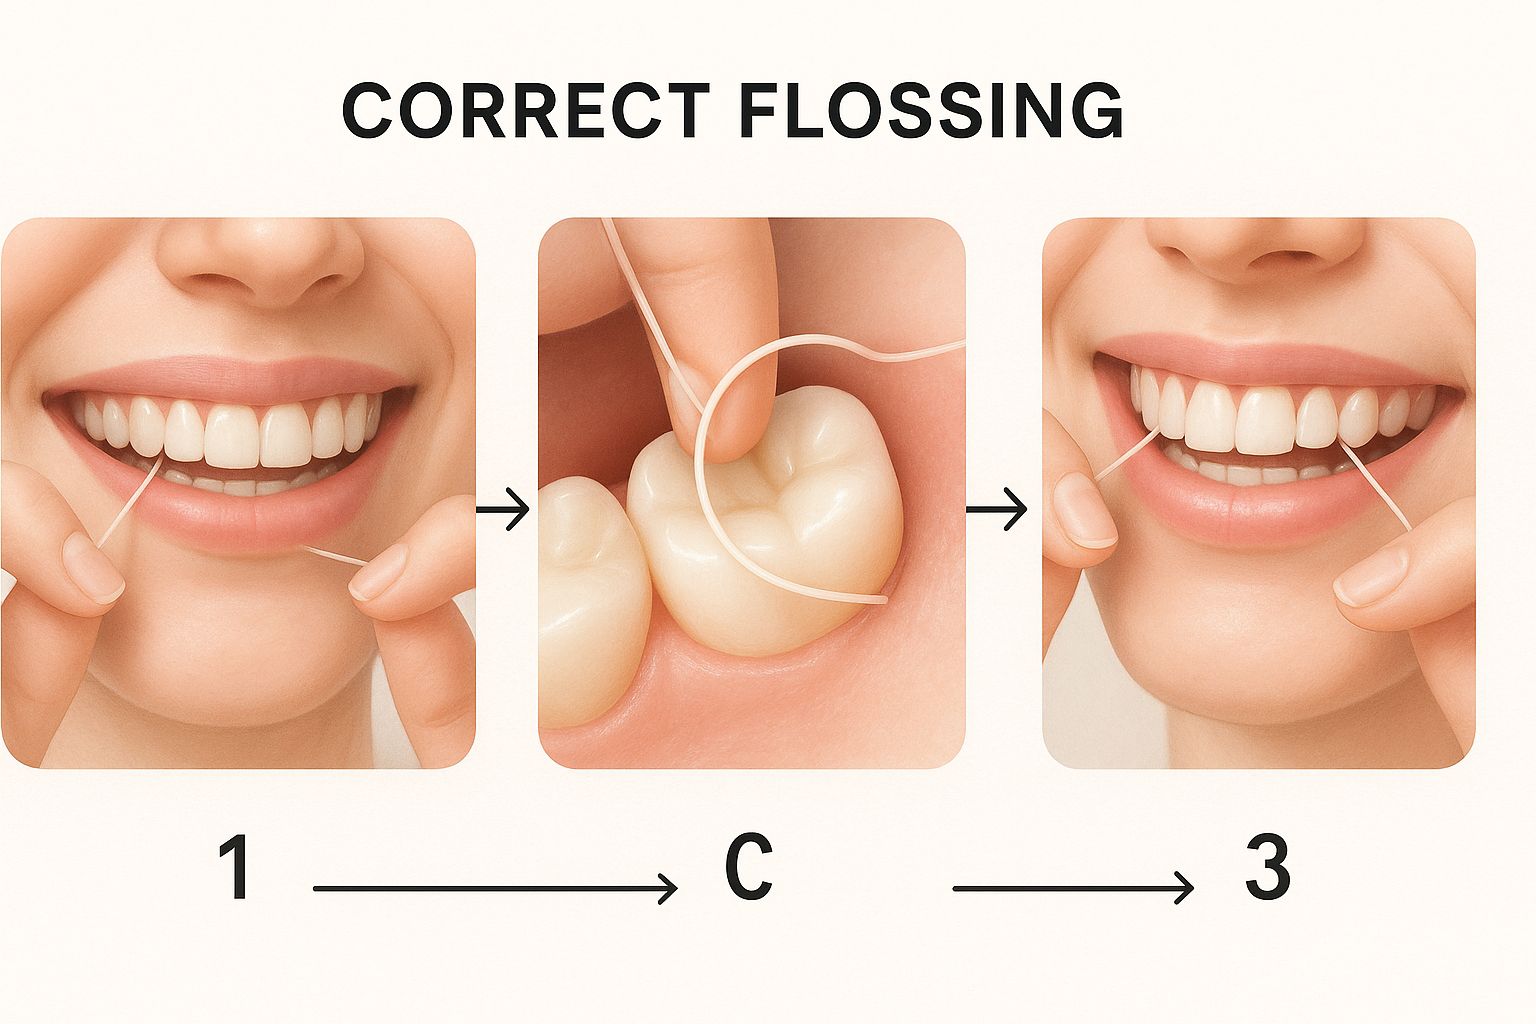
Correct Insertion Method
Guide the floss between teeth using a gentle back-and-forth sawing motion—never snap the floss downward. Imagine you’re threading a needle rather than forcing a wedge between teeth. Once past the contact point, curve the floss into a C-shape against one tooth surface, hugging the contour from gum line to crown.
Effective Plaque Removal Motion
Move the floss up and down against each tooth surface 3-5 times using light pressure. Focus on the gum line where plaque accumulates most heavily. Use a fresh section of floss for each tooth by advancing the floss slightly after cleaning each surface. For disposable picks, replace after every 3-4 teeth to maintain cleaning effectiveness.
Reaching Those Stubborn Back Teeth
Angle your holder differently for upper versus lower molars—tilt the handle downward for upper teeth and upward for lowers. Open your mouth wider than usual and use your tongue to gently push your cheek outward for better access. Don’t rush these areas; spend 10-15 seconds per molar to ensure thorough cleaning.
Avoid These Common Floss Holder Mistakes
Most people unknowingly compromise their flossing effectiveness through these easily correctable errors.
The Aggressive Flossing Trap
Pressing too hard or snapping floss into gums causes immediate pain and long-term damage including gum recession. Apply just enough pressure to feel the floss glide along the tooth surface—think of it as “whispering” to your teeth rather than “shouting” at them. If your gums bleed consistently beyond the first week of proper flossing, schedule a dental checkup.
The Dirty Floss Cycle
Reusing the same floss section across multiple teeth redistributes bacteria rather than removing it. With reusable holders, advance your floss after each tooth; with picks, replace frequently. Keep a mental count of how many teeth you’ve cleaned with each section to stay on track.
Missing the Critical Contact Points
Many users focus only on the space between teeth rather than the actual contact point where teeth touch. Curve the floss to clean both sides of this critical junction—this is where food particles and plaque most commonly accumulate.
Adapt Techniques for Dental Challenges

Special dental situations require modified approaches to maintain effective cleaning without damaging your work.
Tight Contact Solutions
For extremely tight spaces, use waxed floss or dental tape designed for tight contacts. Apply dental floss threader to guide the floss through stubborn areas. Try a gentle rocking motion rather than forcing straight down—patience yields better results than pressure.
Navigating Dental Work
When cleaning around crowns or bridges, use superfloss (which has a stiff end for threading) with your holder. Clean around crown margins carefully without pulling upward, which could dislodge the restoration. For bridges, thread floss underneath using a floss threader before using your holder for standard cleaning.
Braces-Friendly Flossing
Orthodontic floss holders feature thinner arms that slide easily between brackets and wires. Use a floss threader to guide floss under archwires, then use your holder for efficient cleaning. Combine with interdental brushes for quick cleaning between brackets during the day.
Maintain Your Tools for Long-Term Effectiveness
Proper care of your floss holder extends its life and prevents bacterial buildup that could compromise your oral health.
Deep Cleaning Your Reusable Holder
Rinse your holder thoroughly after each use with warm water, paying special attention to the prong areas where debris accumulates. Once weekly, soak in antimicrobial mouthwash for five minutes to kill lingering bacteria. Always air dry completely before storing to prevent mold growth in crevices.
Smart Storage Solutions
Store your holder upright in a dedicated container—not lying flat where it can collect bathroom counter bacteria. For travel, use a hard-sided case that protects the floss from bending or breaking. Keep disposable picks in their original container until ready to use to maintain sterility.
Knowing When to Replace
Replace reusable holders every 3-6 months, or immediately if prongs become bent or damaged. Check floss tension regularly—when it no longer holds properly, it’s time for replacement. Disposable picks should never be reused, even if they appear undamaged.
Establish a Consistent Flossing Habit
Building a reliable routine ensures long-term gum health without making flossing feel like a chore.
Optimal Timing Strategy
Floss before brushing to loosen debris that your toothbrush will then remove. Evening flossing proves most effective for most people as it removes the day’s food particles before they harden overnight. The key is consistency—choose a time you can maintain daily rather than obsessing over the “perfect” timing.
Habit Stacking for Success
Place your floss holder directly next to your toothbrush so it becomes part of your existing routine. Set a phone reminder for the first two weeks until the habit sticks. Keep travel-sized holders in your work bag, gym bag, and car for on-the-go cleaning opportunities.
Monthly Progress Tracking
Use disclosing tablets once a week to identify missed areas—these harmless dyes stain plaque so you can see your improvement. Note any persistent problem areas in a small journal and focus extra attention there. Schedule dental checkups every six months to get professional feedback on your technique.
Mastering how to use a floss holder properly transforms interdental cleaning from a frustrating chore into a quick, satisfying part of your daily routine. Start with the right tool for your specific dental needs, focus on gentle technique rather than speed, and build consistency through smart habit formation. Within weeks, you’ll notice healthier gums that no longer bleed during cleaning, and your dentist will recognize the difference at your next checkup—proof that this small daily effort delivers significant long-term benefits for your oral health.


