
Tired of hitting your fingers while hammering nails in awkward spots? A nail holder transforms this frustrating experience into precise, safe work—even when you’re reaching overhead or wedged into tight corners. This small tool keeps your fingers clear of hammer impact zones while ensuring your nail goes exactly where you want it, every time. Learning how to use a nail holder correctly could be the difference between a professional finish and a trip to the first aid kit.
Whether you’re installing trim, framing walls, or hanging picture frames, mastering a nail holder will make your projects faster, safer, and more professional-looking. No more wobbling nails or bruised knuckles. Here’s everything you need to know to use one like a pro, from selecting the right model to troubleshooting common issues.
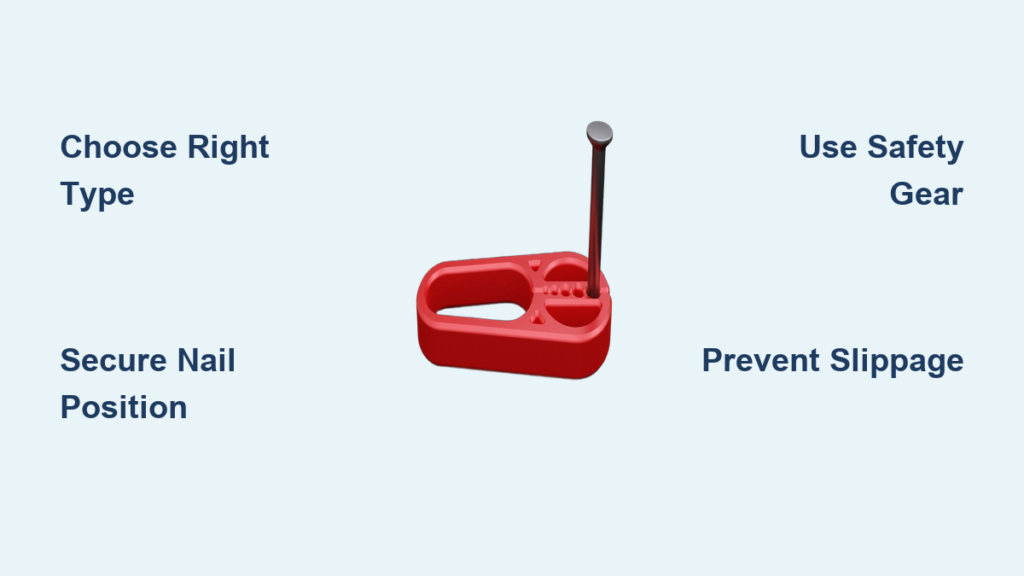
Choose the Right Nail Holder for Your Project
Magnetic Holders for Overhead Work
When gravity fights against you during ceiling installations or high-wall projects, magnetic nail holders become indispensable. These tools use powerful rare-earth magnets to grip steel nails securely, allowing you to position fasteners with one hand while wielding your hammer with the other. The recessed channel design accommodates various nail sizes while preventing slippage. Pro tip: Test your magnetic holder by seeing if it can securely hold a 16d nail against gravity before starting overhead work—this prevents frustrating dropped nails that vanish into wall cavities.
Spring-Loaded Grip Holders for Versatility
Mechanical holders with adjustable spring tension provide reliable grip across multiple nail sizes—from delicate 18-gauge finish nails to hefty 16d framing nails. The spring mechanism applies just enough pressure to hold nails firmly without crushing softer wire nails, then releases cleanly once you’ve started driving. When selecting a spring-loaded model, verify it accommodates nails between 0.0625 inches (1.6mm) to 0.25 inches (6.4mm) in diameter, covering most common construction needs. Unlike magnets, these work with all nail types, including aluminum and stainless steel.
Hybrid Holders for Maximum Flexibility
Advanced models combine magnetic attraction with mechanical gripping for ultimate versatility. The magnetic base helps with initial positioning, while mechanical jaws provide final securing power—perfect when switching between different fastener types during a single project. These are ideal for professionals who work with various materials throughout the day. Warning: Don’t assume all hybrids perform equally—test them with your most commonly used nail sizes before committing to a model for critical work.
Essential Setup Before You Start
Inspect Your Holder Every Time
Before each use, conduct a quick inspection to prevent accidents. Check gripping surfaces for wear, debris, or damage that could cause slippage mid-drive. For magnetic holders, ensure they securely hold a 16d nail against gravity. Test spring-loaded models by verifying smooth operation without binding. Clean any metal filings from magnetic surfaces using a soft brush—compressed air works well but keep pressure below 30 PSI to avoid damaging components.
Prepare Your Workspace
Clear your nailing area of obstructions and ensure adequate lighting for precise placement. Mark critical nailing locations with pencil marks or masking tape when accuracy matters most. For hardwood projects, pre-drill pilot holes using a bit 75% of your nail diameter to prevent splitting. Position backing material when nailing near edges to avoid blowout. Pro tip: Keep a small drop cloth underneath your work area—it catches fallen nails and simplifies cleanup while preventing tripping hazards.
Master the Basic Nailing Technique
Position Your Nail Perfectly
Load the nail perpendicular to your work surface within the holder’s grip. Align the nail point exactly where you want it, then use light hammer taps to establish 1/8-inch initial penetration. This shallow depth makes the nail self-supporting. Carefully withdraw the holder without disturbing the nail’s alignment, then complete driving with full, confident strokes. Common mistake: Rushing the initial penetration—taking 2-3 light taps creates a stable foundation that prevents bending.
Maintain Consistent Hammer Control
Keep your hammer face clean and undamaged to prevent glancing blows that bend nails. Use your entire arm—not just your wrist—for smooth, controlled strikes that deliver consistent force. For finish work, complete driving with a nail set to countersink below the surface without leaving hammer marks. Pro tip: Practice your swing on scrap wood first to develop muscle memory—this reduces fatigue and improves accuracy during actual projects.
Conquer Overhead and Tight Space Challenges
Working Above Your Head
For ceiling work, load the nail into the holder while holding it above shoulder level. Use your dominant hand to position while your non-dominant hand operates a lighter 16-20 ounce hammer to reduce fatigue. Magnetic holders shine here—they keep nails secure even when you’re reaching awkwardly overhead. Time-saver: Keep multiple pre-loaded magnetic holders on your tool belt for continuous work without descending from ladders.
Navigate Confined Spaces
In tight quarters, switch to short-handled or stubby hammers paired with compact nail holders. Position the holder at angles that allow hammer contact while keeping the nail perpendicular. For extremely tight spots, use holders with offset or telescoping handles that provide necessary clearance. Warning: Don’t force the angle—this often causes bent nails. If clearance is insufficient, consider pre-drilling pilot holes instead.
Advanced Techniques for Complex Applications

Drive Nails at Precise Angles
For toenailing or attaching studs at angles, use adjustable-angle holders that lock at 30, 45, or 60 degrees. Establish your angle with the holder, maintain this orientation during initial driving, then complete with regular hammer strokes. Practice on scrap wood first to develop consistent muscle memory—this prevents costly mistakes on visible surfaces. Pro tip: Mark your angle reference point on the workpiece before positioning the nail for perfect alignment every time.
Master Blind Nailing Techniques
When installing hardwood flooring, use specialized 45-degree angle holders designed for blind nailing. These curved-tip tools position nails through the tongue portion, ensuring hidden fasteners. The holder must accommodate the specific 45-degree angle while providing hammer clearance near adjacent boards. Critical step: Verify your pilot hole depth matches the nail length to prevent protruding points that damage neighboring boards.
Essential Safety Practices
Protect Yourself Properly
Always wear safety glasses to guard against flying nail fragments. Use leather gloves for secure grip on both holder and hammer, especially in cold or wet conditions. Steel-toed boots protect your feet from dropped fasteners during construction projects. Non-negotiable: Never skip eye protection—even a small nail fragment can cause permanent eye damage.
Maintain Your Work Area
Establish clear zones around nailing operations, particularly overhead where dropped fasteners pose hazards. Use drop cloths to contain scattered nails and simplify cleanup. When working on ladders, secure your holder and hammer when not in immediate use. Pro tip: Designate a “nail zone” where only essential personnel work—this prevents accidents when multiple people are on a job site.
Troubleshoot Common Problems Fast

Fix Nail Slippage Issues
When nails slip, clean debris from gripping surfaces and verify the nail diameter matches your holder’s range. Test magnetic strength—if weakened, the magnet may need replacement. Ensure proper jaw adjustment on mechanical holders. Quick fix: For stubborn slippage, lightly roughen the nail shaft with sandpaper to increase grip—just avoid damaging any protective coatings.
Prevent Bent Nails
Bent nails usually result from misaligned strikes or inadequate initial penetration. Position nails perpendicular to the surface before driving. Use lighter initial taps to establish alignment, then increase force. Check your hammer face for damage that causes glancing blows. Pro tip: If you consistently bend nails, take a break—fatigue is often the culprit behind poor hammer control.
Pro Tips for Maximum Efficiency
Speed Up Your Workflow
Organize nails by size before starting to minimize adjustment time. Keep magnetic holders loaded and ready on your tool belt. Develop systematic nailing sequences that minimize repositioning. Maintain multiple pre-loaded holders for production work to eliminate downtime. Time-saver: Color-code your holders for different nail sizes—this reduces confusion during fast-paced projects.
Ensure Professional Results
Inspect each nail for consistent depth and angle. Use a nail set for flush installation without surface damage. Verify nail penetration meets structural requirements—typically 1.5 inches into framing members. Maintain consistent hammer technique throughout your project. Pro tip: After completing a section, step back and visually inspect your work—this catches minor inconsistencies before they become major problems.
Mastering how to use a nail holder transforms frustrating, finger-threatening nailing tasks into precise, professional work. Whether you’re driving finish nails into delicate trim or framing nails overhead, this simple tool pays for itself in saved time and unbruised fingers. Start with basic techniques on scrap wood to build confidence, then apply these methods to your real projects. Remember, the right holder for your specific task, proper setup, and consistent technique make all the difference. Within just a few projects, using a nail holder will become second nature—freeing you to focus on craftsmanship rather than avoiding injury.


