That frustrating moment when you reach for toilet paper only to have the entire roll tumble to the floor—that’s the reality of a failing one-arm toilet paper holder. Unlike double-arm models, these sleek single-arm holders rely on precise mechanics to maintain position, and when the spring weakens or mounting loosens, your bathroom convenience turns into daily annoyance. The good news is that 90% of one-arm toilet paper holder problems can be fixed in under 20 minutes with basic tools you likely already own.
Most homeowners panic when they see their holder drooping, assuming replacement is the only option. But before you spend $20-$50 on a new fixture, try these proven repair methods. This guide delivers step-by-step solutions for the three most common failure points: loose wall mounting, weakened spring tension, and misaligned installation. You’ll learn exactly how to diagnose your specific issue and implement the right fix—saving money while extending the life of your existing hardware.
Diagnose Your One-Arm Holder Failure Type
Your repair approach depends entirely on identifying the root cause. These fixtures fail in three distinct ways, each requiring different solutions. Start with this quick diagnostic test before gathering tools or removing any components.
Hold the arm in the closed position against the wall. Apply gentle downward pressure while watching for movement at three critical points: the wall mounting bracket, the pivot point where the arm connects to the wall, and along the arm itself. Where movement occurs reveals your specific problem.
Spotting the Exact Problem Before Repairing
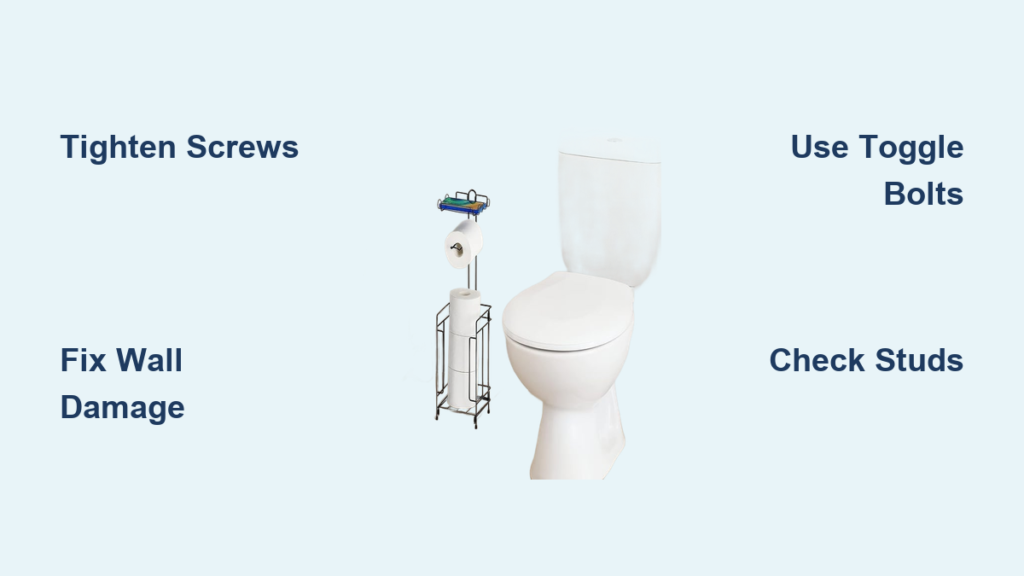
- Visible gap at wall connection: Indicates loose mounting screws or failed anchors—fix with tightening or anchor replacement
- Arm droops under roll weight: Points to spring tension loss—requires spring adjustment or replacement
- Arm won’t stay closed: Sign of broken spring mechanism—needs internal spring repair
- Scratch marks on wall: Shows the arm has shifted position—requires realignment
Essential Tools for One-Arm Holder Repair
- Phillips #2 screwdriver (for mounting screws)
- Small flathead screwdriver (for set screws and spring access)
- Needle-nose pliers (for anchor removal)
- 6-inch level (for proper reinstallation)
- Optional: Stud finder, wall anchors, replacement spring
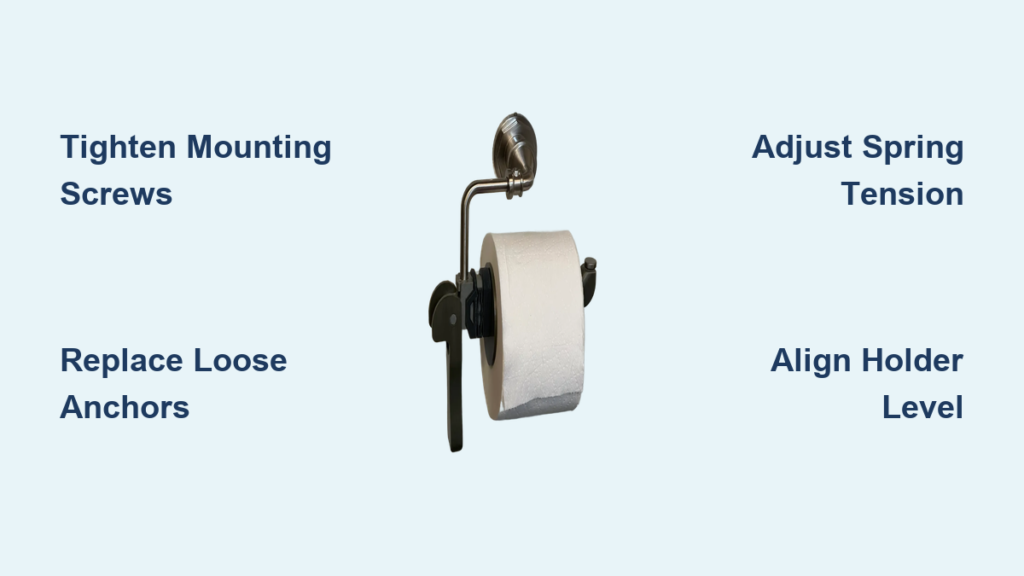
Secure Loose Wall Mounting Immediately

Most wobbling one-arm toilet paper holders suffer from loose mounting screws—the simplest fix requiring just 5 minutes. These fixtures attach with two screws: one visible at the base and another hidden beneath a decorative cap. When either loosens, the entire unit becomes unstable.
Begin by removing the toilet paper roll and locating all mounting screws. On most models, a small plastic cap covers the secondary screw—gently pry this off with your flathead screwdriver. Tighten both screws clockwise using firm, steady pressure until snug. Avoid overtightening, which can strip drywall anchors.
Repair Stripped Drywall Anchors Properly

When screws spin without tightening, your wall anchors have failed—a common issue with hollow drywall installations. Complete this four-step repair:
- Remove both mounting screws completely and detach the holder from the wall
- Pull out damaged plastic anchors using needle-nose pliers
- Clean hole debris with a small brush or vacuum attachment
- Install new heavy-duty anchors rated for at least 20 pounds (toggle bolts for drywall, masonry anchors for tile)
For tile installations, use carbide-tipped drill bits to create new pilot holes if existing ones are stripped. Apply gentle pressure while drilling to prevent tile cracking. Insert anchors flush with the surface before reattaching your holder.
Verify Solid Mounting Surface
Persistent wobbling often means the original installation missed wall studs. Use a stud finder to locate solid framing behind the drywall. Most bathroom walls have studs spaced 16 inches apart—ideally, at least one mounting screw should hit a stud.
If no stud aligns with your holder’s position, create a solid mounting surface by installing a small wooden backer plate between studs. Cut a 2×4 scrap to fit between studs, secure with construction adhesive, then mount your holder through the drywall into solid wood. Paint the backer to match your wall before installation.
Restore Proper Spring Tension in 3 Steps
The internal spring creates the tension that holds your one-arm toilet paper holder securely against the wall. Over time, this spring stretches or its attachment point wears, causing the arm to droop under the roll’s weight. Accessing and repairing this mechanism requires careful disassembly but takes just 10 minutes.
Start by locating the pivot point where the arm connects to the wall bracket. Most models have a small set screw—loosen this with your smallest flathead screwdriver until the arm slides free. Some designs require pressing a release tab while pulling the arm outward. Once removed, you’ll see the internal spring mechanism.
Adjust Spring Tension Without Replacement
Look for a small tension adjustment screw near the spring attachment point. Turn this clockwise in quarter-turn increments using your precision screwdriver. After each adjustment, reattach the arm temporarily and test its position with a toilet paper roll installed.
If your model lacks an adjustment screw, the spring itself has likely stretched. Carefully remove the spring while noting its exact orientation—you’ll need to reinstall it identically. Gently stretch the spring beyond its current length using needle-nose pliers, then reinstall. This provides temporary relief but plan for permanent replacement if problems persist.
Replace Broken Springs Correctly
When springs break completely, precise measurement ensures proper replacement. Remove the old spring and measure three critical dimensions: overall length (end to end), coil diameter (width of coiled section), and wire thickness. Hardware stores typically stock “constant force” springs in the plumbing or hardware section.
Install the new spring in the exact orientation as the original—reversing it creates improper tension. Most attach at one end to the arm mechanism and at the other to the wall bracket. Test the arm’s movement before fully reassembling—proper tension allows smooth opening but snaps securely closed against the wall.
Correct Crooked Toilet Paper Holder Alignment

Even securely mounted holders appear broken when installed crooked. This misalignment causes the arm to rub against the wall or fail to close properly—a simple fix often overlooked during initial installation.
Remove the holder completely and patch old screw holes with spackle for a clean mounting surface. The standard height for toilet paper holders is 26 inches from the floor to the center of the arm, but adjust based on user height and toilet placement. Mark your new position using these guidelines:
Perfect Placement Technique
Position the wall bracket so the arm sits parallel to the floor when closed. Use a 6-inch level against the bracket’s top edge while marking screw positions—this prevents the “crooked holder” illusion that plagues many DIY installations. For tile walls, apply painter’s tape over the mounting area to prevent drill bit slippage.
Drill pilot holes sized for your anchors, taking extra care with tile installations. Start with a small pilot hole using light pressure, then gradually increase drill bit size. Insert anchors flush with the wall surface before attaching your holder. Test the arm’s movement before final tightening—ensure it clears the wall and toilet tank throughout its full range of motion.
Prevent Future Toilet Paper Holder Failures
Monthly maintenance prevents most common failures before they become major issues. This 30-second routine catches developing problems while they’re still simple fixes.
Critical Maintenance Schedule
- Weekly: Wipe pivot point with dry cloth to remove dust buildup
- Monthly: Check and tighten all visible screws with screwdriver
- Quarterly: Remove arm to clean internal mechanism with compressed air
- Biannually: Apply light machine oil to pivot point and spring mechanism
Upgrade to commercial-grade replacement parts if your holder fails repeatedly. Look for models with stainless steel construction and lifetime warranties from brands like Moen or Delta. These premium fixtures use thicker gauge metal and stronger springs designed for heavy use.
When to Replace Rather Than Repair
Some situations make replacement more practical than repair. If you’ve attempted multiple fixes that failed within weeks, or if wall damage is extensive, investing in new hardware becomes the smarter choice.
Replacement Indicators to Watch For
- Visible corrosion on internal metal components
- Cracks in plastic housing or mounting bracket
- Inability to find replacement springs for older models
- Significant wall damage requiring major patching
When replacing, measure your existing holder’s mounting hole spacing—most are 6 inches apart. Choose a new model with identical spacing to avoid drilling new holes. Modern one-arm holders often feature improved spring mechanisms and sturdier mounting systems that prevent common failure modes.
A properly functioning one-arm toilet paper holder shouldn’t demand your attention more than once a year. By addressing loose screws immediately, maintaining spring tension, and ensuring precise alignment during installation, you’ll eliminate that annoying droop for good. Keep a small Phillips screwdriver stored under your bathroom sink for quick monthly check-ups—this simple habit prevents 80% of common failures before they start. When repairs become frequent, upgrade to a commercial-grade model that withstands daily use without complaint. With these proven techniques, you’ll transform that frustrating fixture into reliable bathroom hardware that works silently in the background where it belongs.