
Your prized swords deserve better than being shoved in a closet or leaning awkwardly against the wall. A properly constructed sword holder transforms your collection from disorganized clutter into a stunning showcase that protects your investment while highlighting each blade’s craftsmanship. Whether you’re displaying a single family katana or building a museum-quality collection, the right holder keeps blades secure, accessible, and visually striking—without risking damage to your swords or your walls.
This guide delivers three proven construction methods you can build in a weekend, complete with exact measurements, material specifications, and professional finishing techniques most guides overlook. You’ll learn how to create holders that match your sword’s specific dimensions while meeting critical safety requirements. Let’s transform those beautiful blades from storage problems into centerpieces.
Wall-Mounted Sword Bracket Build for Single Swords
Measure Your Sword Before Cutting Wood
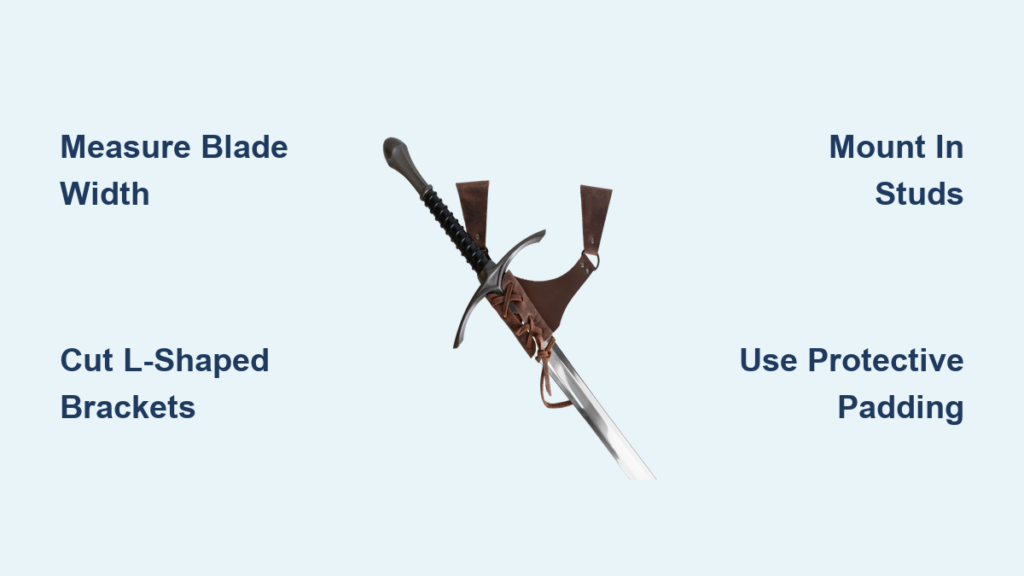
Start by measuring your sword’s blade width at its widest point—typically 1-2 inches from the guard. Add one inch total clearance (half inch on each side) to determine your bracket opening. For example, a katana with a 2.5-inch wide blade needs a 3.5-inch bracket opening. This precise measurement prevents blade damage from excessive pressure while keeping your sword secure.
Cut and Shape Functional Brackets in Under 30 Minutes
Cut two identical L-shaped brackets from 3/4-inch hardwood using these exact dimensions:
– Vertical arm: 4 inches (attaches to wall)
– Horizontal arm: 3 inches (supports blade)
– Width: 2 inches throughout for stability
Use a router with 1/2-inch straight bit to cut a 1/4-inch deep groove along the top edge of horizontal sections. Center this groove and make it 1/8 inch wider than your blade thickness. This groove cradles your sword safely while preventing lateral movement that could damage the edge.
Mount Directly Into Wall Studs for Maximum Security
Locate wall studs using an electronic finder, confirming each with small finish nail holes. Space brackets 12-18 inches apart based on your sword’s length—longer blades need wider spacing. Pre-drill with a 1/8-inch bit, then secure with 2.5-inch wood screws driven deep into studs. Always test stability by applying 3x your sword’s weight before mounting your actual blade. For drywall without studs, use heavy-duty toggle bolts rated for at least 50 pounds per bracket.
Build a Freestanding Multi-Sword Display in One Afternoon

Create a Stable Base That Won’t Tip Over
Cut your base from 3/4-inch hardwood to 24×8×3/4 inches for standard swords. For heavier blades or greater capacity, increase base width proportionally—remember the critical 1:3 height-to-base ratio for stability. Pro tip: Add 2×4 inch support blocks underneath for extra weight distribution, especially if displaying European longswords or claymores.
Install Adjustable Horizontal Support Bars
Cut four posts from 1×2 inch hardwood strips to 12 inches high for standard swords or 18 inches for longer blades. Cut 1/4-inch wide, 1/2-inch deep slots every 2 inches along inner faces to create an adjustable system. Then cut support bars from 1/2-inch dowel to 6-8 inches long, adding 1/4-inch deep grooves every inch along top surfaces—these grooves prevent swords from sliding while protecting delicate edges.
Line Contact Points with Protective Padding
Wrap all contact surfaces with vegetable-tanned leather strips or adhesive-backed felt padding. Use contact cement for permanent attachment that won’t peel over time. This critical step prevents microscopic damage to your sword’s finish while providing just enough grip to keep blades securely in place. For moisture-prone environments, consider cork padding at 1/8-inch thickness—it offers superior grip while allowing slight movement during wood expansion.
Professional Finishing Techniques That Protect Your Investment
Follow This Wood Finishing Sequence for Museum-Quality Results
Begin with proper preparation: fill imperfections with matching wood filler, then sand progressively through 120 → 220 → 400 grit. Remove all dust with a tack cloth before applying oil-based stain with the grain using a lint-free cloth. Wipe excess after 5-15 minutes, allowing 24-48 hours drying time between coats.
Apply your first polyurethane coat thinned 10% for better penetration, then add 2-3 full-strength coats. Lightly sand with 400-grit paper between coats, and finish with a buff using 0000 steel wool and paste wax. This process creates a durable, smooth surface that repels moisture while showcasing the wood’s natural beauty—essential for holders that will last decades.
Implement Environmental Protection for Long-Term Sword Health

Your sword holder must combat environmental threats beyond just physical support. Maintain 35-55% relative humidity in display areas using a hygrometer and dehumidifier if necessary. Provide 6-8 inches of wall clearance for ventilation, and avoid direct sunlight exposure which can fade finishes and damage blades over time. For premium protection, integrate warm white (3000K) LED accent lighting that showcases your swords without generating damaging heat or UV radiation.
Critical Safety Guidelines Most Guides Ignore

Calculate Weight Distribution Using the 4x Safety Rule
Mounting hardware must handle four times your display’s actual weight—a single sword weighing 5 pounds needs hardware rated for 20 pounds minimum. For three swords (15 pounds total), use hardware rated for 60 pounds. Always distribute weight across two or more wall studs when possible, and for freestanding units, ensure base width equals at least one-third of the total height. A 18-inch tall display requires a minimum 6-inch base width to prevent dangerous tip-overs.
Implement Child Safety Features Without Compromising Aesthetics
If children access your display area, install acrylic shields over blade edges or mount displays at 72+ inches height—above most children’s reach. For freestanding units, add hidden anti-tip brackets that secure to wall studs while maintaining the display’s floating appearance. Test all connections with 3x expected load before placing valuable swords on your new holder. These precautions protect both your collection and your family while keeping your display visually appealing.
Conduct Monthly Safety Inspections You Won’t Regret
Your sword holder requires ongoing maintenance to remain safe. Monthly, check all screws and bolts for tightness (especially during first three months as wood settles), inspect padding for wear, and verify level alignment. Annually, refinish worn wood surfaces and replace degraded padding materials. For wall-mounted displays, check mounting security by gently pulling downward—any movement means immediate reinforcement is needed. These quick checks prevent catastrophic failures that could damage irreplaceable blades.
Your sword holder becomes more than mere storage—it’s a showcase that honors your collection’s craftsmanship and history. Start with the basic wall bracket for immediate impact, then expand to freestanding displays as your collection grows. Remember: measure twice, cut once, and always prioritize safety over aesthetics. With these professional techniques, you’ll create displays worthy of the blades they support, transforming your swords from hidden treasures into conversation-starting centerpieces that safely showcase their beauty for years to come.


