
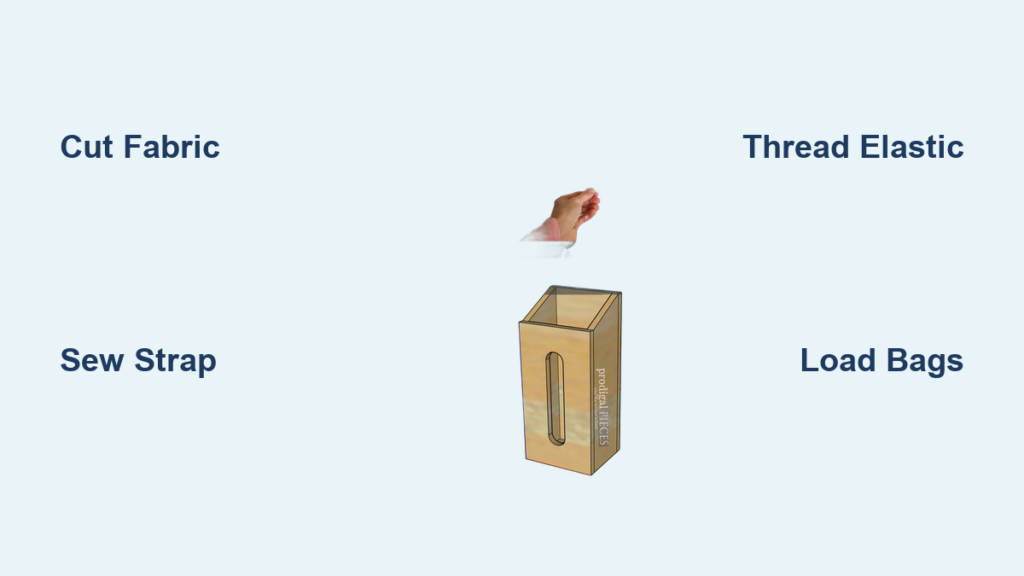
Plastic bags multiply faster than dust bunnies under your sink, creating an unruly mess that makes you cringe every time you open that cabinet door. Instead of stuffing them into random drawers or letting them float around like plastic tumbleweeds, you can create a custom fabric holder that corrals 15-30 bags in minutes—and looks good doing it. This simple sewing project transforms chaos into organized convenience, giving you instant access to bags whenever you need them while keeping your space neat and tidy.
Gather Your Fabric and Tools
Essential Materials List
You’ll need just a handful of supplies to create your bag holder:
- Fabric: Choose light to medium-weight décor fabric or cotton in your favorite print
- Thread: Pick coordinating thread for seamless stitching
- Elastic: 1/4-inch elastic, 6-10 inches long
- Scissors: Sharp fabric scissors for clean cuts
- Sewing machine: Standard home machine works perfectly
- Measuring tools: Ruler and fabric marker for accuracy
- Safety pins: Essential for threading elastic through casing
Choose Your Perfect Size
Pick from two proven dimensions or customize based on your space:
Compact Option: 18×20-inch rectangle (main body) + 5×18-inch accent piece + 2×10-inch strap
Roomy Option: 24×36-inch rectangle (main body) + 5×2-inch hanging loop
Custom Fit: Adjust any measurement to fit your specific storage area
Cut Fabric to Exact Specifications
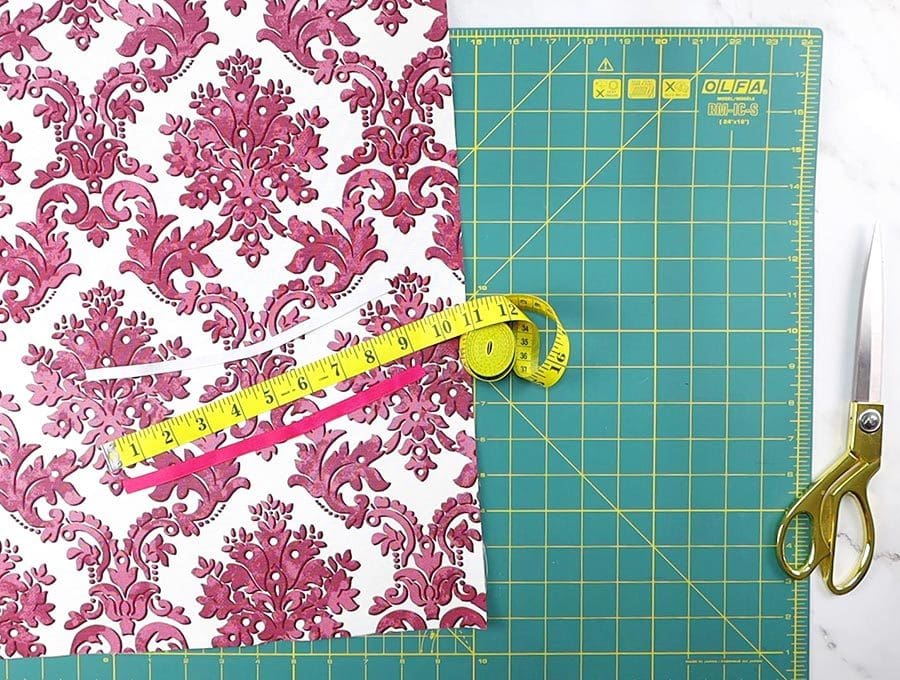
Measure and Mark Fabric
Start by laying your fabric flat on a cutting surface. Use your ruler and fabric marker to draw precise rectangles based on your chosen size. For the main body, mark an 18×20-inch rectangle (or your custom size) directly on the fabric. Don’t forget to add the accent piece—cut a 5×18-inch strip for the bottom edge.
Pro Tip: Place weights on fabric corners to prevent shifting while cutting. Fabric that slips while measuring leads to uneven seams that compromise your finished holder’s structure.
Create Hanging Strap Pieces
Cut a 2×10-inch strip for the hanging strap. If making the larger version, cut a simple 5×2-inch strip for a loop. Label each piece with a small fabric marker to avoid confusion during assembly.
Sew the Hanging Strap First
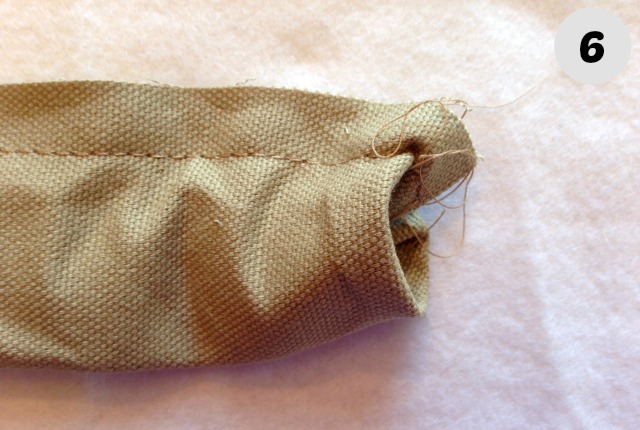
Fold and Stitch Strap
Take your strap piece and fold it lengthwise with right sides together. Sew along the open edge using a straight stitch, maintaining a consistent 1/4-inch seam allowance. This creates a fabric tube that will become your hanging strap.
Turn and Press
Use a safety pin or turning tool to flip the strap right side out. Press flat with an iron, creating crisp edges that look professionally finished. This strap will support the weight of your plastic bags, so take time to press it well.
Assemble the Main Body
Attach Accent Strip
Place your main fabric rectangle right side up. Position the accent piece (5×18-inch strip) right side down along the bottom edge. Sew across with a 1/4-inch seam allowance. Open and press the seam flat—this pressing step makes your holder look store-bought instead of homemade.
Add Decorative Trim (Optional)
Before moving to the next step, consider adding decorative trim along the seam between accent and main fabric. A simple ribbon or piping adds personality and covers the seam beautifully.
Form the Tube Shape
Fold and Sew Side Seam
Fold your assembled fabric lengthwise with right sides together. The accent strip should be at the bottom edge. Sew along the long open edge, creating a tube. Start sewing from the bottom (accent piece) and work upward, maintaining a straight seam line.
Watch for This: If your fabric puckers while sewing, reduce your stitch length slightly. Long stitches on lightweight fabric can cause gathering that distorts your tube shape.
Position Hanging Strap
Before closing the top edge, position your hanging strap inside the tube. Tuck one end between the fabric layers at the top, ensuring it’s centered. The strap should extend about 1 inch into the tube. Sew across the top edge to secure both the strap and close the tube simultaneously.
Create Elastic Bottom Opening
Make Elastic Casing
Turn your tube right side out. Fold the bottom edge over twice—first 1/4 inch, then another 1/4 inch—to create a neat casing for your elastic. Iron these folds to create crisp edges that won’t shift while sewing.
Sew Casing
Sew around the folded edge, leaving a 2-3 inch gap for elastic insertion. Use a straight stitch close to the inner folded edge. This casing will hold your elastic securely while allowing bags to be stuffed inside.
Thread Elastic Through Casing
Measure and Insert Elastic
Cut your elastic to 8-10 inches (adjust based on fabric width). Attach a safety pin to one end, then thread it through the entire casing. Work the safety pin around the tube until it emerges from the other side.
Time Saver: Use a bent paperclip instead of a safety pin for tighter casings—it’s thinner and less likely to catch on fabric.
Secure Elastic Ends
Overlap the elastic ends by 1/2 inch and sew them together securely using a zigzag stitch. Pull gently to distribute the gathers evenly around the bottom opening. Finally, sew the casing gap closed.
Load and Use Your Holder
Install in Perfect Location
Choose your hanging spot—inside pantry doors, laundry rooms, or hall closets work beautifully. Use an over-the-door hook for no-installation placement, or Command hooks for damage-free hanging.
Load Bags Efficiently
Gather 5-7 plastic bags in a loose bundle. Push the bundle through the elastic bottom opening—the elastic stretches to accommodate the load. Continue adding bags until your holder is comfortably full (usually 15-30 bags).
Retrieve Bags Easily
Pull individual bags from the top opening as needed. The elastic keeps bags from falling out while allowing easy access. When empty, simply repeat the loading process.
Customize Your Design
Size Variations for Any Space
Narrow Holders: Use a 12×24-inch rectangle for tight spaces between appliances
Long Holders: Extend to 20×36 inches for high-traffic households
Short Holders: Cut to 15×15 inches for limited vertical space
Fabric Selection Tips
Cotton: Easy to sew, machine washable, endless print options
Décor Fabric: Medium weight, more durable, professional appearance
Recycled Materials: Transform old pillowcases, curtains, or clothing into functional storage
Add Personal Touches
Create visual interest with contrasting fabrics—use a bold print for the main body and a solid color for the accent strip. Add ribbon trim along seams, or embroider labels like “Bags” or “Recycling” for a custom touch.
No-Sew Alternatives
Instant Solutions Without Sewing
Mason Jar Method: Fill large mason jars with folded bags for visible, clean storage on countertops
Magazine Holder Hack: Repurpose plastic or wooden magazine holders for vertical bag storage inside cabinets
Shoe Organizer Storage: Hang a plastic shoe organizer on the back of doors—each pocket holds multiple bags
Repurpose Household Items
Drawer Dividers: Create cardboard sections in kitchen drawers for organized bag separation
Spice Rack Storage: Use countertop spice racks for flat, accessible bag storage
Under-Sink Baskets: Install stackable bins under sinks for out-of-sight organization
Maintain Your Holder Long-Term
Simple Cleaning Process
Most fabric holders are machine washable on gentle cycles. Remove bags, turn inside out, and wash with like colors. Air dry by hanging—this maintains the shape and prevents elastic stretching.
Smart Refilling Strategy
When your holder nears empty, gather bags from your collection spot. Stuff them through the bottom in small bundles rather than individually—this saves time and creates even distribution. Compress gently to maximize capacity without over-stretching the elastic.
Your new plastic bag holder transforms cluttered storage into organized efficiency. This 30-minute project pays dividends every day as you grab bags for pet waste, car trash, or bathroom liners without hunting through messy drawers. Make several in coordinating fabrics for different areas—one in the laundry room for dryer lint, another in the garage for quick clean-ups, and a third in the pantry for everyday use.


