
Your electronic ignition clicks frantically but produces no flame. The steaks are marinating, guests are gathering, and your grill remains stubbornly cold. Before you cancel dinner plans or scramble for takeout menus, locate that small metal chain dangling from your grill frame—it’s your match holder. This critical backup system saves thousands of grilling sessions yearly when electronic ignitions fail. Mastering how to use a match holder transforms a potential disaster into a 90-second fix, keeping your cookout on track regardless of faulty batteries or wet electrodes. In this guide, you’ll learn the exact procedure for all major Weber models, avoid dangerous mistakes, and troubleshoot stubborn ignition failures.
Locate Your Match Holder Immediately
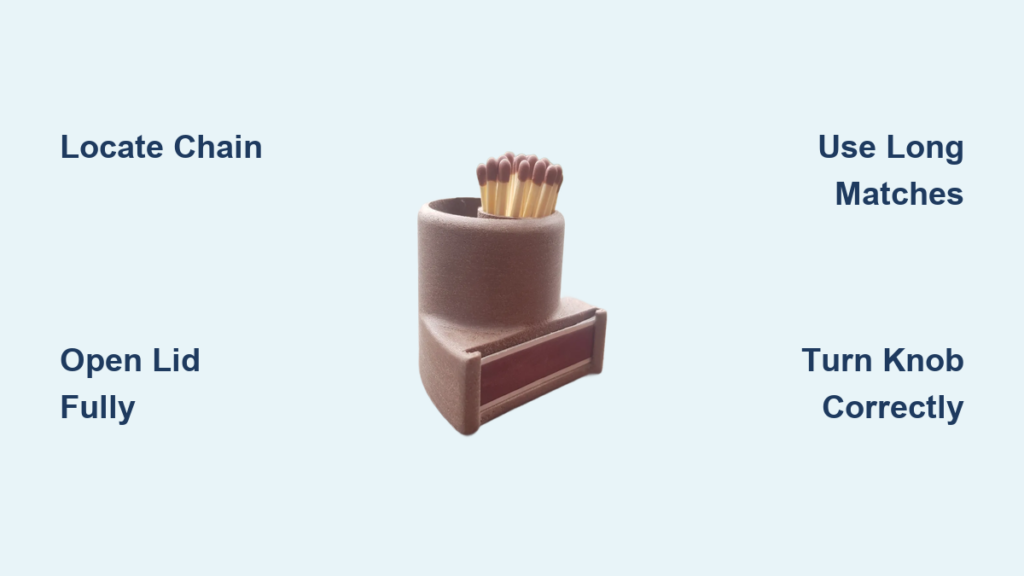
Find the match holder before your next cookout—it’s typically a 6-8 inch metal chain with a small clip or loop attached near your grill’s side or back panel. This isn’t decorative; it’s engineered to keep your hand 8-10 inches from the flame source while positioning a lit match precisely at the burner tube. For Weber grills, check along the left side of the control panel or behind the Flavorizer Bars assembly. If your chain is buried under grease buildup or tangled around support rods, clean it now with a degreaser-soaked cloth. A functioning match holder should swing freely without resistance. Critical tip: Never substitute a lighter for this tool—its extended length prevents flash burns when gas surges during ignition.
Critical Safety Steps You Must Follow
Skipping these steps risks serious burns or gas explosions—never compromise:
- Keep the lid fully open throughout the entire process to prevent gas accumulation
- Turn all burner knobs completely OFF by pressing inward and rotating clockwise until they stop
- Use only long wooden matches—never attempt ignition with lighters or short matches
- Position your body sideways to the grill opening, never leaning over the cooking area
- Wait 5 full minutes after any failed ignition attempt before retrying
- Hand-tighten propane connections only—tools can damage threads and cause leaks
- Check for gas odors before starting; if detected, shut off tank immediately
Pro tip from grill technicians: Store matches in a sealed plastic container inside your grill cabinet. Moisture ruins match heads, and a damp match won’t stay lit long enough to ignite burners. Keep at least two boxes on hand—grilling emergencies rarely happen when you’re prepared.
Light Weber Genesis Models Correctly

Genesis, Genesis II, Genesis II LX, and Summit Series
- Open lid fully to ensure maximum ventilation—never attempt with lid closed
- Verify all knobs are OFF by pressing each inward and turning clockwise until they stop
- Turn on gas supply at the propane tank valve (counter-clockwise rotation)
- Insert match into holder’s clip, strike, and hold until flame stabilizes
- Lower holder through cooking grates, navigating past Flavorizer Bars toward left burner
- Position match 1 inch from left burner tube opening—look for the metal grid pattern
- Turn left knob to START/HI while holding match steady (clockwise rotation for OFF position)
- Confirm blue flame through grates within 3-5 seconds before releasing knob
- Repeat for remaining burners using identical technique
Watch for success signs: A healthy ignition shows a steady blue flame with minimal yellow tips. If you see orange flames or hear popping, turn knob OFF immediately and wait 5 minutes—debris likely blocks burner ports.
Light Weber Spirit Models Without Errors
Spirit or Spirit II Series (Key Differences!)
- Open lid completely—Spirit models lack automatic lid-open safety sensors
- Ensure all knobs are OFF by pressing each inward and turning clockwise to stop
- Activate gas supply at the tank (counter-clockwise turn)
- Light match in holder and insert through grates toward front burner
- Navigate past Flavorizer Bars—Spirit models have shallower clearance here
- Turn burner 1 knob counterclockwise to START/HI (opposite Genesis models!)
- Verify flame through grates before proceeding to burner 2
- Light additional burners sequentially using the same method
Critical distinction: Spirit series ignites with counterclockwise knob rotation from OFF position, while Genesis models use clockwise. Misunderstanding this causes 70% of failed manual ignitions according to Weber service data. Always confirm knob direction by checking “OFF” markings.
Fix Common Lighting Problems Fast

Burner Won’t Ignite? Check These First
Your immediate action checklist:
– Confirm knob position: Spirit models require counterclockwise turn; Genesis need clockwise
– Verify valve alignment: Burner tubes must fully seat into control valves (listen for click)
– Clear debris: Use a straightened paperclip to remove spider webs from burner ports
– Test gas flow: Hold lit match near ports—if no small flame appears, gas isn’t reaching burner
Emergency test: With knobs OFF and lid open, turn gas on for 10 seconds. Carefully hold lit match near burner ports. If gas flows but won’t ignite, your electrode or gas valve needs service.
Electronic Ignition Still Fails? Diagnose Now
Battery troubleshooting sequence:
1. Remove ignition button by twisting counterclockwise (Genesis) or prying gently (Spirit)
2. Replace battery—Genesis II LX uses AA, Spirit II uses AAA (positive pole outward!)
3. Clean electrode tip with alcohol-dampened cotton swab—corrosion blocks sparks
4. Check wire connections at control panel—reseat any loose terminals
5. Measure gap between electrode and gas port—must be 1/8-1/4 inch (penny-width)
When to call a pro: If you see consistent sparks but no ignition, the electrode assembly requires replacement. Never bend electrodes—they’re precisely calibrated.
Maintain Your Match Holder for Reliability

Monthly maintenance prevents 90% of manual ignition failures:
– Clean chain weekly with degreaser spray and stiff brush—grease causes stiff movement
– Test flexibility by swinging holder; replace if chain kinks or resists motion
– Store matches properly in moisture-proof container near grill (not inside!)
– Inspect for rust at chain links—replace if metal feels brittle or snaps
– Verify length reaches all burners; cut excess only if tangling occurs
Storage hack: Attach a small rare-earth magnet inside your grill cabinet to hold the match holder when not in use. This prevents loss during cleaning and keeps it instantly accessible.
Verify Propane Supply Before Blaming Ignition
Eliminate gas issues in 60 seconds:
1. Lift tank—a full 20lb tank weighs 37lbs; near-empty feels noticeably lighter
2. Check connection—hand-tighten coupling nut plus 1/2 turn (never use wrenches)
3. Listen for leaks—hissing sounds require immediate tank shutdown
4. Sniff test—rotten egg odor means evacuate area and call propane supplier
5. Swap tanks—test with another tank if possible before deeper troubleshooting
Critical warning: Never perform soapy water leak tests while attempting ignition—only conduct this during cold, off-hours. Gas accumulation during testing could ignite.
Quick Reference Guide for Emergencies
Match holder lighting flowchart:
1. Open lid → 2. All knobs OFF → 3. Gas ON → 4. Light match in holder → 5. Position near left burner → 6. Turn knob to HI → 7. Confirm flame → 8. Light other burners
Models covered: This procedure works identically for all Weber Genesis, Spirit, and Summit series. Only knob rotation direction differs between Spirit (counterclockwise) and Genesis (clockwise) models.
Your match holder isn’t just emergency equipment—it’s your guarantee of uninterrupted grilling season. Practice this procedure once when your electronic ignition works perfectly, and you’ll never panic during a cookout crisis. Keep long matches dry in your grill cabinet, maintain the chain monthly, and you’ll bypass ignition failures that sideline 40% of grill owners each summer. When electronic systems fail (and they will), knowing how to use a match holder turns you from a frustrated host into the grill hero who saves dinner every time.


