
Tangled earring backs and missing studs aren’t just frustrating—they’re a daily jewelry crisis. With 68% of earring owners losing at least one piece monthly, the right earring holder ideas transform chaos into curated collections. Forget flimsy boxes where treasures vanish; effective storage prevents damage, showcases your style, and shaves minutes off your morning routine. Whether you own five precious pairs or 50 statement pieces, this guide delivers proven earring holder ideas tested by collectors and organizers. You’ll discover exactly which solutions protect delicate posts, maximize tiny spaces, and turn storage into art.
Stop wasting time hunting for matching earrings. These practical earring holder ideas solve real problems: studs won’t bend in foam-lined slots, chandeliers won’t tangle on spaced hooks, and travel rolls survive suitcase chaos. We’ve distilled professional techniques and DIY hacks so you can build, buy, or repurpose systems that fit your space and budget. By the end, you’ll have actionable plans to create organized displays that make your jewelry shine—literally.
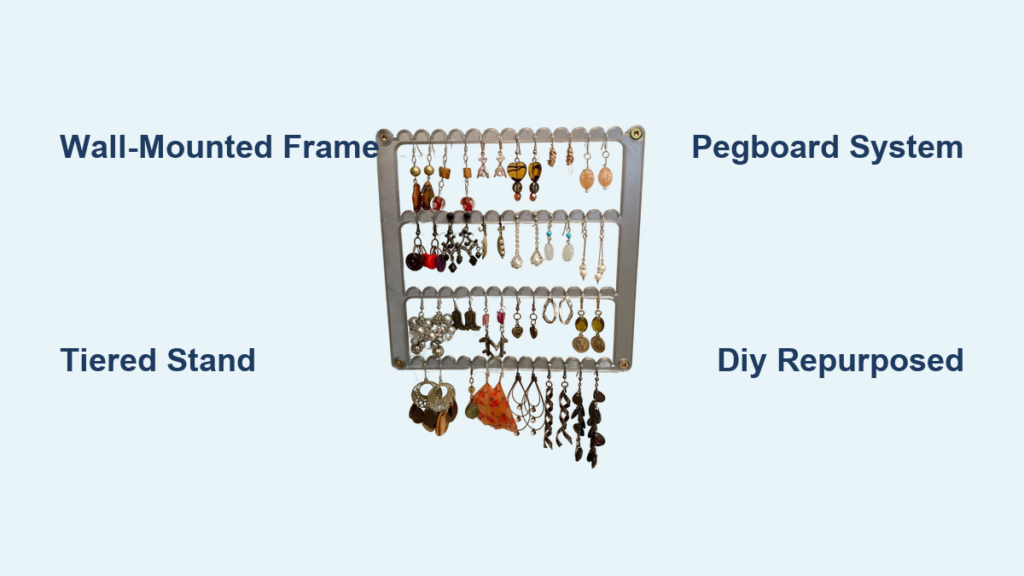
Wall-Mounted Frame Displays
Vertical frame systems maximize unused wall space while turning earrings into instant art. These solutions keep every pair visible and tangle-free, ideal for small bedrooms or walk-in closets. Install them near your mirror for effortless accessorizing during rushed mornings.
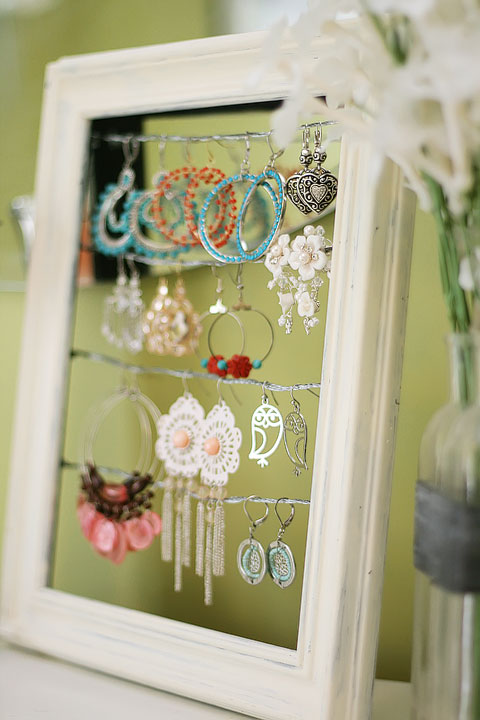
Vintage Frame Makeovers
Transform thrifted frames into boutique-style displays with minimal effort. Choose frames with 1–2 inch depth to accommodate dangle earrings without crushing delicate chains. Remove glass and backing, then stretch heavy canvas or velvet over the opening using a staple gun. This soft surface prevents metal scratches while holding posts securely. Pro tip: Weathered barn wood frames complement boho collections, while black lacquered versions make silver studs pop. For optimal organization, group warm-toned pieces (rose gold, copper) on one frame and cool metals (silver, platinum) on another.
Mesh Panel Inserts
Swap frame backing for industrial-chic wire mesh that securely holds all earring types. Use ¼-inch galvanized steel mesh—fine enough for stud posts but sturdy for heavy chandeliers. File cut edges smooth with metal sandpaper to prevent snags, then mount frames with French cleats rated for 30+ pounds. Position hooks at eye level for quick access, spacing them 2 inches apart to avoid overcrowding. This system grows with your collection; add new frames side-by-side as your jewelry stash expands.
Countertop Tiered Stands
These rotating displays keep daily-wear earrings within arm’s reach while adding vertical storage to cramped vanities. Unlike flat trays, tiered stands showcase 50+ pairs without cluttering counter space—perfect for apartment dwellers.
Lazy Susan Conversions
Convert a 12-inch lazy Susan into a spinning earring tower. Cover each tier with 1-inch foam padding wrapped in velvet, then cut ⅛-inch vertical slots every inch using a sharp craft knife. The rotating base lets you scan your entire collection in seconds. Critical step: Ensure foam thickness matches your earring post length—¼-inch foam works best for standard studs. Place frequently worn pieces on the top tier for grab-and-go mornings.
Acrylic Display Blocks
Clear acrylic blocks organize earrings invisibly while protecting delicate posts. Laser-cut ½-inch thick sheets with precision holes: ⅛-inch for studs, 3/16-inch for hooks. Stack blocks vertically using 1-inch aluminum spacers to create customizable towers. The transparent design showcases gemstone colors without visual clutter, making it ideal for modern bathrooms. Clean monthly with plastic-safe polish to maintain optical clarity.
DIY Pegboard Systems

Pegboard’s grid pattern offers infinite customization for evolving collections. Paint it to match your décor, then adjust hooks as your jewelry style changes—no permanent damage to walls.
Color-Coded Grid Storage
Paint standard pegboard in soft pastels or bold hues, then install ¼-inch hooks at varying heights: short hooks for hoops, longer ones for chandeliers. Create sections using washi tape borders—group rose gold pieces together or separate vintage finds from everyday studs. Key detail: Space hooks at least 2 inches apart vertically to prevent dangles from tangling. Add small LED strips above the board for automatic illumination when you open your closet door.
Repurposed Household Items

Breathe new life into common objects for unique, budget-friendly earring holder ideas that spark conversation. These solutions cost $0–$5 and work in hours.
Cheese Grater Revamps
Spray-paint vintage metal cheese graters with rust-preventing enamel, then mount vertically using existing handle holes. Large holes hold chunky hoops; smaller perforations secure delicate studs. Copper graters develop a stunning patina over time that complements warm-toned jewelry. Warning: File all sharp edges before use to avoid snagging earrings or skin.
Cork Board Upgrades
Cover standard cork boards with linen fabric stretched drum-tight, securing edges with staples. Push pins become instant earring hooks—use pearl-topped pins for elegance. Studs insert directly into cork, while dangles hang from pins. Refresh fabric quarterly by vacuuming with an upholstery attachment, then spot-cleaning stains with mild detergent.
Specialized Type Storage
Generic holders damage specific earring styles. These targeted earring holder ideas prevent bent posts, tangled chains, and lost backs.
Stud-Specific Solutions
Prevent post bending with vertical foam slots. Cut ¼-inch foam padding into rectangles, cover with velvet, and punch ⅛-inch vertical slits every ½ inch using a leather punch. Mount inside shallow drawer lids to utilize dead space. The foam grips posts securely while velvet prevents scratches—critical for diamond studs.
Hoop Organization Rods
Thread hoops onto ¼-inch wooden dowels mounted horizontally between L-brackets. Space rods 2 inches apart vertically, arranging hoops from smallest (front) to largest (back). Add silicone sleeves to dowels for anti-slip grip. This system lets you instantly grab matching pairs during morning rush.
Budget-Friendly DIY Projects
Create professional-grade storage for under $15 using supplies from dollar stores or recycling bins.
Wine Cork Collections
Cut wine corks lengthwise with a craft knife, creating flat surfaces. Arrange in shadow boxes or mount directly to walls with construction adhesive. The natural texture grips stud posts securely—ideal for dorm rooms. Pro tip: Group corks by color (natural, red, black) for a decorative gradient effect that organizes while displaying.
Maintenance Best Practices
Extend your holder’s lifespan and protect jewelry with these material-specific routines. Neglecting care causes tarnish, warping, and damaged pieces.
Metal Component Cleaning
Vacuum wire mesh monthly with a brush attachment to remove lint that dulls metals. Polish brass quarterly with appropriate cleaners (never use on stainless steel), and store silica gel packets inside to prevent moisture damage. Check hooks every six months for looseness—tighten or replace immediately to avoid dropped earrings.
Fabric Refreshes
Revive velvet-covered holders by vacuuming with upholstery attachments, then spot-cleaning stains with a damp cloth and mild soap. Replace worn fabric sections using Velcro-attached panels for systems designed with modularity. Avoid soaking fabric, which can warp underlying foam or wood.
Smart Organization Methods
Transform chaos into efficiency with these pro techniques that work for any collection size.
Color-Coded Arrangements
Group earrings by spectrum: warm tones (gold, copper) on one side, cool metals (silver, platinum) on the other. This visual system speeds up matching jewelry to outfits—especially effective on acrylic and mesh displays where colors create patterns. Use rainbow order within sections (reds to purples) for instant recognition.
Frequency-Based Access
Place daily-wear pieces at eye level in your most accessible holder. Store special-occasion earrings in top sections or lockable shadow boxes. Create a “top 10” section near your mirror with current wardrobe-coordinating pairs—rotate these weekly to keep your look fresh.
Creating your perfect earring storage system starts with solving one pain point: lost studs, tangled dangles, or wasted morning minutes. Implement just one of these earring holder ideas today—like repurposing a cheese grater or mounting a cork board—and expand as your collection grows. The most successful systems evolve with your style, ensuring every pair stays protected, organized, and ready to elevate your look. Stop searching for missing backs; start showcasing your jewelry like the treasure it is.


