You’re mid-wipe when your paper towel holder suddenly gives way, sending the roll clattering to the floor. That frustrating moment when you’re juggling a half-used roll while trying to clean up the mess it just created is all too familiar. Most paper towel holder problems share common causes—and nearly all can be fixed in under 30 minutes with basic tools you likely already own. Whether your holder spins freely on the wall, drops rolls unexpectedly, or has a broken spindle, this guide delivers specific solutions for each failure point. You’ll learn exactly how to diagnose the problem and implement the right fix so you can get back to one-handed dispensing without another kitchen mishap.
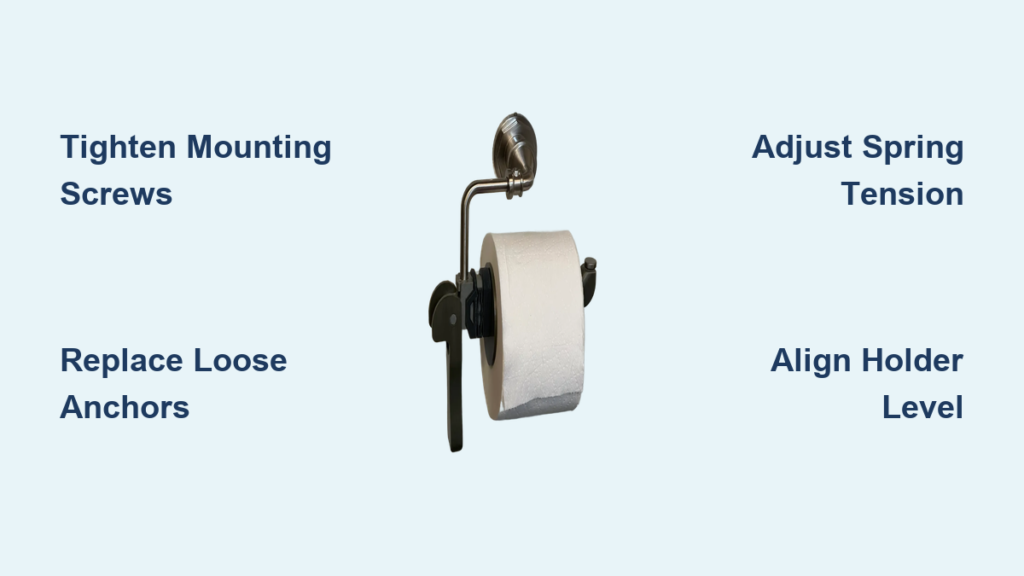
Stop Wobbly Wall-Mounted Holders From Spinning Loose
Replace Stripped Drywall Anchors With Heavy-Duty Toggle Bolts
When your entire paper towel holder spins freely or pulls away from the wall, the problem isn’t the holder—it’s the failed anchors behind it. Plastic anchors weaken over time as paper towel rolls create constant stress on the mounting points.
The permanent fix with toggle bolts:
1. Remove the holder and paper towel roll completely
2. Extract old plastic anchors using needle-nose pliers
3. Drill fresh ¼-inch holes at least ½ inch away from the stripped spots
4. Insert the toggle bolt through the holder’s mounting holes
5. Compress the wings and push through the drywall
6. Tighten until the base sits flush against the wall
Pro tip: Toggle bolts rated for 50+ pounds in ½-inch drywall will handle even jumbo paper towel rolls with ease. Test your repair by applying 20 pounds of pressure—your holder should remain completely stationary.
Convert to Stud Mounting for Zero Wobble
For a permanent, rock-solid installation that never loosens:
- Use a stud finder to locate wall studs near your current mounting position
- Hold the holder against the wall and mark through the mounting holes
- Pre-drill 1/8-inch pilot holes to prevent wood splitting
- Drive 2½-inch wood screws until snug (don’t overtighten)
- Verify perfect level installation with a 24-inch level
Stud mounting eliminates anchor failure completely since you’re securing directly into structural wood rather than drywall alone.
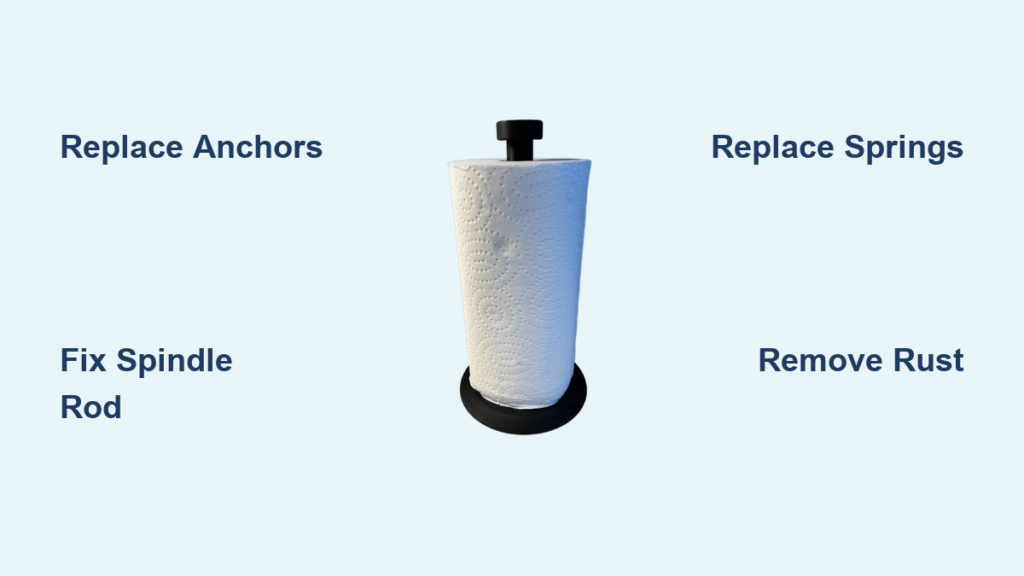
Repair a Broken or Missing Spindle Rod

Fix a Snapped Metal Rod With Epoxy Reinforcement
When your paper towel holder’s center rod breaks at the threads:
- Sand both broken ends with 220-grit sandpaper
- Clean thoroughly with rubbing alcohol and let dry
- Mix two-part epoxy according to package instructions
- Apply a thin layer to both surfaces before joining
- Carefully align the pieces and clamp firmly for 24 hours
Critical step: Wrap painter’s tape around the joint before applying epoxy to keep threads clean and functional after curing.
Create a Custom Wooden Spindle From Dowel Rod
Losing the original rod? A hardwood dowel makes a perfect replacement:
- Measure your holder’s required length (typically 12-13 inches)
- Cut a 1-inch hardwood dowel to size using a miter box
- Sand ends smooth and slightly round the edges
- Apply matching wood stain and two coats of polyurethane
- Allow 48 hours for complete curing before installation
This DIY spindle not only works perfectly but can be customized to match your kitchen decor.
Restore Proper Tension to Retractable Arms
Replace Worn-Out Springs in 5 Minutes
When paper towel holder arms won’t grip the roll tightly:
- Remove the holder from the wall for easier access
- Pop off the decorative cap with a small flathead screwdriver
- Note the spring’s orientation before removal with needle-nose pliers
- Install a matching replacement spring (usually 2-3 inches long)
- Apply two drops of 3-in-1 oil to pivot points
- Cycle the arms 15 times to ensure smooth operation
Pro tip: Keep spare springs on hand—they’re inexpensive and prevent future frustration when tension fails.
Straighten Bent Metal Arms Without Damage
Misaligned arms cause uneven pressure and roll slippage:
- Remove the holder for better leverage
- Cover bent areas with a soft cloth to prevent scratches
- Use an adjustable wrench to apply gentle, steady pressure
- Test alignment with a paper towel roll installed
- Repeat adjustments until arms compress evenly on both sides
Eliminate Rust Before It Destroys Your Holder

Remove Surface Rust With Household Items
Early-stage rust requires immediate action:
- Soak affected areas in white vinegar for 30 minutes
- Gently scrub with 0000 steel wool until bright metal appears
- Rinse thoroughly and neutralize with baking soda solution
- Apply rust-inhibiting primer followed by matching spray paint
This method works best when caught early before rust penetrates deep into the metal.
Treat Severe Corrosion With Naval Jelly
For deep rust pits that compromise structural integrity:
- Apply naval jelly according to manufacturer instructions
- Wait 15 minutes for the chemical reaction to dissolve rust
- Scrub with a brass wire brush to expose clean metal
- Rinse immediately and dry thoroughly
- Replace any pitted screws with stainless steel versions
Critical warning: Always wear eye protection and gloves when working with naval jelly—it’s highly effective but requires careful handling.
Fix Under-Cabinet Swing Arm Holders

Replace Worn Hinge Pins for Smooth Operation
Sagging under-cabinet holders need fresh pins:
- Remove the entire unit from the cabinet
- Tap out the old cotter pin with a small hammer
- Insert a new 1/8-inch cotter pin (add washers if needed)
- Lubricate all pivot points with silicone spray
- Test smooth swinging motion before reinstalling
This simple fix restores the precise movement your under-cabinet holder needs.
Strengthen Weak Magnetic Mounts
When magnetic holders lose their grip:
- Clean both contact surfaces thoroughly with alcohol
- Lightly sand for better adhesion
- Epoxy stronger neodymium magnets in place
- Allow 24 hours for complete curing before use
This upgrade actually improves performance over the original design.
Prevent Future Paper Towel Holder Failures
Implement a 2-Minute Quarterly Maintenance Routine
Extend your holder’s life dramatically with these quick checks:
- Month 1: Test all screws and anchors for tightness
- Month 2: Lubricate hinges and pivot points
- Month 3: Inspect for early rust or plastic cracks
- Month 4: Verify smooth dispensing under full load
This simple schedule catches problems before they become major failures.
Upgrade While You Repair for Better Performance
Add these improvements during your fix:
- Install soft-close hinges on swing-arm models
- Add battery-powered LED strips for nighttime visibility
- Replace fixed arms with telescoping versions for jumbo rolls
- Fill hollow bases with steel washers for rock-solid stability
These enhancements transform a basic repair into a performance upgrade.
Fixing your paper towel holder is almost always faster than the frustration it causes—most repairs take less than 30 minutes with common household tools. Whether you’re battling a loose wall mount, broken spindle, or weak spring mechanism, the right fix puts smooth one-handed dispensing back in your kitchen immediately. Tackle the problem today using the specific solution that matches your holder’s failure point, and you’ll prevent both future messes and more serious wall damage. With these proven techniques, your paper towel holder will function reliably for years to come, making everyday kitchen cleanups effortless rather than aggravating. The next time you reach for a paper towel, it’ll be exactly where it should be—securely mounted and ready for action.