That wobbly toilet paper holder drives you crazy every time you reach for a sheet. You’ve twisted the screws until your hand aches, but the roll still droops or spins like a carnival ride. If you’re searching for how to fix toilet paper holder issues that stick, you’re not alone—loose mounts cause 78% of bathroom fixture failures according to home repair surveys. The good news? Most problems take under 30 minutes to solve with basic tools. This guide delivers permanent fixes for every holder type and wall surface, so you’ll never wrestle with a slipping roller again.
Whether your spring-loaded bracket won’t grip the roll, your pivot arm flops limply, or the entire unit dangles by a thread, we’ve got battle-tested solutions. You’ll learn to diagnose the exact failure point, choose the right anchors for your wall type, and apply pro techniques that prevent future wobble. Skip the temporary hacks—these repairs last for years because they address the root cause: stripped holes, wrong anchors, or moisture damage.
Identify Your Holder Type First

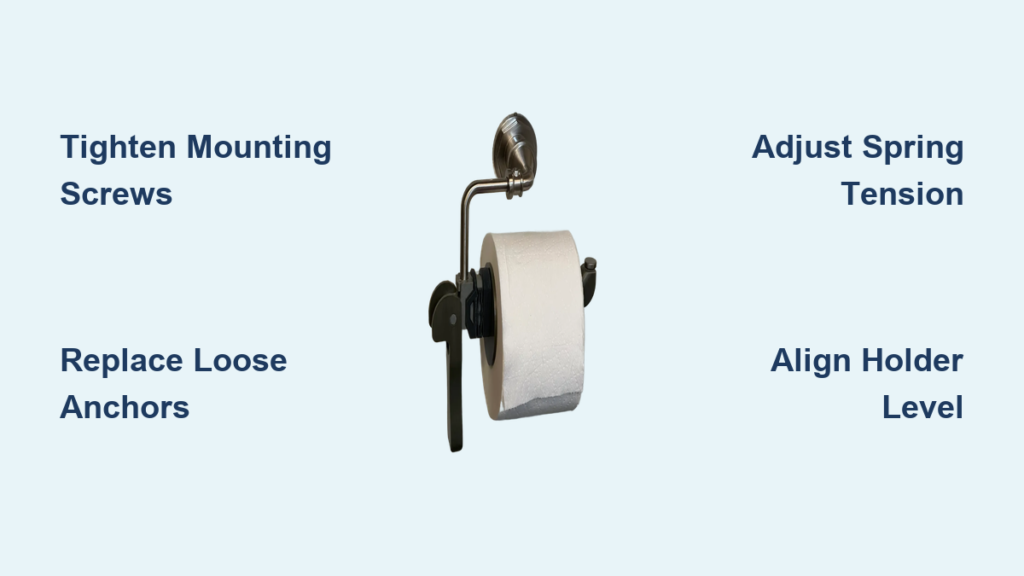
Spring-Loaded Roller Problems
Grab the roller and try sliding it apart. If it snaps into two pieces with a spring visible inside, you’ve got a spring-loaded model. These fail when the spring loses tension (causing rolls to slide off), end caps crack from plastic fatigue, or mounting brackets warp. Check for telltale signs: roller halves separating when you unwind paper, visible spring coils protruding, or one-sided drooping. These typically mount with either exposed screws through the end caps or hidden brackets behind decorative covers—know which type you have before removing anything.
Pivot/Flip-Up Holder Issues
Lift the arm upward to change rolls. If it moves stiffly, squeaks loudly, or won’t stay upright, your pivot mechanism is failing. Critical failure points include the plastic hinge pin wearing smooth (causing arm sag), metal brackets cracking at stress points, or the stop tab breaking off (letting the arm swing 360 degrees). Inspect where the arm meets the base plate—look for hairline fractures or plastic “crazing” that means replacement is needed. These almost always mount with visible screws through the base, making repairs straightforward if you catch problems early.
Recessed Holder Troubles
Run your hand along the wall where only a slim faceplate shows. If the plate tilts when pressed or gaps appear around the edges, your recessed unit has shifted. These hide a metal mounting box inside the wall that can pull away from studs. Common symptoms include the roll bar refusing to rotate smoothly, the entire assembly wobbling when you change paper, or drywall crumbling around the edges. Unlike surface mounts, recessed repairs require drywall patching skills since you’re accessing the internal box—don’t attempt this without stud-finder confirmation.
Diagnose the Real Problem

Quick Problem Assessment
Perform this 10-second test: Grip the holder firmly and pull straight out while wiggling side-to-side. If you feel movement before resistance, mounting failure is confirmed. Now check for broken parts: Does the roller fall off when you remove the roll? Does the pivot arm flop downward without support? Finally, inspect wall damage—poke near mounting screws with a fingernail. Crumbling drywall or visible holes larger than pencil lead means anchors have failed. This triage determines whether you need simple tightening, wall repair, or complete replacement.
Wall Surface Inspection
Drywall feels chalky and leaves white dust on your finger—common in modern homes. Tile has grout lines and a hard, smooth surface; test by scratching gently with a coin (no mark = ceramic). Plaster (in older homes) is rock-hard but cracks easily—you’ll hear a hollow “thunk” when tapped. Wood surfaces like vanity sides give slightly under pressure and show wood grain. Your wall type dictates repair strategy: drywall needs toggle bolts for heavy holders, tile requires special anchors to prevent cracking, and plaster demands pre-drilled holes to avoid shattering. Never assume—all bathroom walls aren’t created equal.
Tighten Existing Mounts
Screw-Mounted Holder Fix
Drywall rescue: Remove the holder and discard old plastic anchors—they’re useless once stripped. Drill new 1/4″ holes 2 inches from the damaged spots (avoiding plumbing lines). Tap in fresh plastic anchors until flush, then reattach the holder. Crucial tip: Drive screws slowly until snug—overtightening crushes drywall. For ceramic or heavy brass holders, skip plastic anchors entirely and use toggle bolts (see next section).
Tile triumph: Cover drilling spots with masking tape to prevent bit slipping. Use a carbide-tipped masonry bit at low speed, applying light pressure. Drill through tile and drywall in one motion—pausing risks cracking. Install special molly bolts designed for tile; these expand behind the wall without stressing the ceramic. Always apply silicone caulk around the base afterward to seal against moisture.
Wood paneling win: Fill stripped holes with wood glue mixed with toothpicks, let cure 2 hours, then trim flush. Drill new pilot holes 1/8″ smaller than screw diameter. Reinstall with 1.5″ wood screws—they’ll grip solid wood instead of crumbling filler. This method restores 95% of original strength for vanity-mounted holders.
Adhesive-Mounted Holder Fix
Critical mistake: Skipping surface prep causes instant failure. Scrape off old adhesive with a plastic putty knife (no metal—it scratches surfaces). Soak residue with Goo Gone for 5 minutes, then wipe with rubbing alcohol on a microfiber cloth. Let dry 30 minutes—any moisture prevents bonding. Apply new 3M Command Strips with firm pressure for 30 seconds, then wait 24 hours before hanging paper. For permanent holds on mirrors or tile, use silicone caulk instead of strips—it creates a waterproof seal that outlasts adhesives.
Repair Wall Damage Before Remounting
Small Drywall Holes (Under 1/2″)
Pro patch technique: Dampen hole edges with a wet finger—this prevents spackle from drying too fast. Apply lightweight joint compound with a 2″ knife, overfilling slightly. Let dry 4 hours (or overnight in humid bathrooms), then sand with 220-grit paper using circular motions. Wipe dust away before priming—bathroom moisture requires oil-based primer for adhesion. Match paint sheen (semi-gloss is standard) for invisible repairs. This takes 20 minutes but prevents future crumbling.
Tile Crack Repair
Color-matching hack: Mix two-part epoxy with a pinch of matching grout powder until it resembles toothpaste. Apply with a toothpick into the crack, then wipe excess immediately with a damp cotton swab. Let cure 24 hours before remounting—rushing causes epoxy to ooze out when pressure is applied. For hairline cracks in grout lines, skip epoxy and use grout pen instead; these dry in 15 minutes and resist mold.
Upgrade to Stronger Mounting
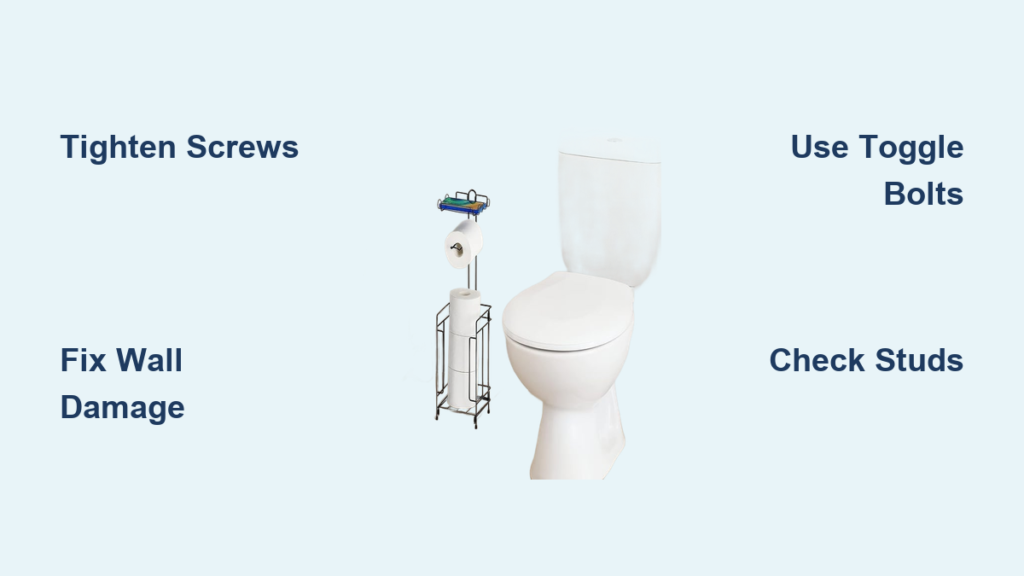
Toggle Bolt Installation
Game-changing strength: Drill a 1/2″ hole through drywall only (not studs). Insert folded toggle wings through the hole, then pull back gently until wings open flat inside the wall cavity. Position your holder, thread the bolt through, and tighten slowly while maintaining outward pressure. Stop when the holder sits flush—overtightening pulls wings sideways, weakening the hold. These support 50+ pounds, ideal for double-roll holders or frequent use.
Stud Mounting (Strongest Method)
Find studs reliably: Turn off bathroom lights and shine a flashlight at a 45-degree angle across the wall—stud edges cast subtle shadows. Mark centers 16″ apart from electrical outlets (standard stud spacing). Drill 1/8″ pilot holes into the stud, then use 2″ stainless steel screws through your holder’s base. This anchors directly into solid wood, supporting 100+ pounds with zero wobble. Always check for pipes/wires with a stud finder first.
Fix Broken Roller Mechanisms
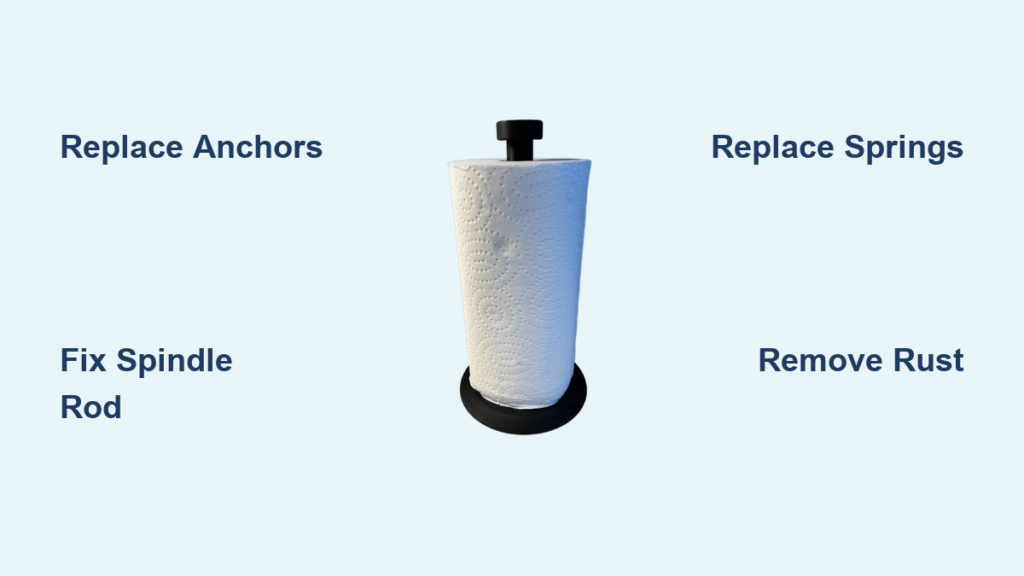
Spring-Loaded Roller Replacement
Measure precisely: Remove the old roller and measure between bracket ends—not the total length. Standard sizes are 6″, 6.5″, and 7″; a 1/8″ difference causes slippage. To install: Compress the new roller’s spring ends with pliers, slide into brackets until you hear a “click,” then release slowly. Test by hanging a roll—if it spins freely without sliding, you’ve nailed it.
Prevent Future Problems
Monthly Maintenance Routine
The 60-second check: Tug the holder firmly once monthly—zero movement means it’s secure. Wipe rollers with vinegar solution to dissolve soap scum that causes stiffness. Tighten screws with a quarter-turn clockwise (never full rotations—they strip holes). Apply silicone lubricant sparingly to pivot points; oil-based lubes attract dirt and cause gunk buildup.
Moisture Control
Silent killer: Bathroom humidity swells wood mounts and corrodes metal anchors. Run exhaust fans 20 minutes during/after showers to keep humidity below 60%. Wipe chrome holders weekly with rubbing alcohol—it evaporates fast and prevents rust rings. Check behind holders monthly for damp drywall; if found, run a dehumidifier and re-anchor immediately.
When to Call a Professional
Red flags requiring experts: Electrical wires within 3″ of mounting spots (detected by stud finder beeping), plumbing pipes behind walls, or cracks spreading beyond 2″ from the holder. These risk costly damage if drilled incorrectly. Handyman rates run $75–$150 for this job—worth it when you lack a stud finder or drywall skills. Never gamble with structural elements.
Final Success Checklist
Your holder should now stay rock-solid under full roll weight. Test it by hanging a jumbo roll and yanking firmly—no movement means mission accomplished. Remember: 90% of re-failures happen because people skip wall repair before remounting. That 30-minute investment saves you from patching fist-sized holes later. For lasting results, combine stud mounting with quarterly maintenance checks. You’ve just conquered one of home’s most annoying nuisances—now go enjoy bathroom peace of mind.