Your toilet paper holder wobbles every time you grab a sheet, or worse—it crashes to the floor mid-wipe. This daily bathroom annoyance isn’t just inconvenient; it signals mounting failure, stripped screws, or broken mechanisms that worsen with each use. The good news? 90% of toilet paper roll holder problems take under 30 minutes to fix with basic tools you likely own. This guide cuts through the frustration with precise fixes for every holder type, from tension mounts to recessed systems. You’ll learn to diagnose failures in 60 seconds, choose the right repair method, and prevent future disasters—all without damaging your walls.
Most homeowners waste time tightening loose screws repeatedly, unaware that stripped holes or wall damage require specific solutions. I’ve seen homeowners drill larger holes into plaster walls only to create craters that need professional patching. By matching your repair to your exact holder type and wall material, you’ll avoid costly mistakes. Let’s transform that wobbly eyesore into rock-solid functionality before your next bathroom visit.
Match Your Toilet Paper Holder Type to the Right Repair

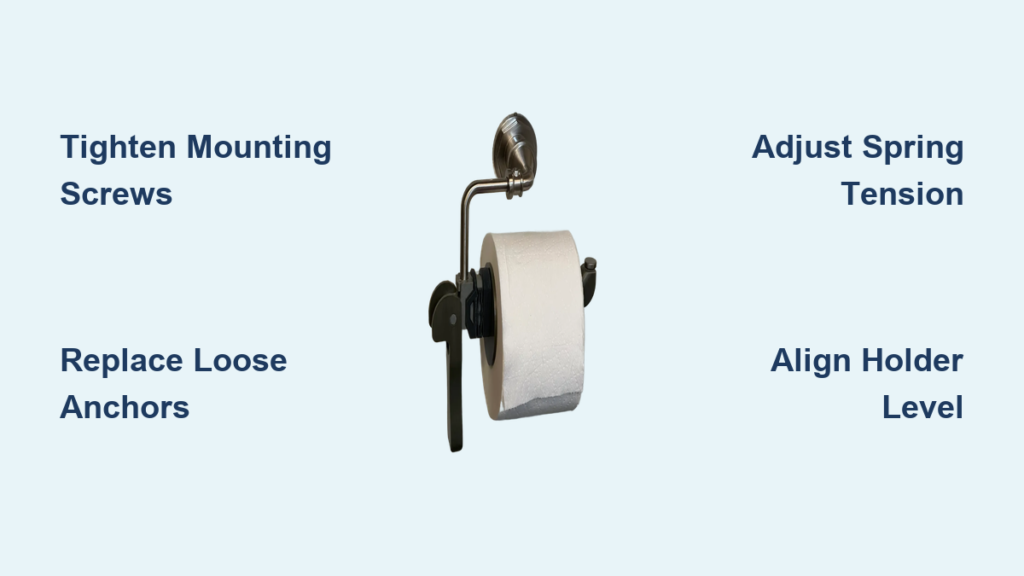
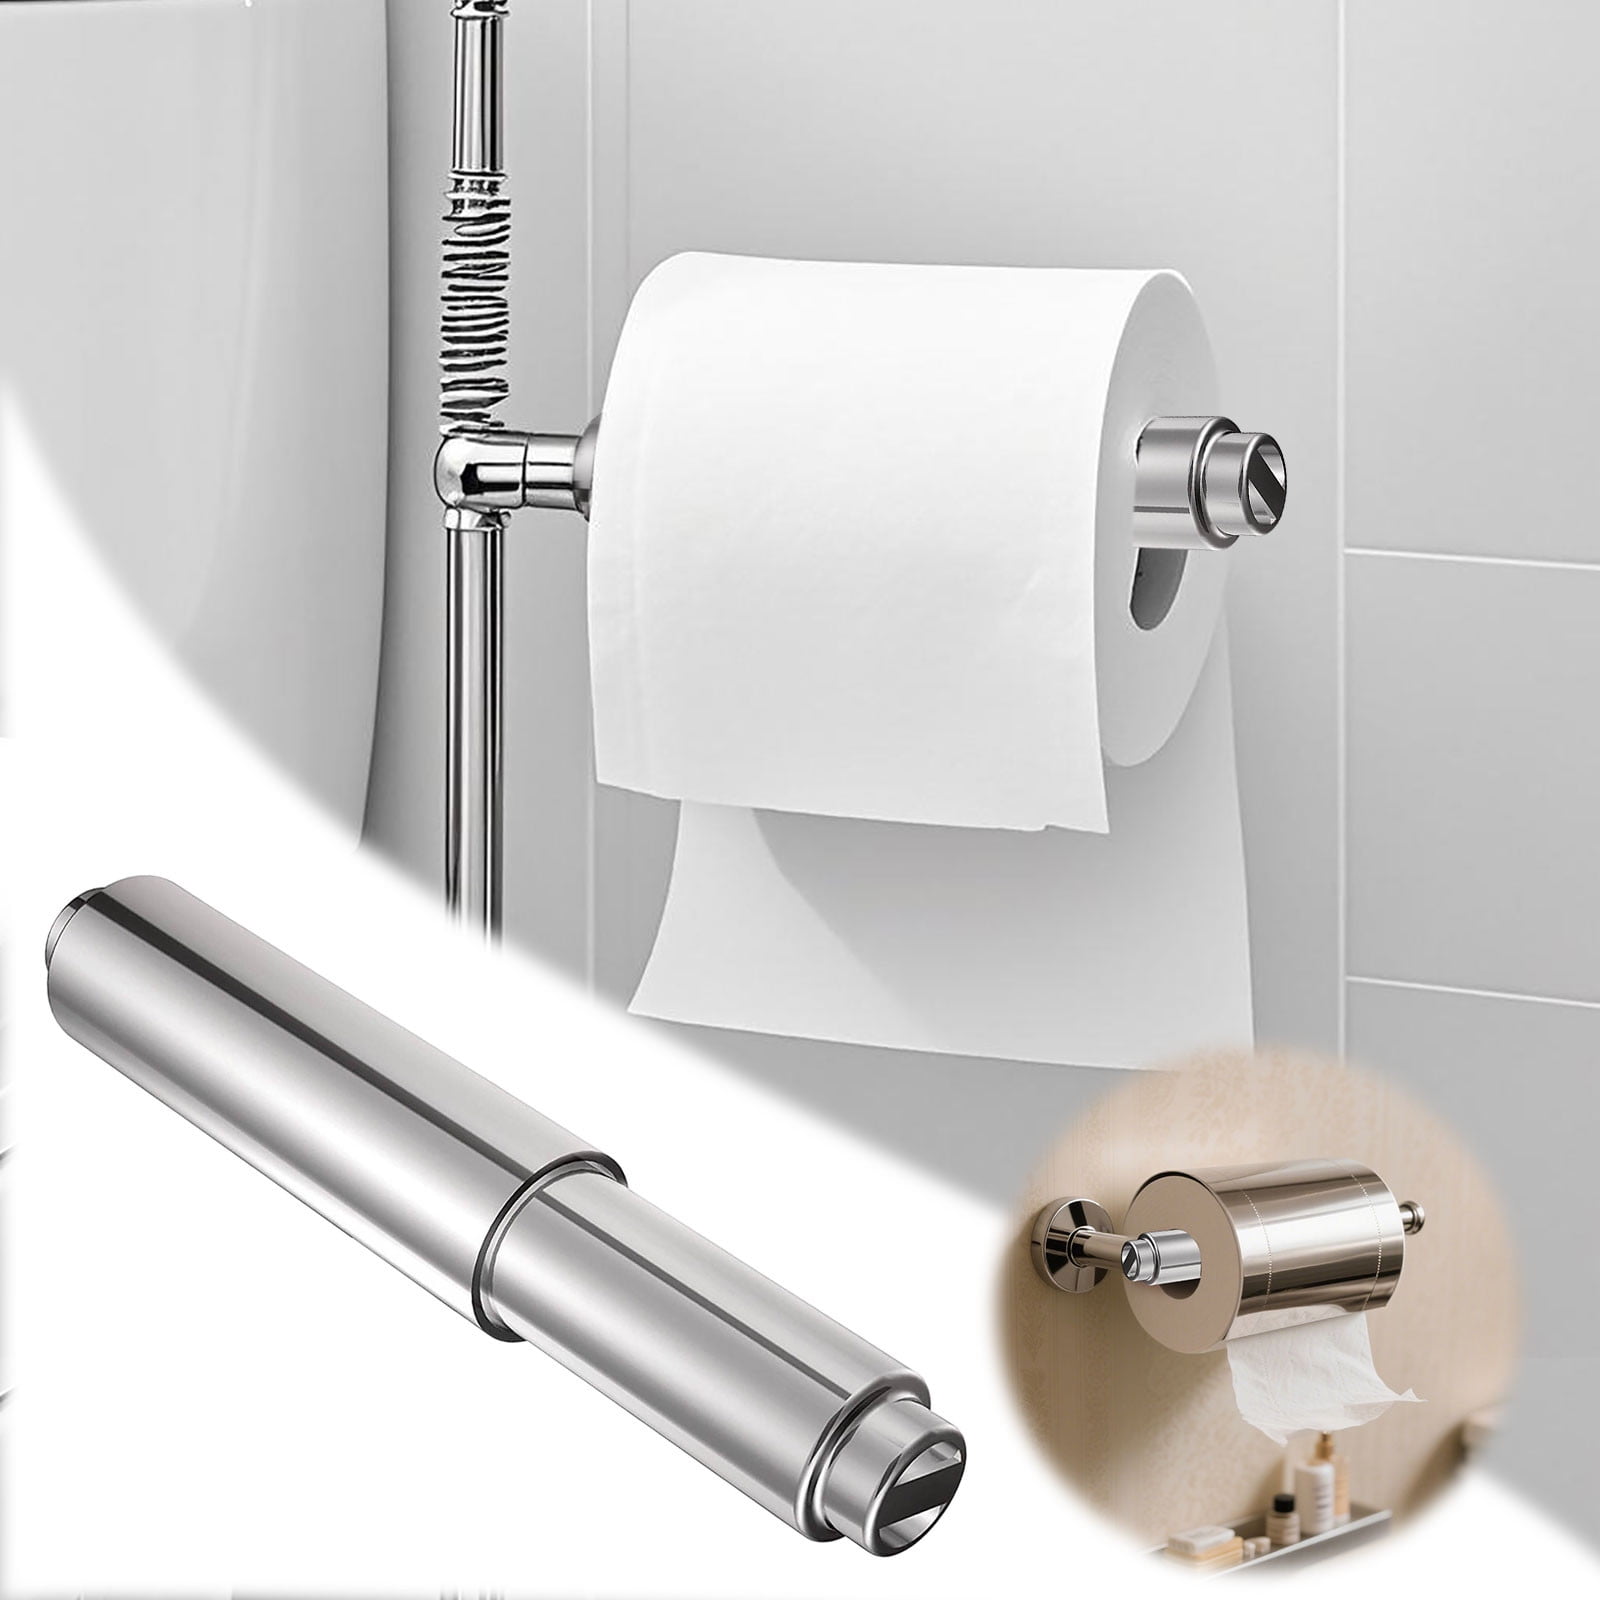
Stop Wall-Mounted Holders From Spinning or Falling
Wall-mounted holders fail three predictable ways. Screw-mounted brackets (the most common type) loosen when screws pull from drywall anchors—especially if installed between studs. Spring-loaded tension mounts slip when wall compression weakens, causing the roller to shift during use. Adhesive-mounted systems gradually lose grip on humid bathroom walls, often peeling off with a thud after 6-12 months. Check your holder: If you see visible gaps between the bracket and wall, stripped screw heads, or residue from failed tape, you’ve pinpointed the failure mode. Never ignore wobble—it accelerates wall damage with every paper pull.
Repair Hidden Recessed Holders Without Wall Damage
Recessed holders hide inside your wall but fail when the spring mechanism snaps or faceplate screws loosen. Push firmly on the roller—if the entire unit shifts backward into the wall cavity, the internal housing box has detached from studs. Visible cracks around the faceplate edges or a roller that won’t stay centered indicate housing misalignment. Unlike surface-mounted holders, these require careful flange reattachment to avoid drywall tears. Pro tip: Shine a flashlight at a 45-degree angle across the faceplate—if you see shadows between the metal and wall, the unit is pulling away.
Pinpoint Exactly Why Your Holder Fails
Diagnose Loose Mounting in 60 Seconds
Grab the holder firmly and push horizontally (not down). Movement under 1/8 inch means loose screws—tighten immediately. Noticeable wobble or gaps signal stripped holes or failed anchors. Now spin the roller: If it falls out, inspect the end caps for cracks or bent springs. For tension mounts, measure the wall-to-wall distance where the holder sits—if it’s 1/4 inch wider than the rod’s compressed length, the spring mechanism has weakened. This quick test tells you whether you need anchor upgrades or roller replacement.
Spot Wall Damage That Requires Reinforcement
Examine screw holes with a flashlight. Enlarged holes (where screws spin freely) need larger anchors. Crumbled drywall edges or plaster cracks mean you must relocate the holder or reinforce the area. For tile walls, check grout lines around mounting points—cracks here indicate improper drilling that could shatter tiles. If your knuckle taps reveal hollow spots behind the holder (vs. solid stud thuds), you’re anchoring into drywall alone—a recipe for future failure without proper reinforcement.
Stop Wall-Mounted Holders From Wobbling
Fix Stripped Screw Holes in Drywall

Gather: Phillips screwdriver, 1/4″ toggle bolts, drill, level. Remove the holder and clean debris from holes. For stripped holes: Insert a toggle bolt through the bracket, squeeze wings together, and push through the wall. Tighten until snug—this anchors into the wall cavity, not just drywall. Critical step: Position the bracket using a level before final tightening. If holes are too damaged, relocate 3 inches left/right to hit undamaged drywall. Test stability by hanging a full toilet paper roll—you shouldn’t feel movement.
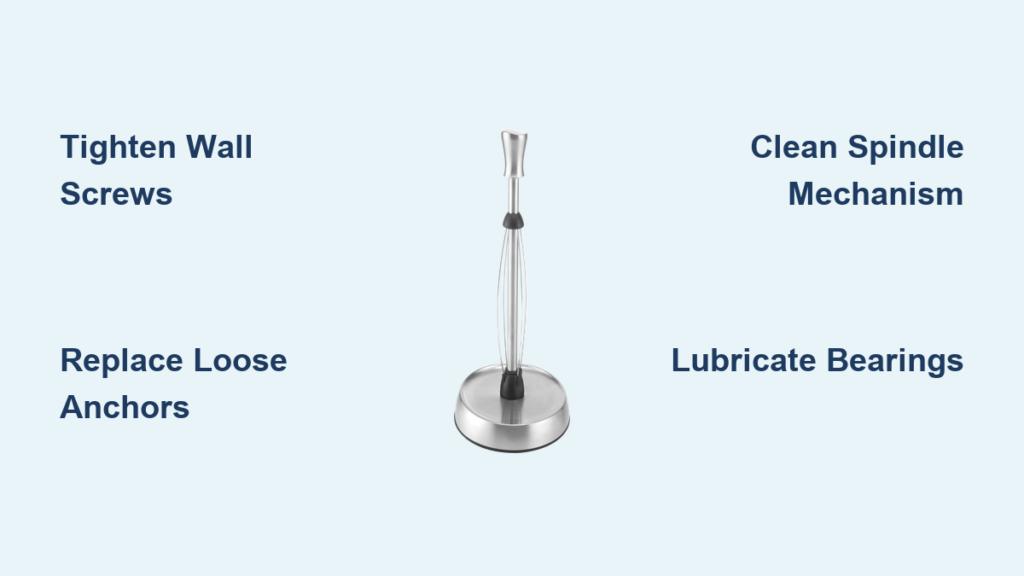
Reinforce Tension Mount Holders That Slip
Press the spring ends together to remove the roller. Clean wall surfaces with rubbing alcohol (grease prevents grip). Reinstall by twisting the adjustment knob clockwise until the rod compresses 1/4 inch when pressed between walls. Warning: Over-tightening cracks tile—test compression by inserting two business cards. If the mechanism won’t hold tension, replace the entire rod. Measure wall distance accurately: Standard rods fit 24-36 inch spans; custom sizes prevent slippage.
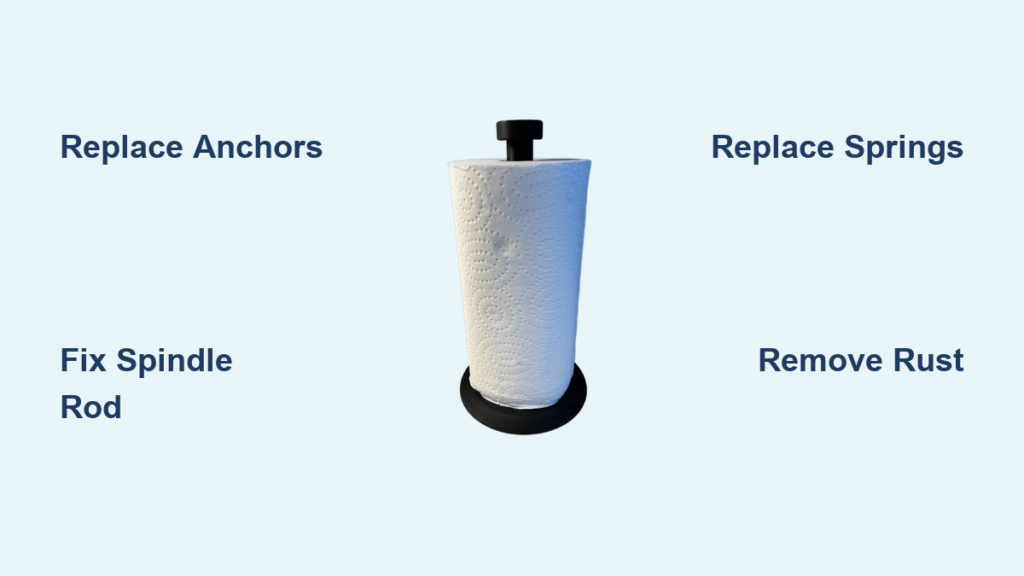
Fix a Toilet Paper Roll That Won’t Stay on the Holder
Replace Broken Rollers in 3 Steps
- Measure precisely: Standard rollers are 5.5-6.5″ long with 3/4″ diameter ends. Note if end caps are spring-loaded (compressible) or fixed.
- Remove the broken roller: Press both spring ends inward simultaneously and slide out.
- Install the new roller: Compress one spring fully, angle the roller into the bracket, then release the spring. Test spin—if it catches, realign the roller until both springs seat flush.
Create Emergency Rollers From Household Items
No replacement? Cut a 3/8″ wooden dowel to match your old roller’s length. Slide rubber bands over both ends for grip, then add compression springs from a broken pen (1/4″ diameter) to hold it in place. Works instantly for standard brackets—just ensure the dowel spins freely before loading toilet paper.
Reattach Falling Adhesive Holders Permanently
Surface Prep That Prevents Future Failures
Peel off old adhesive residue using a hair dryer on high heat for 30 seconds, then scrape gently with a plastic card. Wipe the wall with 90% isopropyl alcohol—this removes oils that ruin adhesion. Never skip this: Bathroom humidity bonds with grease, causing even heavy-duty tape to fail. For glossy tiles, lightly sand the area with 220-grit paper to create “tooth” for adhesives.
Choose the Right Adhesive for Your Wall
- Drywall: Use 3M VHB tape (rated for 10+ lbs)—press firmly for 60 seconds.
- Tile or Glass: Apply clear silicone caulk along the bracket edges; it cures waterproof in 24 hours.
- Humid Zones: Mix 5-minute epoxy and apply to bracket backs—this withstands steam showers.
After attaching, support the holder with painter’s tape for 48 hours. Test by hanging two rolls—zero movement means success.
Drill Tile or Plaster Walls Without Cracks
Tile Wall Repair Protocol
Mask the drilling spot with blue painter’s tape to prevent bit slippage. Use a carbide-tipped masonry bit at low speed (400 RPM) with light pressure. Drill through tile first, then switch to a standard bit for the drywall behind. Pro move: Place a drop of cutting oil on the tile—it reduces heat and cracking. After inserting anchors, seal edges with mildew-resistant caulk to block moisture behind the holder.
Plaster Wall Anchor Strategy
Plaster hides lath wood strips behind a brittle surface. Drill pilot holes with a masonry bit at 1/4 speed—stop when you feel resistance (the lath). Insert plastic anchors designed for plaster, then drive screws until snug. Critical: If the anchor spins, you’ve missed the lath—use toggle bolts behind the wall instead. Always fill old holes with spackle before relocating; plaster cracks easily around damaged spots.
Prevent Toilet Paper Holder Failures With Monthly Checks
2-Minute Stability Test
Grab the holder and pull gently sideways. If it moves more than 1/16 inch, tighten screws now—don’t wait for failure. Check roller spin: Stiff rotation means lubricate with silicone spray (never WD-40, which attracts dust). Wipe metal brackets monthly to prevent corrosion from bathroom sprays.
Annual Maintenance That Doubles Holder Life
Remove the roller every 6 months. Clean spring mechanisms with a toothbrush dipped in vinegar to dissolve mineral buildup. Apply a drop of silicone lubricant to moving parts. Tighten all mounting screws—overtightening cracks plastic brackets, so stop when resistance increases. For painted walls, touch up scratches to prevent rust on metal brackets.
Emergency Toilet Paper Holder Fixes That Work Immediately
Temporary Solutions When You’re Stuck
- Roller keeps falling out? Wrap rubber bands around the ends for instant grip.
- Holder detached completely? Hang a removable adhesive hook under the roller to catch it.
- No tools available? Slide a folded business card between the bracket and wall to stabilize wobble.
5-Minute Screw Hole Rescue
For stripped holes: Break 3 wooden toothpicks, dip in wood glue, and jam into the hole. Snap off excess, let dry 10 minutes, then reinsert the screw. The toothpicks expand to grip the drywall—a permanent fix for minor damage.
Replace or Repair Your Toilet Paper Holder: The $25 Rule
Repair immediately if: Loose screws, minor wall damage, or broken rollers cost under $25 to fix. Replace entirely if: Brackets are bent beyond straightening, tile is cracked around mounts, or you’re dealing with historic plaster walls requiring specialist repair. Most holders cost $15-$50—replace if repair materials exceed 50% of a new unit’s price. When in doubt, install a freestanding holder ($20 at hardware stores) as a permanent solution—zero wall damage, adjustable height, and works on any floor.
Stop fighting your toilet paper holder. By diagnosing the exact failure—whether it’s stripped drywall anchors, failed adhesives, or broken rollers—you’ll apply the precise fix in under 30 minutes. Remember the $25 rule: If repairs cost more than half a new holder, switch to a freestanding model. Implement the monthly stability test to catch looseness early, and your holder will stay rock-solid for years. For persistent wall damage, install a decorative 1×4 board across studs as a mounting surface—it hides patch jobs while adding bathroom character. Your next bathroom visit should be peaceful, not punctuated by crashing metal.