
The moment you slide a steaming casserole dish onto a handmade pot holder you wove yourself—that’s pure kitchen magic. Forget flimsy store-bought versions; loom-woven pot holders deliver serious heat protection (up to 400°F!) while showcasing your creativity. In just 60 minutes flat, you’ll transform simple cotton loops into a durable, washable kitchen essential perfect for gifting or personal use. This guide cuts through the confusion with precise techniques for flawless results—from selecting the right loom to adding that final decorative touch.
No prior weaving experience needed. Whether you’re crafting a housewarming gift or upgrading your own kitchen, this method turns basic materials into functional art. You’ll master color patterning, avoid common pitfalls, and finish with professional edges that withstand years of oven mitt duty. Let’s get those hands moving—your first handmade pot holder awaits.
Select the Right Loom Size for Your Project
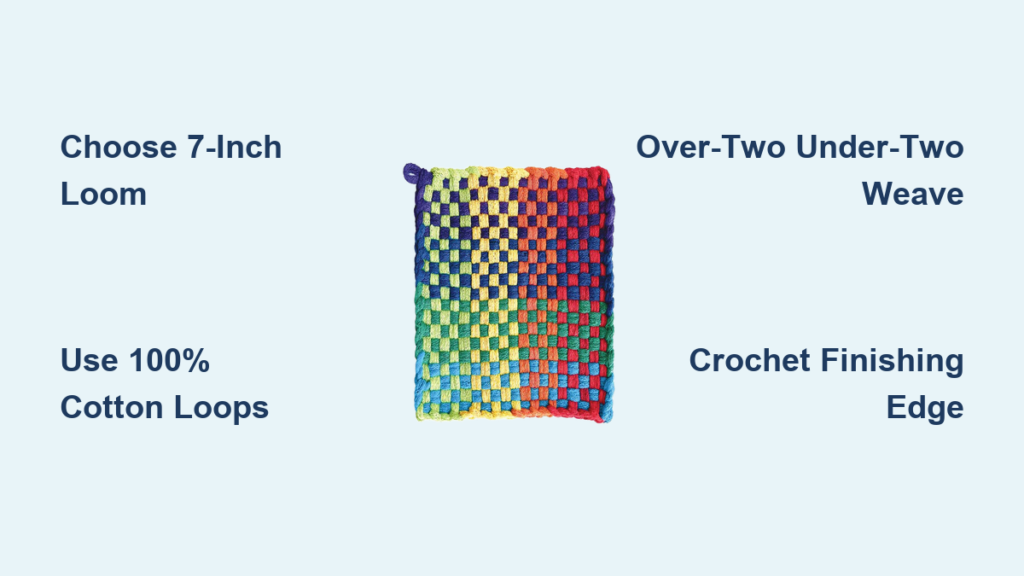
Choosing between 7-inch and 10-inch looms makes or breaks your pot holder’s functionality. The 7×7 inch frame creates compact 6×6 inch squares ideal for mug handles or small skillets, while the 10×10 inch pro model yields generous 8×8 inch squares capable of handling Dutch ovens or doubling as trivets. Beginners consistently achieve tighter weaves faster with the 7-inch size—the peg spacing naturally prevents gaps, and replacement cotton loops are everywhere at craft stores.
Critical material warning: Never substitute synthetic loops. Only 100% cotton withstands oven temperatures without melting—check fiber content labels meticulously. Quality kits include 30-40 loops plus two essential tools: a metal weaving hook for threading rows and a 5.75mm crochet hook for finishing edges. Bargain bundles advertising “craft loops” often hide dangerous polyester blends. For immediate success, grab a beginner kit with pre-sorted cotton loops in coordinated colors.
Set Up Your Loom for Flawless Weaving

Place your loom flat on a stable surface with longer sides horizontal—this orientation creates optimal working angles for right-handed weavers (reverse if left-handed). Begin by creating your warp: stretch loops vertically from bottom to top pegs, ensuring each loop lies perfectly flat and parallel. Start at the bottom-left peg, pull taut to the top-left peg, and repeat systematically across all columns.
Color strategy tip: Plan patterns before weaving. Alternate two colors for instant checkerboard effects, or use single-color loops for bold stripes. Remember—these vertical warp strands become half your final design. Avoid twisting loops during setup; crooked warps guarantee uneven weaving. As you work, gently tug each loop to maintain consistent tension—sagging strands create weak spots that compromise heat resistance.
Perfect the Over-Under Weaving Technique
Hold your metal weaving hook by the larger end for maximum control. Start at the right edge (left for left-handed weavers) and establish the rhythm: pass the hook over the first two warp strands, under the next two, repeating across the row. This “over-two, under-two” pattern is non-negotiable for heat-resistant pot holders—splitting through loop middles creates dangerous gaps.
Insert new loops by slipping one onto the hook’s end, twisting gently so it lies flat, then pulling toward your starting side. Secure one end on the left peg, the other on the right. After each row, use your fingers—not the hook—to push the loop downward into straight alignment. Pro secret: Alternate your starting point every row. If row one began “over,” row two must start “under.” This simple flip creates the interlocking weave that distributes heat evenly. Work from the loom’s center outward where tension is naturally looser—this prevents frustrating tightness for beginners.
Create a Professional Crochet Edge

When your loom fills completely from bottom to top, it’s time for the critical finishing step. Start at any corner (beginners should pick the back corner to hide imperfections). Using the crochet hook:
- Pass through the first corner loop and remove it from the peg
- Insert hook through the adjacent loop
- Pull the second loop through the first with a gentle twist
Continue this chain stitch around all four edges, maintaining consistent tension. When completing a side, temporarily hook the working loop back onto a peg to prevent unraveling while repositioning. At the final corner:
- Pull the last loop through to leave one remaining loop on the hook
- Crucial step: Gently tug all four sides to flatten the weave and prevent cupping
- Remove the hook, pull the tail tight, and weave any loose ends through adjacent stitches
For functional hanging, thread a wooden ring through the final loop before securing—it doubles as decorative display.
Design Eye-Catching Patterns with Ease

Transform basic pot holders into custom art through strategic color placement. Create instant checkerboards by alternating warp colors (vertical) and weft colors (horizontal). For diagonal stripes, sequence three colors in repeating rows: blue→red→yellow→blue→red→yellow. Hand-dyed loops add organic variation—each pot holder becomes a unique piece.
Time-saving tip: Sketch patterns on graph paper before weaving. Mark each square with color codes to avoid mid-weave confusion. Avoid texture experiments for functional pieces—yarn or natural elements like thin branches weaken heat resistance. Save those techniques for decorative wall hangings. For gifts, use recipient-specific colors: school hues for graduates, seasonal palettes for holidays, or kitchen-matching tones for newlyweds.
Fix Common Weaving Mistakes Instantly
Tight loops resisting your hook? Immediately shift to the loom’s center where natural tension slackens. Guide stubborn loops with your fingers while working outward—never force the hook, which can split fibers. For uneven edges, gently adjust tension during crocheting: tighten loose corners with extra hook pulls, ease tight sections by stretching the chain.
Emergency unraveling fix: If a loop pops during weaving, stop immediately. Use the crochet hook to pull the loose end back through the previous row’s stitches. Always secure the final tail by weaving it through 5+ crochet stitches with a tapestry needle—this prevents slow unraveling after washing. Remember: the first wash tightens the weave, so minor imperfections often improve after laundering.
Craft Gift-Worthy Pot Holder Sets
Elevate simple pot holders into memorable gifts with these pairings:
- Mug combo: Nestle a 6-inch pot holder inside a decorative mug, then fill with gourmet coffee or tea
- Baking bundle: Layer a pot holder under a mason jar of cookie mix, using it as an oversized lid cover tied with kitchen twine
- Complete set: Weave three sizes (6-inch, 8-inch, 10-inch) in matching colors for comprehensive kitchen protection
Package stacked sets with kitchen twine for rustic charm. The one-hour crafting time makes these ideal last-minute gifts—keep pre-woven pot holders in neutral colors for emergency present needs. Children especially love gifting handmade pot holders to grandparents; supervise their weaving for safe hook use.
Maximize Pot Holder Longevity with Proper Care
Washing protocol: Machine-wash 100% cotton pot holders cold with like colors. Tumble dry low—never bleach or iron. The first wash tightens the weave, boosting heat resistance. Rotate 4-6 pot holders in regular use to prevent uneven wear; replace stained pieces immediately.
Storage matters: Always store flat or hang via the wooden ring. Folding creates permanent creases that weaken fiber integrity over time. Between uses, display finished pieces on decorative wall hooks—they double as cheerful kitchen art. With proper care, handmade pot holders outlast commercial versions by years while gaining character through use.
Your first pot holder might have slightly uneven edges, but each weave sharpens your skill. Within weeks, you’ll craft professional-quality pieces that handle scorching pans with confidence. Keep cotton loops stocked—once friends see your vibrant creations, requests will pour in faster than you can weave. Start with one loom today, and by next week you’ll have a kitchen arsenal of handmade heat protection that’s as unique as it is functional.


