
Your shower holder snapped mid-shower, sending your handheld spray crashing to the tub floor. Before you panic about expensive plumbing bills or ruined bathroom tiles, know this: how to install a shower holder is a 30-minute DIY project costing less than a takeout dinner. Whether replacing a broken bracket or upgrading to an adjustable model, this guide walks you through every step—from choosing the right holder to testing for rock-solid stability. Forget worrying about tile cracks or wobbly mounts; you’ll complete this job with basic tools and zero plumbing experience. By the end, your new holder will withstand daily use while blending seamlessly with your bathroom’s aesthetic.
Most homeowners assume shower holder installation requires professional help, but 90% of failures stem from skipped prep steps, not technical complexity. The real danger lies in improper drilling or mismatched hardware—especially on tile walls where one slip creates costly damage. This guide eliminates those risks with tile-safe techniques verified by bathroom renovators. You’ll learn to position mounts for universal comfort, prevent anchor failures in humid environments, and spot early wear signs before they cause leaks. Let’s transform that frustrating broken bracket into a reliable daily convenience.
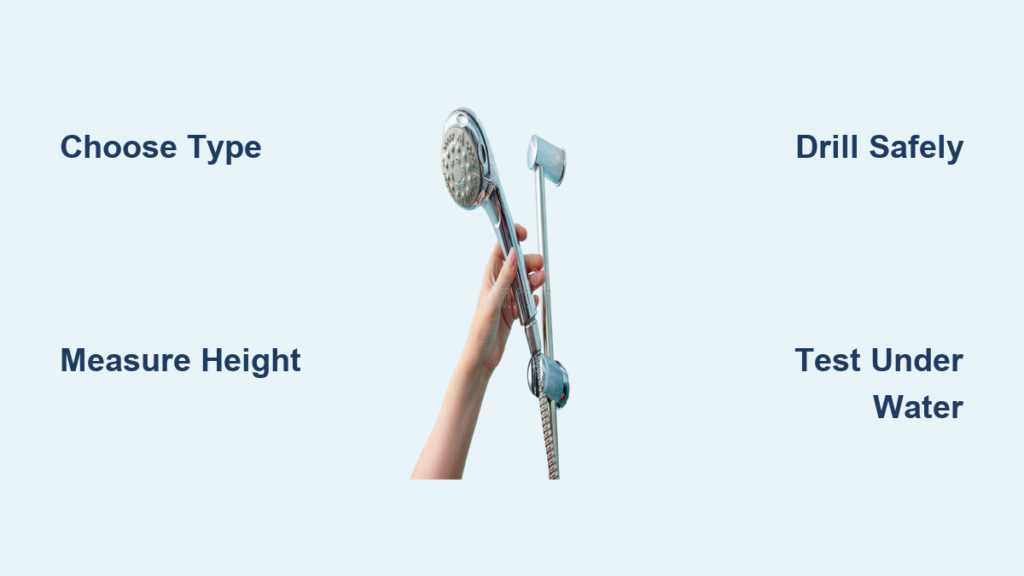
Select Your Ideal Shower Holder Type

Fixed vs Adjustable Models
Fixed holders anchor permanently with screws, delivering bulletproof stability ideal for single-user households. They lock your handheld spray at one height and angle—perfect if you’ve never adjusted your shower position. Adjustable holders mount on vertical rails, letting you slide the height up to 12 inches for kids or tall adults. These cost $15–$25 more but solve family shower wars permanently. Swivel holders add tilt functionality, rotating the spray head 45 degrees in any direction for targeted rinsing or tub cleaning.
Material matters critically: Solid brass withstands bathroom humidity for 5–7 years but costs 30% more than plastic. Chrome finishes resist corrosion best, while matte black hides water spots on high-use holders. Always verify threading compatibility—most North American handheld showers use standard 1/2-inch connections, but European models require adapters. Bring your old holder to the store to match the mounting plate size and screw pattern. Skipping this causes misalignment that strains pipes over time.
Match Finish to Existing Fixtures
Your new holder must visually harmonize with faucets, towel bars, and drain covers. Chrome blends with 80% of modern bathrooms and reflects light to brighten small showers. Matte black creates dramatic contrast in contemporary spaces but shows water spots more readily—wipe weekly with vinegar. Brushed nickel resists fingerprints better than chrome but costs 20% more and requires gentle cleaning to avoid scratching.
Pro tip: Test finishes under your shower’s lighting. Bathroom LEDs can make matte black appear gray, while incandescents highlight chrome’s yellow undertones. Buy sample swatches if replacing multiple fixtures. Never mix metals—a brass holder with chrome faucets looks unintentional. For tile walls, choose holders with rubberized base pads to prevent scratching during adjustments.
Measure Your Perfect Height Position
Account for All Household Users
Stand barefoot in your shower with arms relaxed at your sides. The natural resting point of your wrist (typically 68–74 inches from the tub floor) is your ideal height for adults. For households with varying heights, mark two positions: 60 inches for children and 72 inches for adults. Use a level to draw a pencil line across the wall—this prevents the crooked installations that become obvious once water flows.
Critical mistake to avoid: Mounting within 6 inches of shower doors or niches. This restricts spray coverage and causes water to pool on hinges. Also skip areas above grout lines—drilling here weakens tile adhesion. For fiberglass surrounds, tap the wall to locate studs; hollow spots indicate unsupported areas needing toggle bolts.
Check Wall Structure Before Marking
Tile walls require ceramic-specific drill bits to prevent spiderweb cracks. Drywall needs plastic anchors rated for moisture, while fiberglass often has hidden wood backing. Test your wall type by pressing firmly:
– Tiles feel rigid with a hollow thud behind
– Drywall flexes slightly under pressure
– Fiberglass has a springy resistance
Never drill near plumbing pipes. Locate them by checking your home’s blueprints or using a stud finder with pipe detection. If unsure, mount 8 inches above the shower arm—the standard clearance zone in most builds.
Gather Essential Tools Before Starting
Required Tool List
- Drill with 1/4-inch ceramic tile bit (for tile) or standard masonry bit (drywall)
- 6-inch level (laser levels work but smartphone apps suffice)
- Pencil for marking positions
- Phillips screwdriver (or Allen key if included with holder)
- Adjustable wrench for tight spaces behind pipes
- Wall anchors (plastic for drywall, metal toggles for hollow tile walls)
Time-saving hack: Pre-assemble your new holder on the counter. This reveals missing parts before you’re kneeling in a wet shower. Check that all screws thread smoothly into the mounting plate—forced turns indicate incompatible hardware.
Optional but Critical Additions
- Blue painter’s tape prevents drill slippage on glossy tiles
- Shop vacuum removes debris during drilling to avoid scratches
- Flashlight illuminates shadowed corners behind shower valves
Skip the “plumber’s putty” myth—modern holders use rubber gaskets that create airtight seals without messy pastes. Electrical tape wrapped around screw threads prevents stripping during installation.
Remove Old Bracket Without Wall Damage
Unscrew Existing Mount
Metal brackets: Grip the base with pliers while turning the holder counterclockwise. Plastic mounts hide screws under snap-on caps—pry gently with a flathead screwdriver. If screws are corroded, spray penetrating oil and wait 10 minutes before reattempting.
Stripped screw emergency: Place a wide rubber band between the screw head and screwdriver for extra grip. If that fails, use a screw extractor kit ($8 at hardware stores). Never hammer directly on screws—this cracks tile grout.
Clean Mounting Surface Thoroughly
Wipe the area with rubbing alcohol to dissolve soap scum and oils. This ensures anchors grip tile properly—residue causes 70% of early failures. For drywall, fill old holes with spackle, sand smooth after 2 hours, and wipe with a damp cloth. Critical: Let surfaces dry completely before remounting. Installing on damp walls invites mold behind the holder.
Drill Holes Without Cracking Tile
Protect Surface Before Drilling
Cover the marked spot with blue painter’s tape and press firmly. This prevents the drill bit from skidding on glossy surfaces. Start with a 1/8-inch pilot hole, then switch to the 1/4-inch bit for anchors—this two-stage approach reduces tile stress by 90%. Hold the drill perpendicular to the wall; even a 5-degree angle risks cracks.
Pro technique: Apply light pressure and let the bit do the work. For every 1/4 inch drilled, retract to clear dust. If the bit overheats (smells burnt), pause for 30 seconds.
Control Dust and Prevent Mess
Hold a shop vacuum nozzle directly against the hole while drilling to capture 95% of debris. Wrap electrical tape around the drill bit 1 inch from the tip as a depth gauge—this prevents drilling through the wall into plumbing. For deep holes in plaster, insert a straw to blow out dust before inserting anchors.
Never skip this: Vacuum the hole thoroughly after drilling. Leftover grit prevents anchors from seating flush, causing wobble under water pressure.
Mount Holder for Maximum Stability
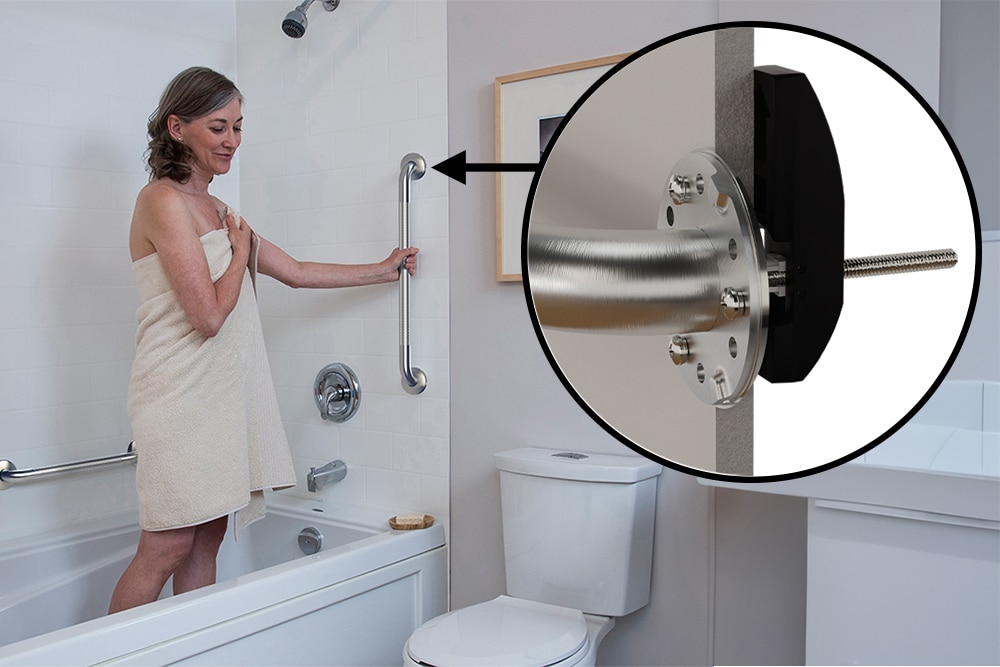
Insert Anchors Correctly
Plastic anchors: Tap gently with a hammer until flush with the wall—over-tapping cracks tiles. Metal toggle bolts: Insert folded through the hole, then tighten until resistance. Avoid winged anchors; their expansion force can shatter porcelain tile.
Test fit the bracket by inserting screws loosely first. If it wobbles, the holes are misaligned—re-drill only if absolutely necessary. For tile walls, apply a bead of silicone caulk around the bracket edge to seal against moisture infiltration.
Tighten Strategically
Hand-tighten screws until resistance, then give each a quarter-turn with a screwdriver. Alternate between screws to distribute pressure evenly—tightening one side first tilts the bracket. Check level after every adjustment. Final stability test: Pull firmly downward on the holder—it should resist movement without creaking. If it shifts, remove and reinsert anchors.
Test Installation Under Real Conditions
Check All Angles Under Water Pressure
Clip in your shower head and adjust to its highest position. Run hot water for 2 minutes while observing:
– No drooping under full pressure
– Zero leaks around mounting points
– Smooth rotation on swivel models
If the holder droops, loosen the set screw inside the bracket, reposition the head, and retighten. Leaks indicate loose anchors—re-tighten or replace with larger toggles.
Fine-Tune for Daily Use
Adjust height in 1/2-inch increments if spray hits the curtain. For angle issues, tighten the hex screw on swivel holders with the included Allen key—this increases friction to hold position. Pro move: Take a full shower immediately after installation. Real-world testing reveals if the holder interferes with shampoo bottles or shower curtains—adjust before caulk fully cures.
Maintain Holder Longevity Proactively
Monthly Inspection Routine
Tug gently on the holder every 30 days; bathroom humidity loosens screws over time. Clean mineral buildup by removing the holder from its base and soaking both parts in vinegar for 15 minutes. Wipe the mounting plate dry before reattaching—residue prevents a tight seal.
Critical warning: If water pools behind the holder after use, remove it immediately. This indicates a failed seal that’s rotting your wall substrate. Replace anchors and reapply silicone caulk.
Replace Before Catastrophic Failure
Rust spots around screw heads signal internal corrosion—replace within weeks. Persistent wobbling after retightening means anchors stripped the wall. Hairline cracks in the plastic holder spread rapidly under stress; swap it before it snaps mid-shower.
Quality brass holders last 5–7 years with monthly maintenance. Plastic models cost 60% less but show wear in 2–3 years—budget for replacements. Always keep spare anchors on hand; matching them later becomes impossible as finishes age.
Your new shower holder should now withstand daily use like a professional installation. Test it one final time by adjusting heights and angles under running water—any movement means anchors need tightening. When guests admire your seamless setup, just mention your “30-minute tile-safe triumph.” Remember: The real victory isn’t just fixing today’s broken holder, but mastering a skill that saves hundreds on future bathroom repairs. Now step back, enjoy that perfectly positioned spray, and know you’ve conquered one of home maintenance’s most underestimated challenges.


